NA580 Series User
’s Manual
26
Hardware and Installation
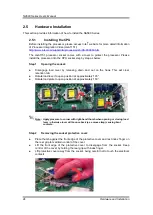
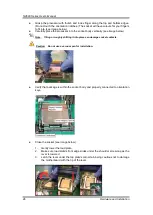
Grasp the processor with thumb and index finger along the top and bottom edges.
(Do not touch the orientation notches.) The socket will have cutouts for your fingers
to fit into (see image below).
Carefully place the processor into the socket body vertically (see image below).
Note: Tilting or roughly shifting it into place can damage socket contacts.
Caution: Do not use a vacuum pen for installation.
Verify that package is within the socket body and properly connected to orientation
keys.
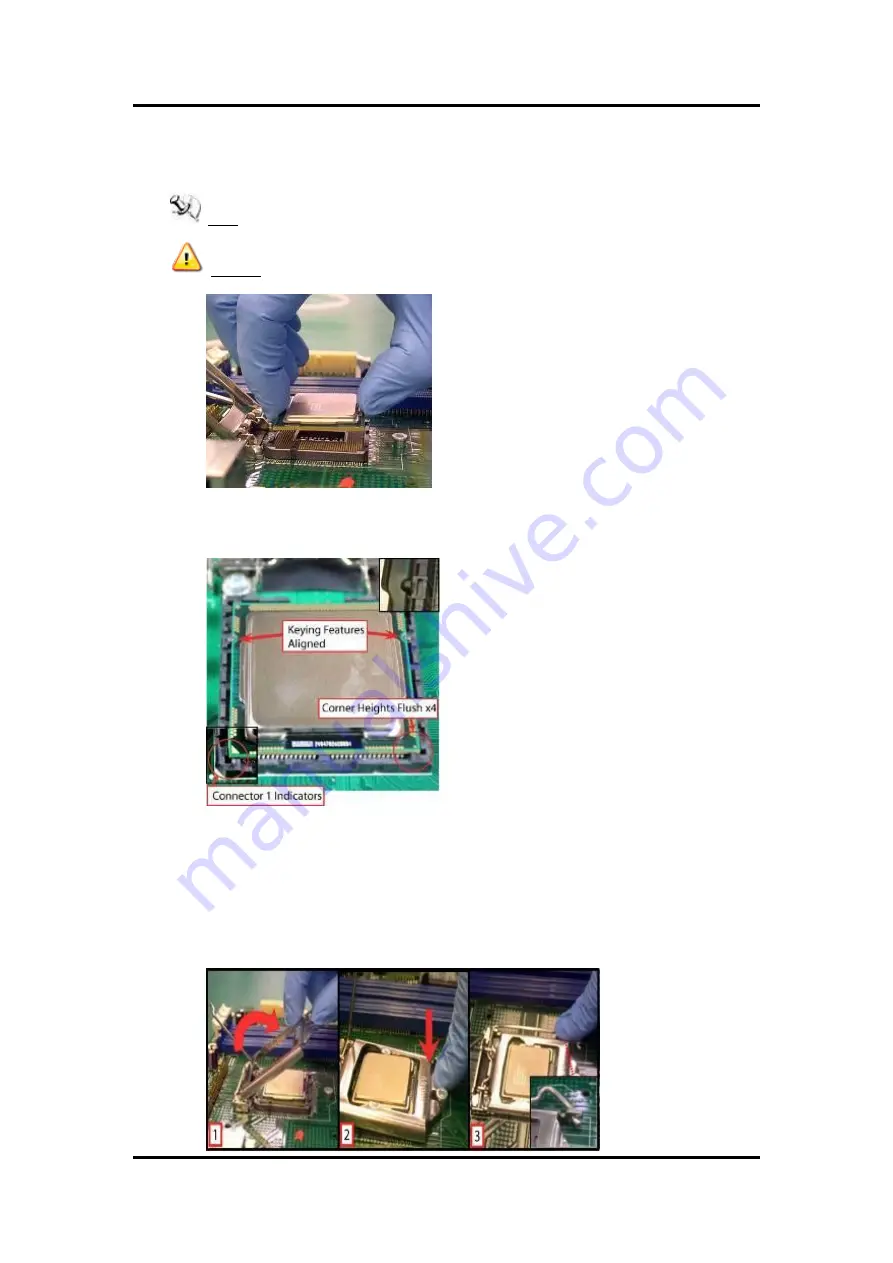
Close the socket (see image below):
1.
Gently lower the load plate.
2.
Make sure load plate's front edge slides under the shoulder screw cap as the
lever is lowered.
3.
Latch the lever under the top plate's corner tab, being cautious not to damage
the motherboard with the tip of the lever.
Summary of Contents for NA580 series
Page 1: ...NA580 Series SMB Network Appliance User s Manual ...
Page 16: ...NA580 Series User s Manual 10 Hardware and Installation 2 2 Board Layout TOP ...
Page 17: ...NA580 Series User s Manual Hardware and Installation 11 BOTTOM ...
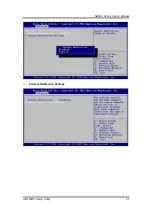
Page 43: ...NA580 Series User s Manual AMI BIOS Setup Utility 37 Console Redirection Settings ...
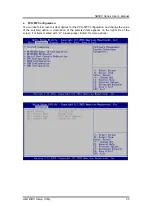
Page 53: ...NA580 Series User s Manual AMI BIOS Setup Utility 47 PCH IO Configuration ...
Page 66: ...NA580 Series User s Manual 60 WDT Timer for System Rese This page is intentionally left blank ...
Page 76: ...NA580 Series User s Manual 70 Warning This page is intentionally left blank ...

