3
Step 2:
Install the handle crank using the hardware provided.
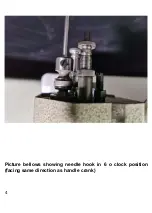
The screw of needle bar holder and needle hook and handle
crank should be in the “6 clock direction”, or facing user. This
is an important step to properly setting up the machine! See
pictures on next page below for reference!
Picture below displays where to unscrew to adjust position of
needle hook.
Summary of Contents for 1114-1
Page 2: ...2 Assembly and Adjustment Step 1 Install the metal hinge using hardware provided ...
Page 9: ...9 Pictured below you can see stop motion rocker pulled down and ready to stitch ...
Page 10: ...10 ...
Page 12: ...12 ...
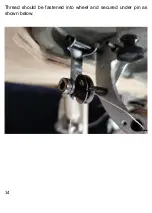
Page 14: ...14 Thread should be fastened into wheel and secured under pin as shown below ...
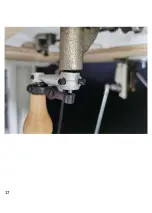
Page 17: ...17 ...
Page 18: ...18 ...
Page 22: ...22 ...
Page 24: ...24 Lifting up presser foot will make it easier to pull thread under it ...
Page 30: ...30 Pull out the Thread end ...
Page 31: ...31 Trimmer the Thread end ...
Page 32: ...32 ...
Page 34: ...34 ...

