AXIS M5075-G PTZ Camera
Configure your device
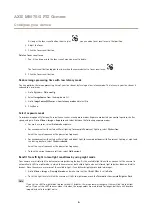
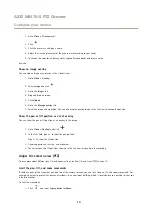
1. Go to
System > Events
and add a rule.
2. Type a name for the rule.
3. In the list of actions, select
Go to preset position
.
4. Select the preset position you want the camera to go to.
5. Click
Save
.
Direct the camera to a preset position when the wireless PIR motion sensor detects motion
Note
There may be up to 2 s delay from when the motion is detected to when the camera triggers the rule. Consider this latency
when deciding the best placement of the products.
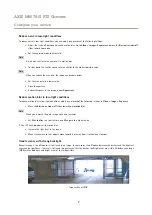
Add a preset position:
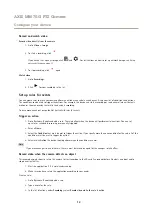
1. Go to
Settings > PTZ
and set where you want the camera to be directed by creating a preset position.
Create a rule for the PIR sensor:
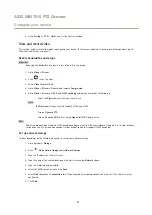
2. Go to
Settings > System > Events > Rules
and add a rule.
3. Type a name for the rule.
4. In the list of conditions, select
Z-Wave input
.
5. Select
<device name> - Motion Detected
.
6. In the list of actions, select
Go to preset position
.
7. Select a video channel and the preset position you want the camera to go to.
8. If you want the camera to return to it’s home position when the rule is no longer active, select
Home timeout
.
9. Click
Save
.
To record video, add an additional rule:
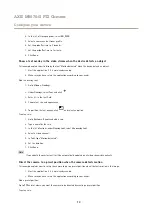
10. Go to
Settings > System > Events > Rules
and add a rule.
11. Type a name for the rule.
12. In the list of conditions, select
PTZ preset position reached
.
13. In the list of actions, select
Record video
.
14. Select an existing stream profile or create a new one.
15. Set the prebuffer to 5 seconds.
16. Set the postbuffer to 60 seconds.
17. Select
SD card
from the list of storage options.
18. Click
Save
.
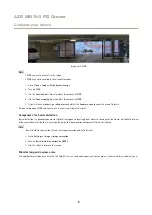
Record video when the camera detects loud noises
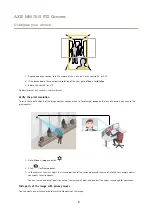
This example explains how to set up the camera to start recording to the SD card five seconds before it detects loud noise and
to stop two minutes after.
Turn on audio:
14


