Assembly
9
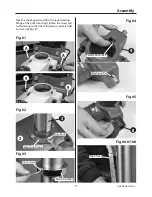
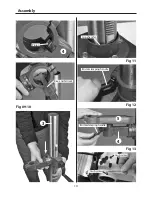
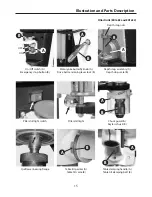
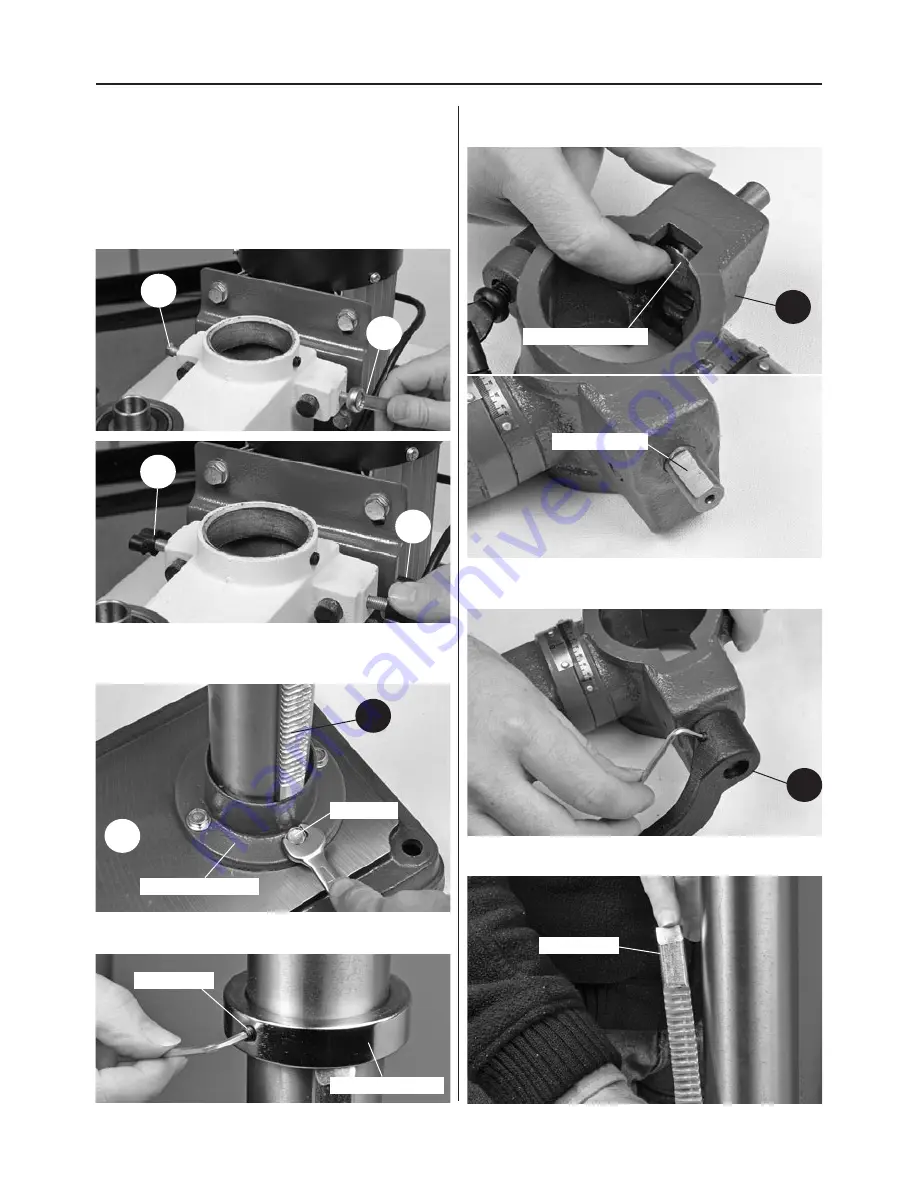
Fig 01
A
A
9
9
Fig 02
Fig 03
Fig 04
Fig 05
Fig 06-07-08
Continues Over...
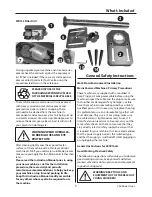
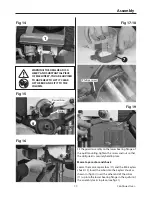
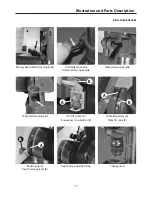
Take the chuck guard and fit to the lower bearing
flange of the quill mounting. Tighten the screw and
nut fastening so that the drill guard is securely held
in place (see fig 19).
3
2
4
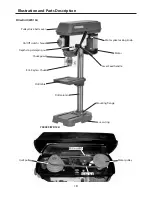
Mounting flange
Retaining collar
Top of rack
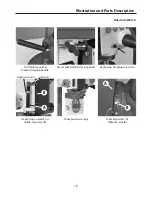
Hex Bolts
Grub screw
Worm drive shaft
Machined flat
8
Summary of Contents for ED16B2
Page 25: ...Parts Breakdown List 25 Pillar Drills 505024 ED16F 700100 ED16B2 ...
Page 27: ...Parts Breakdown List 27 Pillar Drill 700101 ED16SB ...
Page 28: ...Parts Breakdown List 28 Pillar Drill 700101 ED16SB ...
Page 29: ...Parts Breakdown List 29 Pillar Drill 700099 WD13L ...
Page 30: ...Parts Breakdown List 30 Pillar Drill 700099 WD13L ...
Page 31: ...Notes 31 ...


