-19-
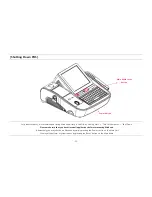
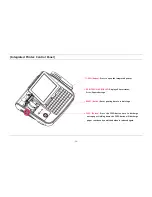
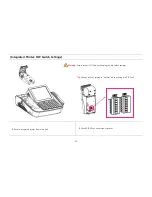
[Mini Keyboard Installation]
Warning:
Completely remove power cable during installation
1.
Put (-) driver in the grooves marked
↓
and detach dummy cover from
main unit.
2.
Connect cable to interface connector.
3.
Insert keyboard into main unit from above.
*After successful installation of O/S, an LED will light up in the upper-left
corner of the keyboard upon the POS being reset.
Summary of Contents for ONe
Page 1: ...MANUALE V1 2B ...
Page 9: ... 9 Package Contents miniO main unit User manual Power cable Driver CD Roll paper ...
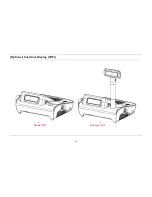
Page 10: ... 10 Optional Customer Display CDP Normal CDP Pole type CDP ...
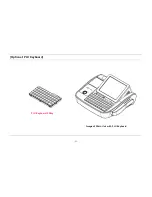
Page 11: ... 11 Optional PLU Keyboard PLU Keyboard 55Key Image of Main Unit with PLU Keyboard ...
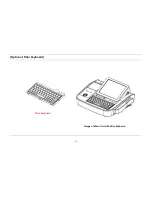
Page 12: ... 12 Optional Mini Keyboard Mini Keyboard Image of Main Unit with Mini Keyboard ...
Page 41: ... 41 Hard Disk Boot Priority Set hard disk boot device priority ...
Page 46: ... 46 3 5 Advanced Chipset Features ...
Page 49: ... 49 3 6 Integrated Peripherals Use this menu to specify settings for integrated peripherals ...
Page 50: ... 50 OnChip IDE Device ...
Page 61: ... 61 3 8 PnP PCI Configuration ...
Page 76: ... 76 Chapter 5 Motherboard 5 1 Motherboard Layout ...
Page 77: ... 77 ...

