Tutorials
•
25
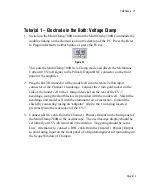
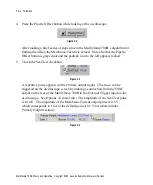
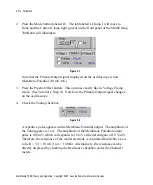
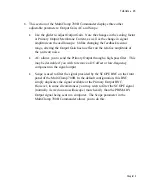
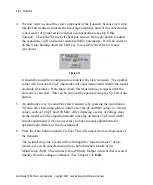
8. Place the mouse cursor over the button (dual control) opposite Cp Fast. The
cursor changes to crossed arrows. (See the figure below.) While holding down
the Shift key (to magnify the movement; see Chapter 2) use the glider, sliding
the mouse horizontally and vertically, to change the values of the time constant
and capacitance, respectively. Alternatively, you can place the mouse cursor
over each parameter display in turn, and use the glider to adjust each
individually.
Figure 3.13
Notice that you can change the amplitude and, to a lesser extent, the decay time
constant of the transients on the oscilloscope. With Cp Fast capacitance set to
about 5 pF the transients should be minimized.
9. An alternative way to cancel the transients is by pressing the Auto button
opposite Cp Fast. The algorithm should find optimum values of about 5 pF and
1
µ
s. In experiments with real cells you may need to make manual fine
adjustments for optimal cancellation.
10. Sometimes an additional, slower capacitance transient is visible after canceling
the fast transient in the PATCH configuration (not to be confused with the very
slow transient that appears in the CELL configuration, discussed in Tutorial 4.)
This can be compensated using the Cp Slow controls. The PATCH setting on
the model cell has only a very minor slower transient.
Chapter 3


