background image

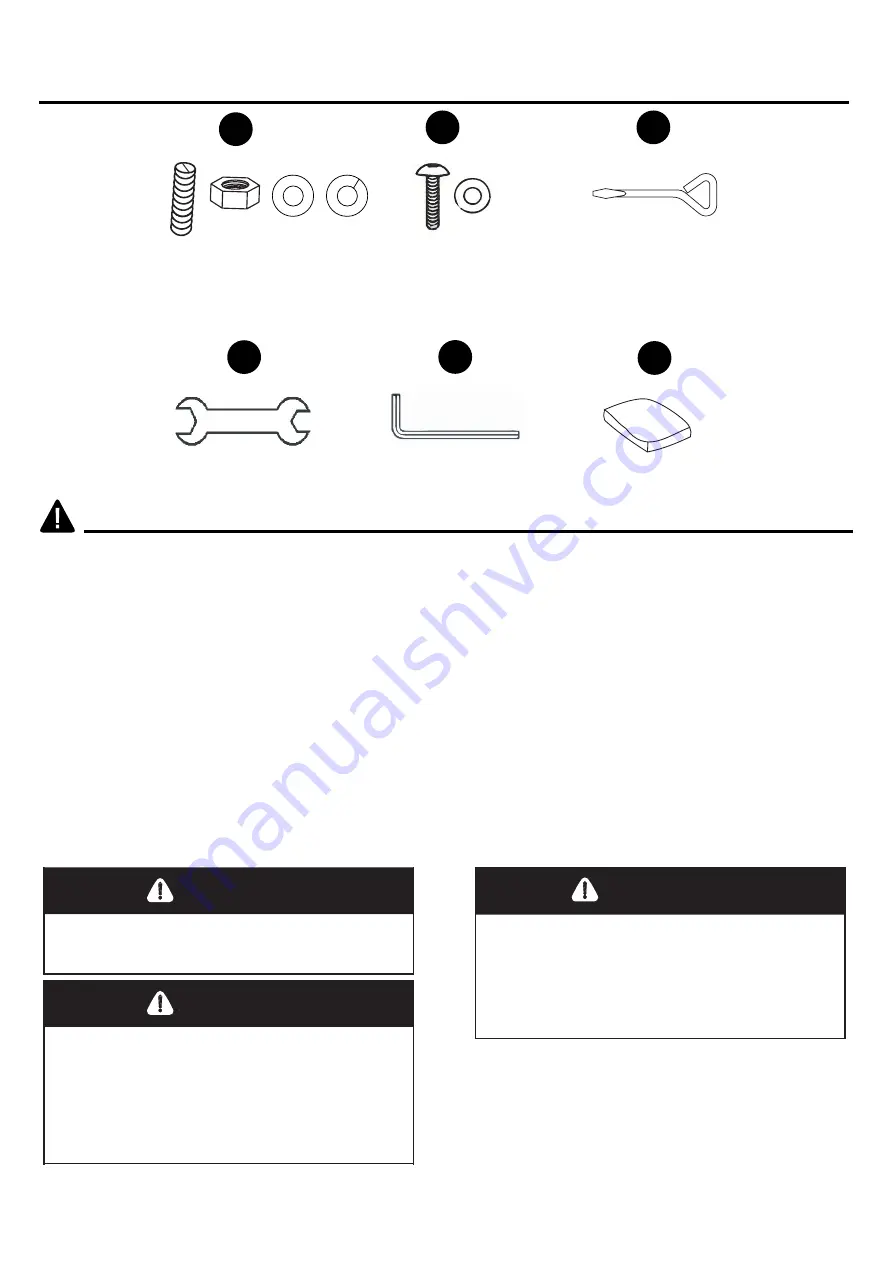
Screwdriver

Qty

.

1

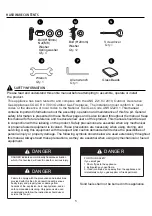
HARDWARE CONTENTS

5

L

M

N

Bolt(8*50mm)

Nut(M8)

Washer

Spring washer

Qty. 4

Bolt (6*20mm)

Washer

Qty. 12

SAFETY INFORMATION

Please read and understand this entire manual before attempting to assemble, operate or install

Solid fuels shall not be burned in this appliance.

the product.

This appliance has been tested to and complies with the ANS Z21.97-2010, Outdoor Decorative

Gas Appliances CGA CR 9 7-003 Outdoor Gas Fireplaces. The installation must conform to local

codes or the abs ence of local codes to the National Fuel Gas Code. ANS IZ223.1.

This manual

contains important information about the assembly, operation and maintenance of this fire pit. General

safety information is presented in these first few pages and is also located throughout the manual. Keep

this manual for future reference and to educate new users of this product. This manual should be read

in conjunction with the labeling on the product. Safety precautions are essential when any mechanical

or propane fueled equipment is involved. These precautions are necessary when using, storing, and

servicing. Using this equipment with the respect and caution demanded will reduce the possibilities of

personal injury or property damage. The following symbols shown below are used extensively throughout

this manual. Always heed these precautions, as they are essential when using any mechanical or fueled

equipment.

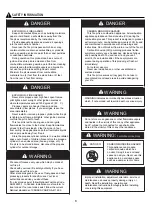
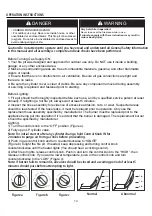
DANGER

DANGER

DANGER indicates an imminently hazardous situation

which, if not avoided, will result in death or serious injury.

FOR YOUR SAFETY

If you smell gas:

1. Shut off gas to the appliance.

2. Extinguish any open flame.

3. If odor continues, keep away from the appliance and

immediately call you gas supplier or fire department.

DANGER

Failure to comply with the precautions and instructions

provided with this fire pit can result in death, serious

bodily injury and property loss or damage from

hazards of fire, explosion, burn, asphyxiation, and/or

carbon monoxide poisoning. Only persons who can

understand and follow the instructions should use or

service this fire pit.

O

Wrench

Qty. 1

P

Allen wrench

Qty. 1

Q

Glass Beads

Summary of Contents for FS-1212-T-10

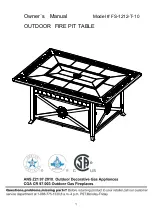
Page 1: ...OUTDOOR Model FS 1212 T 10 FIRE PIT TABLE Owner s Manual...

Page 2: ...x to dry for a few minutes Remove residue and polish surface with a clean cloth Oxidation can also be a problem metal painted surfaces since the outermost layers of paint are constantly exposed to air...

Page 3: ...y car wax prior using If this process is done every few months it will protect your furniture for years to come Powder coating is a type of coating that is applied as a free flowing dry powder The mai...

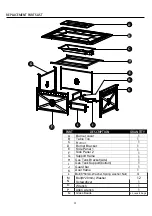
Page 4: ...ner 1 Burner Bracket 1 1 1 1 1 1 1 1 4 12 1 1 1 G H I J K F Side Panel 1 Side Panel 2 Support frame Gas Tank Bracket side Gas Tank Support bottom Door frame Bolt 8 50mm Washer Spring washer Nut Bolt 6...

Page 5: ...ntial when any mechanical or propane fueled equipment is involved These precautions are necessary when using storing and servicing Using this equipment with the respect and caution demanded will reduc...

Page 6: ...nd heat producing products for specific uses Your local authorities can advise you about these If no local codes exist follow National Fuel Gas Code ANSI Z223 1 In Canada installation must conform to...

Page 7: ...ay from these surfaces to avoid burning skin or igniting clothing Carefully supervise young children when in the vicinity of the fire pit Do not hang clothing or any other flammable materials from the...

Page 8: ...5 All air circulation passages are clear 16 Children and adults should be alerted to the hazards of high surface temperatures and should stay away to avoid burns or clothing ignition 17 Young children...

Page 9: ...re the s M side ake E F is installed panel with the hole as in on the bottom 2 Using M Bolts 6 20mm and Washers M6 to connect the H Gas Tank Bracket and Gas Tank Suppor to the Gas tank Bracket t I to...

Page 10: ...Washer Spring washer aligned with Nut M8 Put the Burner Bracket D on the unit E F G K Attach the 4 Bolt 8 50mm L to the corners of the Table Top B Then align the Bolts with the holes in the Burner Br...

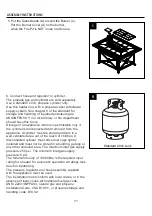
Page 11: ...are a out of the reach of children A disconnected cylinder must have dust caps tightly installed and must not be stored in a building garage or any other enclosed area The maximum inlet gas supply pre...

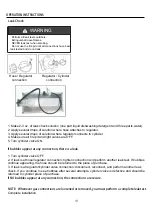
Page 12: ...he cylinder valve Never connect an unregulated propane cylinder to the heater Attach regulator to cylinder Complete attachment Install cylinder Do not store a spare LP gas cylinder under or near this...

Page 13: ...continue appearing the hose should be returned to the place of purchase 3 If leak is at regulator cylinder valve connection disconnect reconnect and perform another leak check If you continue to see b...

Page 14: ...replaced prior to operation Only use the replacement hose assembly specified by manufacturer The burner must be replaced prior to the appliance being put into operation if it is evident that the burne...

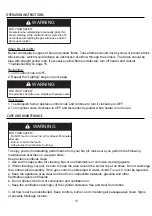
Page 15: ...pit will be hot after use Handle with extreme care CARE AND MAINTENANCE WARNING FOR YOUR SAFETY Do NOT touch or move fire pit for at least 45 minutes after use Burner is hot to the touch Allow burner...

Page 16: ...rner Storage Between uses Turn Control Knob OFF Disconnect LP source Store fire pit upright in an area sheltered from direct contact with inclement weather such as rain sleet hail snow dust and debris...

Page 17: ...n ON position Gas pressure is low Control knob fully ON Dirt or film on burner Blockage in burner Remove blockage and clean burner inside and outside Check burner and orifices for blockage Clean burne...

Page 18: ...18...
Reviews: