Put it into Operation
DUO DMX
Gateway
12 b.a.b-technologie gmbh
DUO DMX
Gateway
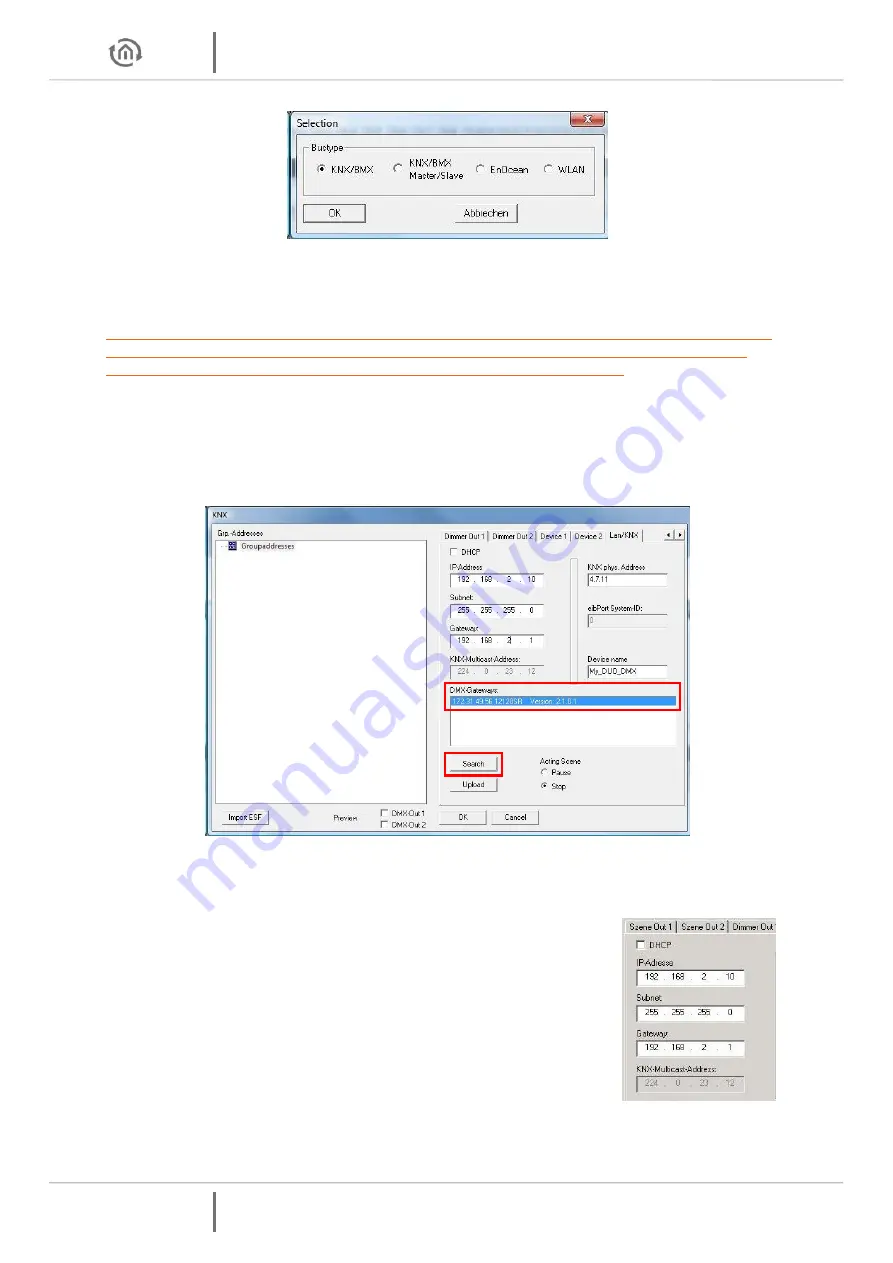
Figure 6: DMX-Configurator - device Selection
Depending on your selection, four different configuration windows are made available. For a detailed
description, please read the
section on “Expansions
”.
Note: For the initial commissioning it is of primary importance that you introduce the DUO DMX
GATEWAY with the aid of an SD card into the same network area as your PC. In the sequence
below, you can transfer all other configuration data easily via the network.
Retrieve the network settings of the device as follows:
When selecting “
KNX/BMX
“ and “
KNX/BMX Master/Slave
“ click on the “
LAN/KNX
“ tab.
When selecting “
EnOcean
“, click on the “
LAN/EnOcean
“ tab.
When selecting “
WLAN
“, click on the “
WLAN
“ tab.
The diagram below shows a sample configuration for “
KNX/BMX
“.
Figure 7: DMX-Configurator - Window LAN/KNX
Below the “DMX Gateways“ field, click on the “Search“ button. This displays all DUO
DMX
GATEWAYs to be found in the network, regardless of the IP addresses of the local PCs.
on the basis of the search result (the displayed IP address) whether
adaption of the IP address of the DUO
DMX
GATEWAY is necessary or
If an adaptation is necessary, make the necessary settings in the
fields provided for this purpose (“
IP address
“, “
Subnetwork
“,
“
Gateway
“).
Then close the “Expansion” window again and save the project
using the “File” – “Save as” menu option (so that you can expand it
at a later stage).
Figure 8: Adapt network settings


