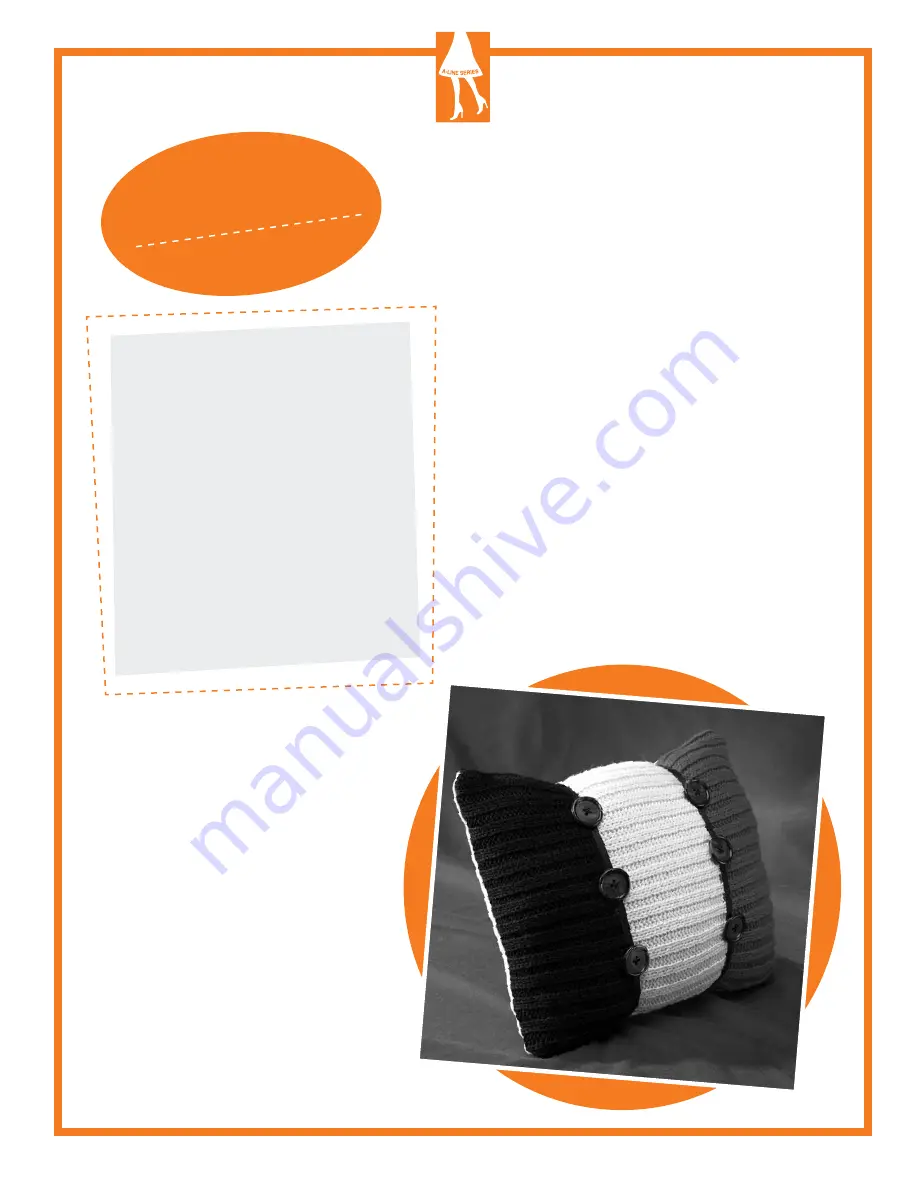
background image

Maria’s Pillow

Are  you  decorating  your  first  home  or  want 

to add some flair to your family room? Here's 

an  idea  that  won’t  damage  your  budget.  This 

accent pillow can be created by recycling those 

forgotten items in your closet!

6.  With the right sides of the 15" x 12" strips 

together, stitch the three sections together to 

form the pillow front piece.

7.  Thread the tapestry needle with the ribbon. 

Tie a knot in the end of the ribbon. Sewing 

long stitches, stitch the ribbon through the 

sweater fabric covering the seam. Tie a knot 

at the end to secure. 

8.  Repeat for the other seam.

9

Instructions:

1.  Fuse three 6” x 13” pieces of interfacing 

to the wrong side of the sweater fabric 

(following the manufacturer's directions).

2.  Cut three 5” x 12” strips from the interfaced 

section of the sweaters alternating the 

colors or the direction of the weave/texture 

of the fabric.

3.  Then fuse one 16” x 13” piece of 

interfacing to the wrong side of the sweater 

fabric for the pillow back.

4.  Cut one piece 15” x 12” for the pillow back 

from the previous interfaced sweater fabric.

5.  Thread the Baby Lock Maria sewing 

machine with all-purpose thread.

Skill Level: Beginner 

Supplies:


• Baby Lock Maria Sewing Machine

• 1 to 3 old sweaters or sweatshirts

• Fusible knit interfacing

• Iron and ironing board

• All-purpose thread to match 

• 6 large buttons

• 1/8” ribbon

• Hand needle 

• Tapestry needle with large eye

• Stuffing for pillow

• Scissors

• Pins

Summary of Contents for A_LINE Maria BL23A

Page 1: ...Model BL23A Getting to Know A Line Series Maria Baby Lock Consumer Helpline 800 313 4110 www babylock com...

Page 2: ...o wind your bobbin thread the machine set stitches and more Once you re familiar with your machine refer to the instructions and reference guide packaged with your machine for additional directions Li...

Page 3: ...With the free end of the thread held in your hand lightly press the foot control Stop the machine when it has made a few turns and cut the thread close to the hole in the bobbin This keeps it from ta...

Page 4: ...bobbin case Make sure the thread unwinds in the direction of the arrow 2 Pull the thread into the bobbin case slot 3 Draw the thread under the tension spring and into the delivery eye Leave about 4 i...

Page 5: ...n the hook cover 2 _Raise the needle by turning the handwheel towards you Take out the bobbin case by holding the latch 3 When inserting the bobbin case pull and hold the latch and then place the bobb...

Page 6: ...into needle bar thread guide on either right or left side of needle bar 6 Thread needle eye from front to back Raise take up lever to its highest position by turning the handwheel toward you Raise pre...

Page 7: ...then insert the Threader hook into the needle eye Lead the thread around threader guide and under Threader hook 3 Turn the knob in the direction of the arrow in the illustration drawing the thread loo...

Page 8: ...Turn the handwheel slowly toward you with your right hand until the needle goes down and continue turning the handwheel until the take up lever is at its highest position Lightly pull up the needle t...

Page 9: ...pe of fabric adjust the balance as follows If patterns are compressed turn the dial toward the If patterns are drawn out turn the dial toward _ 1 2 3 4 0 S S Stitch Pattern Selector Dial Raise the nee...

Page 10: ...ric along the guide line letting the fabric feed by itself For fastening the ends of seams press the reverse stitch button and sew several reverse stitches 3 Raise the presser foot and remove the fabr...

Page 11: ...ree 6 x 13 pieces of interfacing to the wrong side of the sweater fabric following the manufacturer s directions 2 Cut three 5 x 12 strips from the interfaced section of the sweaters alternating the c...

Page 12: ...on in place The holes in the button should align with the slot of the foot 11 Stitch several times repeat for remaining holes on a four hole button 12 Repeat this process until all six buttons are sec...

Reviews: