


Cutting Blade Locking Dial
Thread Cutter
Presser Foot Pressure Adjustment
Snap-On Presser Foot
W h en no t rim m ing is d es ired , as w h en s t it c h ing on a f old , rot at e t h e
c ut t ing b lad e loc k ing d ial c loc k w is e t o t h e L O C K pos it ion.
T h e c ut t ing b lad e no long er m ov es up and d ow n, b ut rem ains in it s
low ered pos it ion. T o re- eng ag e t h e c ut t ing b lad e, t urn t h e c ut t ing b lad e
loc k ing d ial h alf of a t urn c ount er- c loc k w is e. T h e b lad e w ill s t art m ov ing
aut om at ic ally w h en you s t art s erg ing .
T h ere is a t h read c ut t er loc at ed on t h e lef t s id e of your A c c laim .
A t t h e end of a s eam , s ew of f t h e f ab ric ed g e and c ont inue s ew ing t o
c reat e a 5 - 6 inc h ( 1 2 . 5 - 1 5 c m ) t h read c h ain.
Bring the chain of thread up and from the back to front through the
t h read c ut t er.
T h e pres s er f oot pres s ure h as b een pres et at t h e f ac t ory and rarely
needs adjustment. You may fi nd it necessary, however, to decrease the
pres s ure f or t h ic k f ab ric s or inc reas e pres s ure f or t h in f ab ric s t o f eed
more smoothly under the foot. Turn the presser foot pressure adjust-
m ent d ial on lef t s id e of t h e m ac h ine.
To increase pressure, turn the pressure adjusting dial counterclockwise.
T o d ec reas e pres s ure, t urn t h e d ial c loc k w is e.
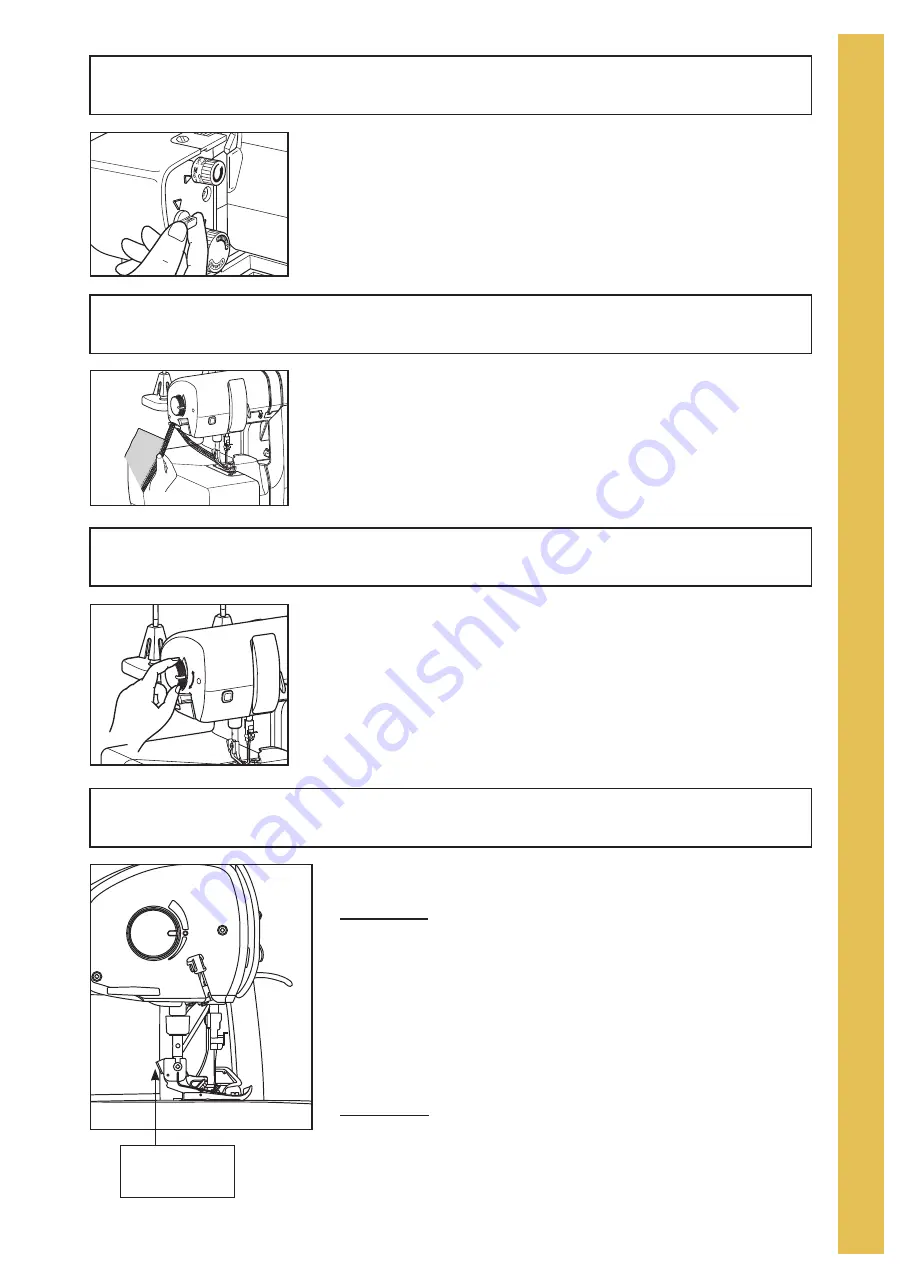
T h e A c c laim h as t h e c onv enienc e of a s nap- on pres s er f oot s ys t em .
To Release:
1 . R ais e t h e pres s er f oot lev er t o h ig h es t pos it ion.
2 . L oc k t h e c ut t ing b lad e d ow n.
3 . R ais e t h e need les t o t h eir h ig h es t pos it ion.
4 . P us h t h e pres s er f oot releas e lev er loc at ed at t h e b ac k of t h e
pres s er f oot h old er.
5. Slide presser foot slightly toward you and carefully turn the
b ac k s ec t ion of f oot c loc k w is e 9 0 d eg rees .
6. Slide the presser foot to the rear to remove.
To Replace:
1 . R ais e t h e pres s er f oot lev er.
2 . L oc k t h e c ut t ing b lad e d ow n.
3 . R ais e t h e need les t o t h e h ig h es t pos it ion.
4. Slide the foot from the left to right.
5 . A lig n t h e b ar of t h e f oot w it h t h e g roov e in t h e h old er.
6 . L ow er t h e pres s er f oot lev er t o s nap pres s er f oot int o plac e.
L
R
L
R
L
R
L
R
L
R
L
R
L
R
L
R
Presser Foot
R eleas e L ev er
9
O
V
E
R
V
I
E
W


