


4-Thread Overedging
Overlock Seam
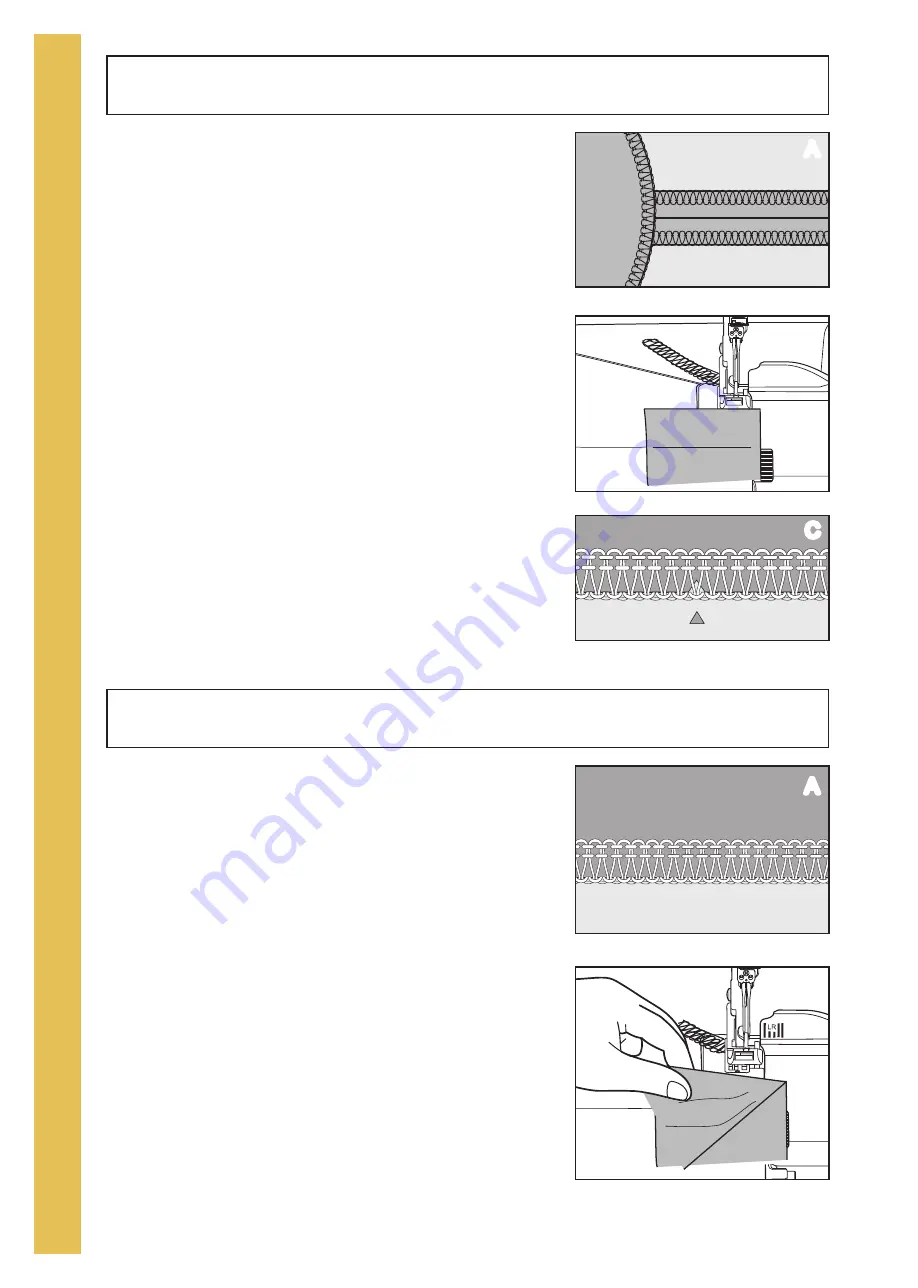
Overedging to finish facings, hems and seams before construc-
t ion, is one of t h e m os t b as ic us es of a s erg er, s uc h as m ak ing
a garment or project with 5/8 inch (16mm) pressed open seams.
(fig. A)
T o ov ered g e, plac e t h e s ing le layer of f ab ric in f ront of t h e pres s -
er f oot , alig ning t h e c ut ed g e w it h upper c ut t ing b lad e.
Begin sewing, continuing to guide the fabric along the blade.
T h e ed g e of t h e f ab ric s h ould b e t rim m ed , b ut not c ut aw ay.
T h en s ew t h e s eam s on your c onv ent ional s ew ing m ac h ine and
press them open as usual. (fig. B)
Because notches would be cut away in this process, mark them
before sewing with “V” snips just inside the seam allowance or
with a water-soluble fabric marker. (fig. C)
Note:
A 2 - t h read ov erloc k or 3 - t h read ov erloc k c an als o b e
used with this technique.
For garments or projects that do not require conventional
pressed-open seams, you can stitch and finish the seam in
one operation and then press the seams to one side. (fig.A)
A 4 or 3-thread seam is strong, yet it provides “give” or flexi-
b ilit y ac c ord ing t o t h e need s of t h e f ab ric .
P lac e t w o layers of f ab ric rig h t s id es t og et h er.
Us e t h e m ark s on your s erg er’ s f ront c ov er t o alig n t h e f ab ric
f or t h e d es ired s eam w id t h .
K eep your eye on t h e f ab ric ed g e t o g uid e it t o t h e appropriat e
mark. (fig. B)
D o not w at c h t h e need le.
I f you g uid e t h e f ab ric ac c urat ely, t h e need le w ill s eam in t h e
c orrec t plac e aut om at ic ally.
Note:
For most seaming, pins are unnecessary because the
s erg er f eed s t h e f ab ric ev enly.
I f you need pins , plac e t h e pins parallel t o t h e s eam line
out s id e t h e s eam allow anc e t o av oid d am ag ing t h e
b lad es .
L
R
L
R
L
R
L
R
L
R
A
A
B
B
C
2 4
4
T
H
R
E
A
D
O
V
E
R
L
O
C
K


