CREATING CUTWORK
15
b
Securely hoop the fabric with the stabilizer
attached, and then attach the embroidery
frame to the machine.
a
Touch
, and then press the start/
stop button to start embroidering.
→
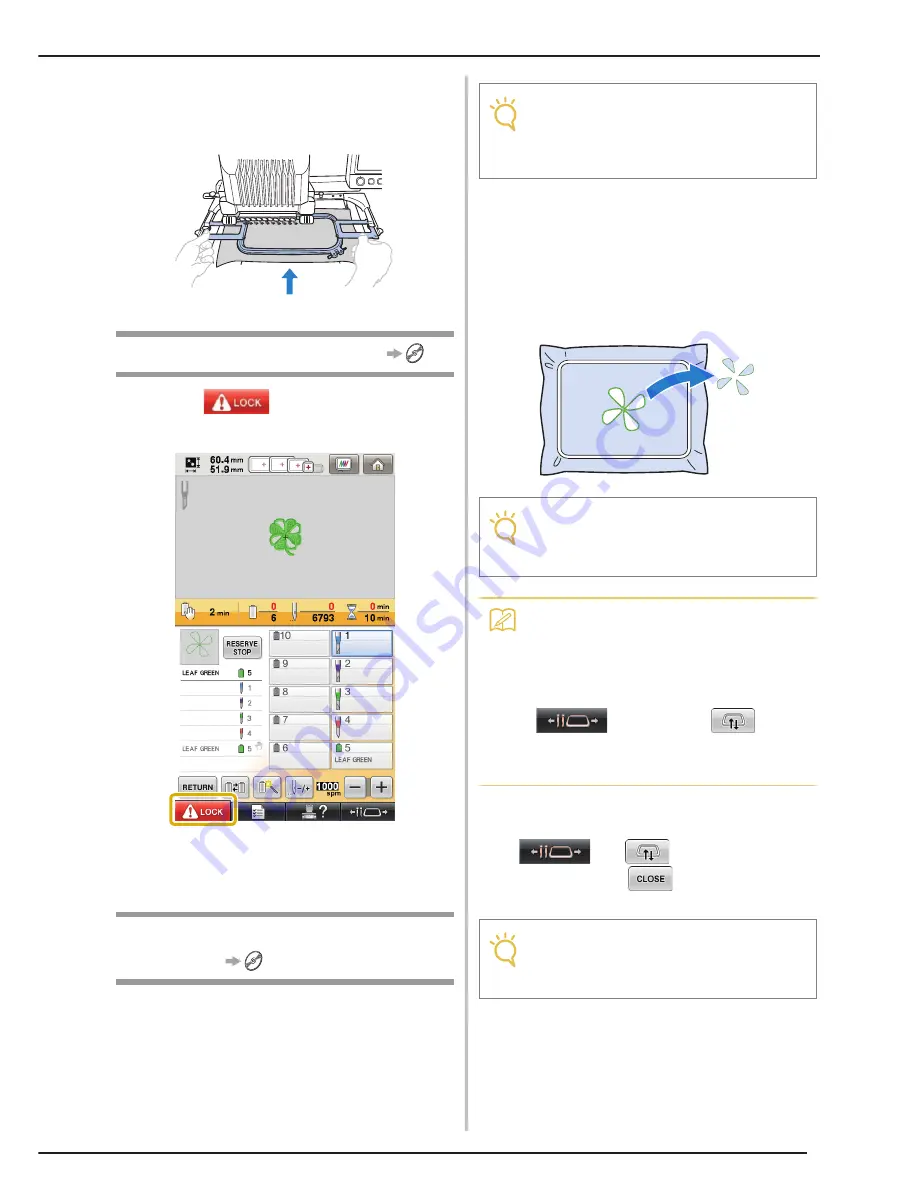
After the outlines of the cutout areas are sewn, the
areas will be cut with the cutwork needles. After
cutting with the cutwork needles, the machine will
stop.
After cutting, place the enclosed water-soluble
stabilizer or similar product on the fabric, if
necessary, and then embroider.
a
Remove the embroidery frame.
b
Remove the fabric cut outs created using
the cutwork needles.
Depending on the type of fabric that is used, some
areas may not be fully cut. Use tweezers and scissors
to carefully remove the cutout pieces without
stretching the fabric.
c
Reattach the embroidery frame, or if you
have moved the frame toward you using
and
on the 10-needle
machine, touch
to move it back into
position.
Embroidering and Cutting
Attaching Water-Soluble
Stabilizer
2
2
2
2
Note
• For details on the patterns requiring water-
soluble stabilizer, refer to “Patterns
requiring water-soluble stabilizer” on
page 6.
Note
• When removing the cutout pieces, do not
remove the fabric from the embroidery
frame.
Memo
• If the cut edges will be sewn, for example,
with satin stitching, use scissors to remove
excess threads which will create a cleaner
finish.
• On the 10-needle machine, touch
, and then press
to move
the embroidery frame toward you so that
the fabric can be cleaned up without
removing the embroidery frame.
Note
• Make sure not to replace the embroidery
frame upside down, otherwise the pattern
will become misaligned.
Summary of Contents for BNCW
Page 1: ......
Page 35: ...English 111 001...


