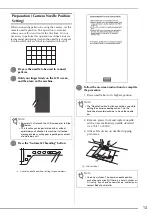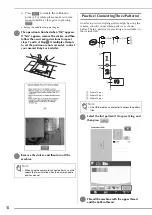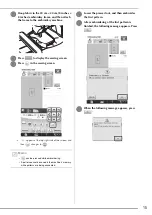
21
w
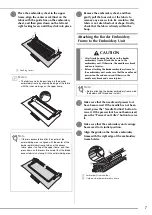
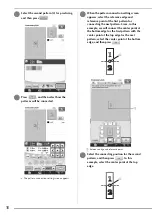
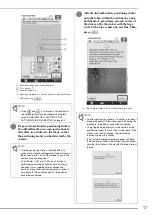
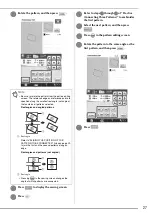
Select the connecting position for the third
pattern, and then press
. In this
example, we will select the right point of the
top edge for the third pattern.
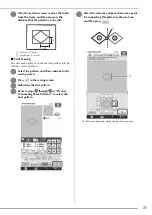
• Pattern rotates automatically when corner
position is selected.
a
Reference edge and reference point
b
Second pattern (2)
c
Third pattern (3)
→
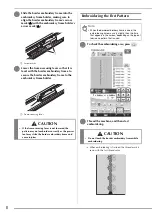
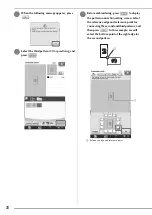
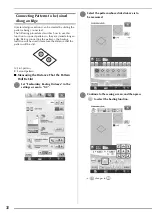
Message appears on screen and carriage will move
after pressing
.
x
Follow the on-screen instructions to perform
steps
.
y
Lower the presser foot, and then embroider
the third pattern.
→
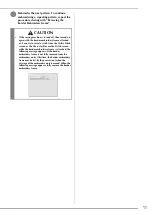
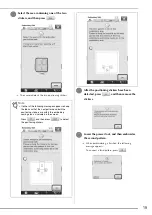
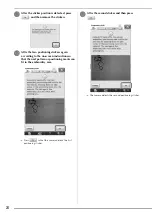
When embroidering is finished, the following
message appears. When finished connecting
patterns, press
.
→
After embroidering is finished,
is no longer
highlighted or located at the top right of LCD screen.
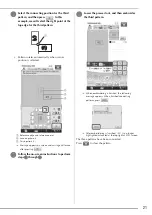
The three patterns have been connected.
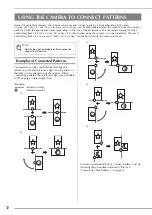
Press
to clear the pattern.
b
a
c
Summary of Contents for Ellisimo & Ellisimo BLSO-BF2
Page 1: ......

