background image

2

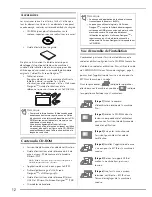
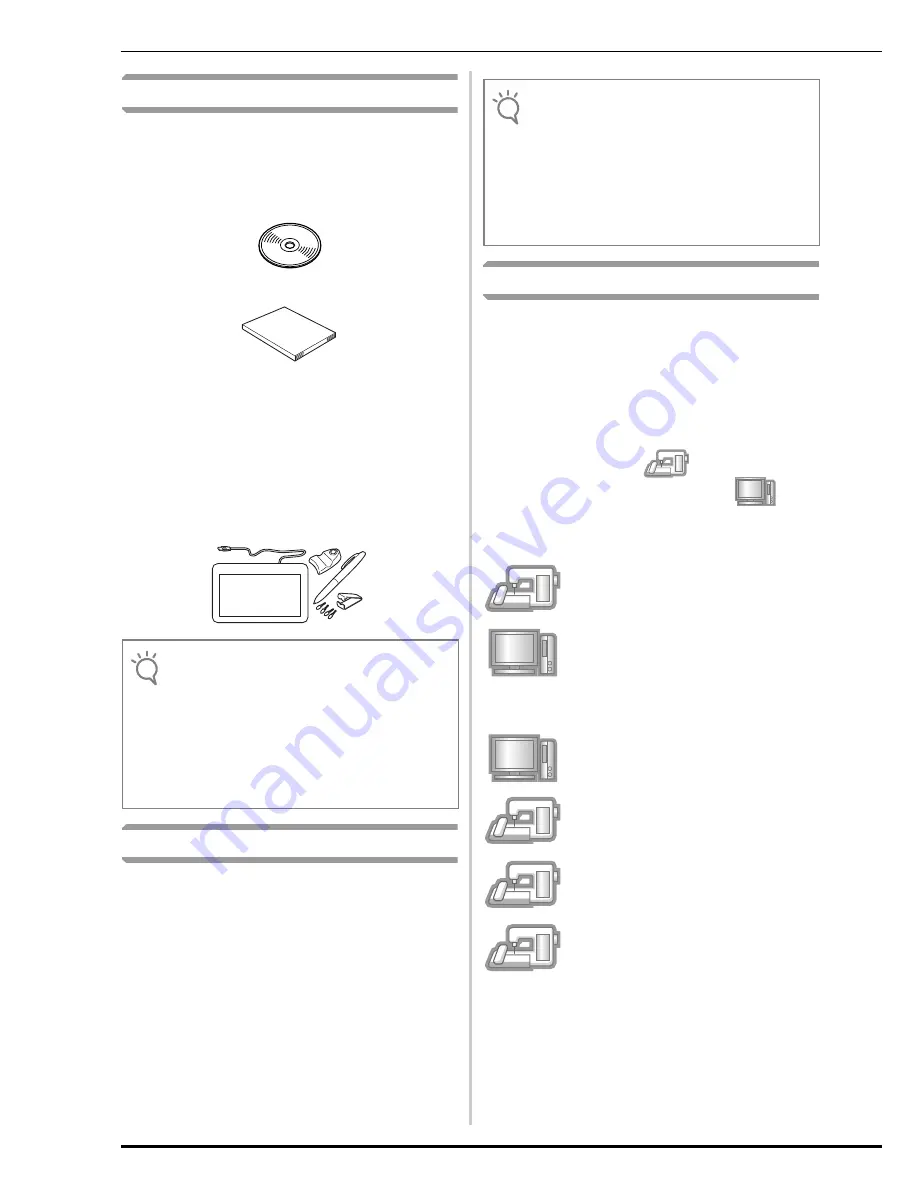
Accessories

The following items are included with your purchase. 
Please verify all contents and if anything is missing or 
damaged, contact your authorized Baby Lock retailer.

• CD-ROM (For details regarding contents, refer to 

the following.)


• Installation Guide (this guide)


In addition, this kit contains the pen tablet to expand 
the operation of your sewing machine. This pen tablet 
is designed to be used when creating your original 
embroidery pattern using the On Screen Designer

TM

.

• Pen tablet

For details on using the pen tablet, see 
“Instruction and Reference Guide” and “On 
Screen Designer

TM

 Instruction and Reference 

Guide” viewable from the disc.


Contents of CD-ROM

• Certification Key Issuing Wizard

• Ellisimo Embroidery and Sewing Upgrade

 II 

Instruction and Reference Guide (PDF)

* Adobe Reader is required for viewing and printing the 

Instruction and Reference Guide. 

• Upgrade application for KIT 

II

• “On Screen Designer

TM

” start-up file 

<OSDesign.rp7>

• Ellisimo GOLD & Ellisimo On Screen 

Designer

TM

 Instruction and Reference Guide 

(PDF)

• 10 embroidery patterns

Installation Overview

First, use the Certification Key Issuing Wizard on the 

enclosed CD-ROM to obtain a Certification Key. Then, 

use the CERTIFICATION key within the Settings screen, 

page 5, to activate the upgrade application for KIT 

II

 on 

the sewing machine.

In the procedures section, 

 indicates operations 

performed with the sewing machine and 


indicates operations performed with the computer.

[Step 1] 

Make a note of the internal 

machine identification number (No.).

[Step 2]

 Insert the CD-ROM into the 

computer’s CD-ROM drive, and then 
start the Certification Key Issuing 
Wizard.

[Step 3]

 Follow the wizard instructions 

for obtaining the Certification Key.

[Step 4] 

Install the upgrade application 

for KIT 

II

 on the sewing machine.

[Step 5] 

Remove the USB media, and 

turn the machine off and then on again.

[Step 6] 

After the upgrade has been 

successfully installed, certify the “KIT 

II

” 

in the Settings screen of the sewing 
machine.

Note

• For details on proper use of the included 

accessories see the Instruction and Reference 
Guide viewable from the disc by clicking on the 
“manual” folder and selecting your preferred 
language.
You may also view the Instruction and Reference 
Guide by clicking on the “manual_index.pdf” icon 
contained within the disc and selecting either file 
listed to the side of your preferred language.

Note

• Upgrade application data is contained in the “BLSO” 

folder.

• When using “On Screen Designer

TM

” software, copy 

the start-up file to your USB media and connect 
media to your sewing machine. For details on using 

“On Screen Designer

TM

” software, see “On Screen 

Designer

TM

 Instruction and Reference Guide” 

viewable from the disc.

Summary of Contents for Ellisimo BLSO-U2

Page 1: ......

Page 2: ...Les informations contenues dans de ce guide sont jour au moment de l impression Le contenu de ce guide et les sp cifications de ce produit peuvent tre modifi s sans avis pr alable Les exemples utilis...

Page 3: ...1 ENGLISH CONTENTS Accessories 2 Contents of CD ROM 2 Installation Overview 2 Computer Requirements 3 Installation Procedure 3...

Page 4: ...to activate the upgrade application for KIT II on the sewing machine In the procedures section indicates operations performed with the sewing machine and indicates operations performed with the compu...

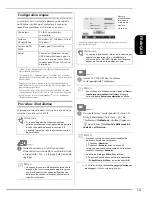
Page 5: ...lick to start the Certification Key Issuing Wizard The Select Language dialog box automatically appears Computer IBM PC or compatible computer Operating System Windows XP Windows Vista and Windows 7 C...

Page 6: ...gram upf on your computer Click Next g Type in the 15 digit CD key found on the label attached to the CD ROM envelope of the upgrade kit and then click Next If the following error message appears Chec...

Page 7: ...nal machine identification number No have been entered correctly and then repeat the procedure from step c To close the message click OK The CD Key is valid for use with only one designated internal m...

Page 8: ...computer is to be used refer to page 7 When using USB media to perform the installation m Copy Upgrade application for KIT II upf from the CD ROM to the USB media If you downloaded the latest program...

Page 9: ...m Press n Plug the USB cable connectors into the corresponding USB port connectors for the computer and for the machine Removable Disk appears in Computer My Computer Note When the message Upgrade co...

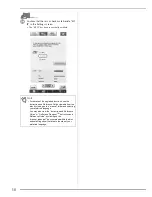
Page 10: ...hine off then on again s Display page 5 of the Settings screen t Press in the Settings screen Note Upgrade application data is contained in the BLSO folder The Connected to PC Do not disconnect the US...

Page 11: ...he following screen appears Turn off the sewing machine and then turn on again Note If the following screen appears type in the 10 digit number that appears beside No at the bottom of the screen in st...

Page 12: ...struction and Reference Guide viewable from the disc by clicking on the manual folder and selecting your preferred language You may also view the Instruction and Reference Guide or On Screen DesignerT...

Page 13: ...11 FRAN AIS TABLE DES MATI RES Accessoires 12 Contenu du CD ROM 12 Vue d ensemble de l installation 12 Configuration requise 13 Proc dure d installation 13...

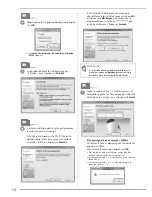
Page 14: ...l cran des r glages page 5 pour activer l application de la mise niveau pour le KIT II sur la machine coudre Dans les proc dures indique les op rations effectu es avec la machine coudre et indique le...

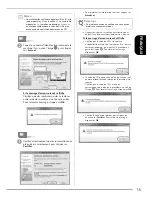
Page 15: ...uage S lectionner une langue s affiche automatiquement Ordinateur PC IBM ou ordinateur compatible Syst me d exploitation Windows XP Windows Vista et Windows 7 Lecteur de CD ROM Requis pour l installat...

Page 16: ...s enregistrez le programme de mise niveau upf sur votre ordinateur Cliquez sur Suivant g Tapez le code du CD 15 chiffres figurant sur l tiquette appos e sur l enveloppe du CD ROM du kit de mise niveau...

Page 17: ...fication interne de la machine No ont t entr s correctement puis r p tez la proc dure partir de l tape c Pour fermer le message cliquez sur OK Le code du CD ne peut tre utilis qu avec un seul num ro d...

Page 18: ...ion du support USB pour ex cuter l installation m Copiez le fichier Application de mise niveau vers le KIT II upf du CD ROM sur le support USB Si vous avez t l charg le programme le plus r cent lors d...

Page 19: ...ur n Branchez les connecteurs du c ble USB dans les connecteurs de port USB correspondants de l ordinateur et de la machine Disque amovible appara t dans Poste de travail Ordinateur Remarque Lorsque l...

Page 20: ...udre hors tension puis de nouveau sous tension s Affichez la page 5 de l cran des r glages t Appuyez sur dans l cran des r glages Remarque Les donn es d application de la mise niveau se trouvent dans...

Page 21: ...cran suivant s affiche Mettez la machine coudre hors tension puis de nouveau sous tension Remarque Si l cran suivant s affiche entrez le code 10 chiffres qui s affiche c t de No en bas de l cran l tap...

Page 22: ...ous au Guide d instructions et de r f rence disponible sur le CD ROM en cliquant sur le dossier manual et en s lectionnant votre langue Vous pouvez galement vous reporter au Manuel d instructions ou a...

Page 23: ...21 ESPA OL CONTENIDO Accesorios 22 Contenido del CD ROM 22 Introducci n a la instalaci n 22 Requisitos del ordenador 23 Procedimiento de instalaci n 23...

Page 24: ...clave CERTIFICACI N de la pantalla Ajustes p gina 5 para activar la aplicaci n de actualizaci n para el KIT II en la m quina de coser En la secci n de procedimientos indica las operaciones realizadas...

Page 25: ...cuadro de di logo Select Language Elegir idioma Ordenador PC IBM u ordenador compatible Sistema operativo Windows XP Windows Vista y Windows 7 Unidad de CD ROM Se necesita para la instalaci n Otros Co...

Page 26: ...guarde el programa de actualizaci n upf en su ordenador Haga clic en Siguiente g Escriba la clave del CD de 15 d gitos en la etiqueta pegada al sobre del CD ROM del kit de actualizaci n y a continuaci...

Page 27: ...la m quina No se han introducido correctamente y a continuaci n repita el procedimiento desde el paso c Para cerrar el mensaje haga clic en Aceptar La clave del CD solo es v lida para utilizarse con...

Page 28: ...te la p gina 27 Al utilizar un dispositivo USB para realizar la instalaci n m Copie la Aplicaci n de actualizaci n para KIT II upf desde el CD ROM hasta el dispositivo USB Si ha descargado el programa...

Page 29: ...instalaci n m Pulse n Conecte el cable USB a los correspondientes conectores USB en el ordenador y en la m quina Aparece Disco extra ble en Ordenador Mi PC Nota Cuando aparece el mensaje Actualizaci...

Page 30: ...n enci ndala de nuevo s Visualice la p gina 5 de la pantalla Ajustes t Pulse en la pantalla Ajustes Nota Los datos de la aplicaci n de actualizaci n se encuentran en la carpeta BLSO Aparece en la pant...

Page 31: ...parece la siguiente pantalla Desactive la m quina de coser y act vela de nuevo Nota Si aparece la siguiente pantalla escriba el n mero de 10 d gitos que aparece junto a No en la parte inferior de la p...

Page 32: ...ctualizadas consulte la Gu a de referencia y de instrucciones desde el disco haciendo clic en la carpeta manual y seleccionando el idioma deseado Tambi n puede consultar el Manual de instrucciones o e...

Page 33: ......

Page 34: ......

Page 35: ......

Page 36: ...English French Spanish 111 001 XF0238 001 Printed in Taiwan...

Reviews: