SEWING THE STITCHES
U
tili
ty Stit
ch
es
115
3
d
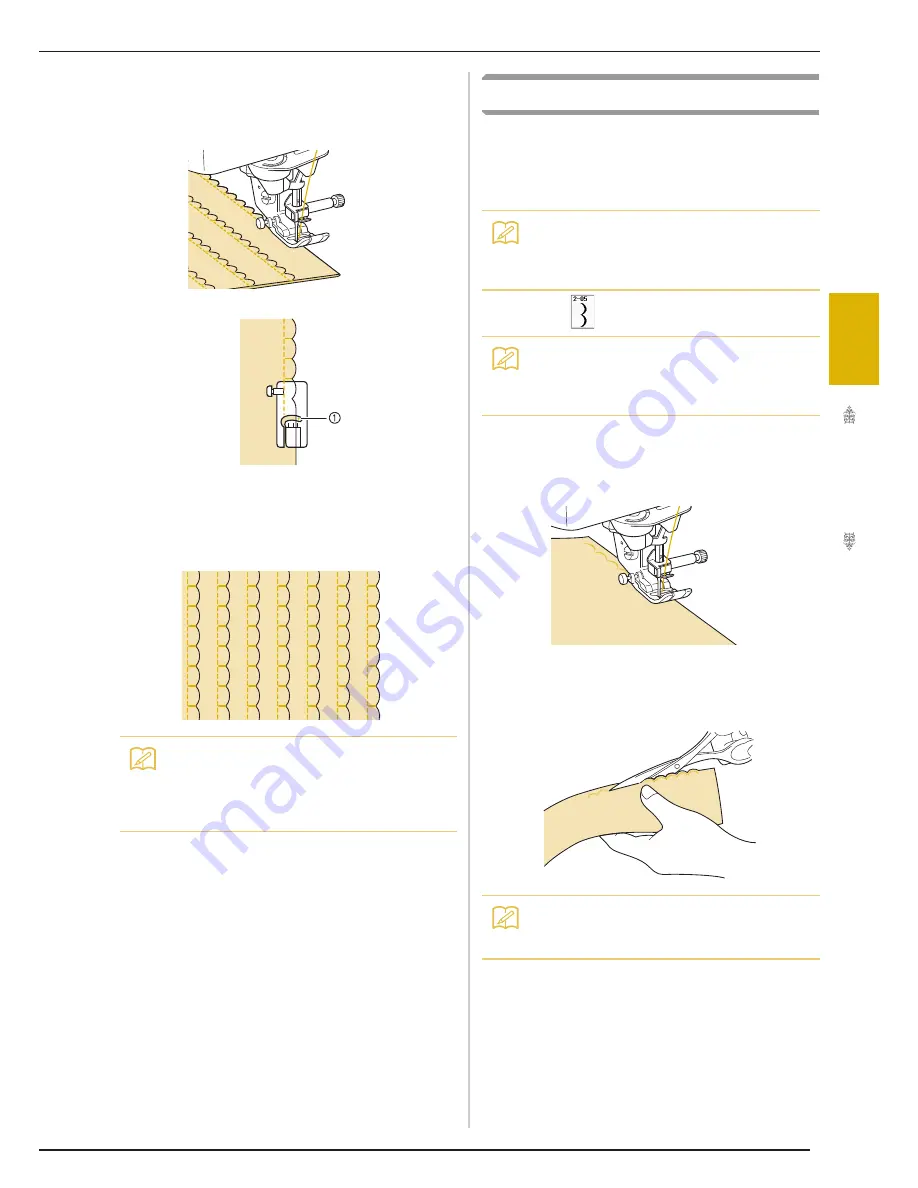
Attach presser foot “J”. Set the needle drop
point slightly off the edge of the fabric, and
start sewing.
a
Needle drop position
e
Unfold the fabric, and iron the tucks to one
side.
Scallop Stitches
This wave-shaped satin stitch is called the scallop
stitch. Use this stitch to decorate the edges of
blouse collars and handkerchiefs or use it as a hem
accent.
a
Select .
b
Attach presser foot “N”. Sew scallop
stitches along the edge of the fabric.
*
Do not sew directly on the edge of the fabric.
c
Trim along the seam, making sure not to cut
the stitches.
Memo
• To make shell tucks at the edge of a collar or
neckline, follow the pattern’s instructions
and then use this stitch to make a decorative
finish on the collar or neckline.
Memo
• A temporary spray adhesive may be neces-
sary for lightweight fabrics. Test sew
the fabric before sewing a project.
Memo
• For details on each stitch, refer to the
“STITCH SETTING CHART” at the end of
this manual.
Memo
• Use a seam sealant to secure the edges of
the scallop stitches.
Summary of Contents for Ellisimo BLSO
Page 1: ......
Page 7: ...IMPORTANT SAFETY INSTRUCTIONS v...
Page 14: ...CONTENTS xii...
Page 35: ...LCD SCREEN Getting Ready 21 1...
Page 90: ...USEFUL FUNCTIONS 76...
Page 194: ...USING THE MEMORY FUNCTION 180...
Page 267: ...USING THE MEMORY FUNCTION Embroidery 253 5 f Press o The sewing screen is displayed...
Page 300: ...EDITING PATTERNS 286...
Page 324: ...PRINT AND STITCH COMBINING EMBROIDERY PATTERNS AND PRINTED DESIGNS 310...
Page 348: ...UPGRADING YOUR MACHINE S SOFTWARE 334...
Page 361: ......
Page 362: ......
Page 363: ......
Page 364: ...X1_TaconeyE_OM_cover C M Y K...


