VARIOUS EMBROIDERING FUNCTIONS
Embr
oi
de
ry
E
dit
301
6
c
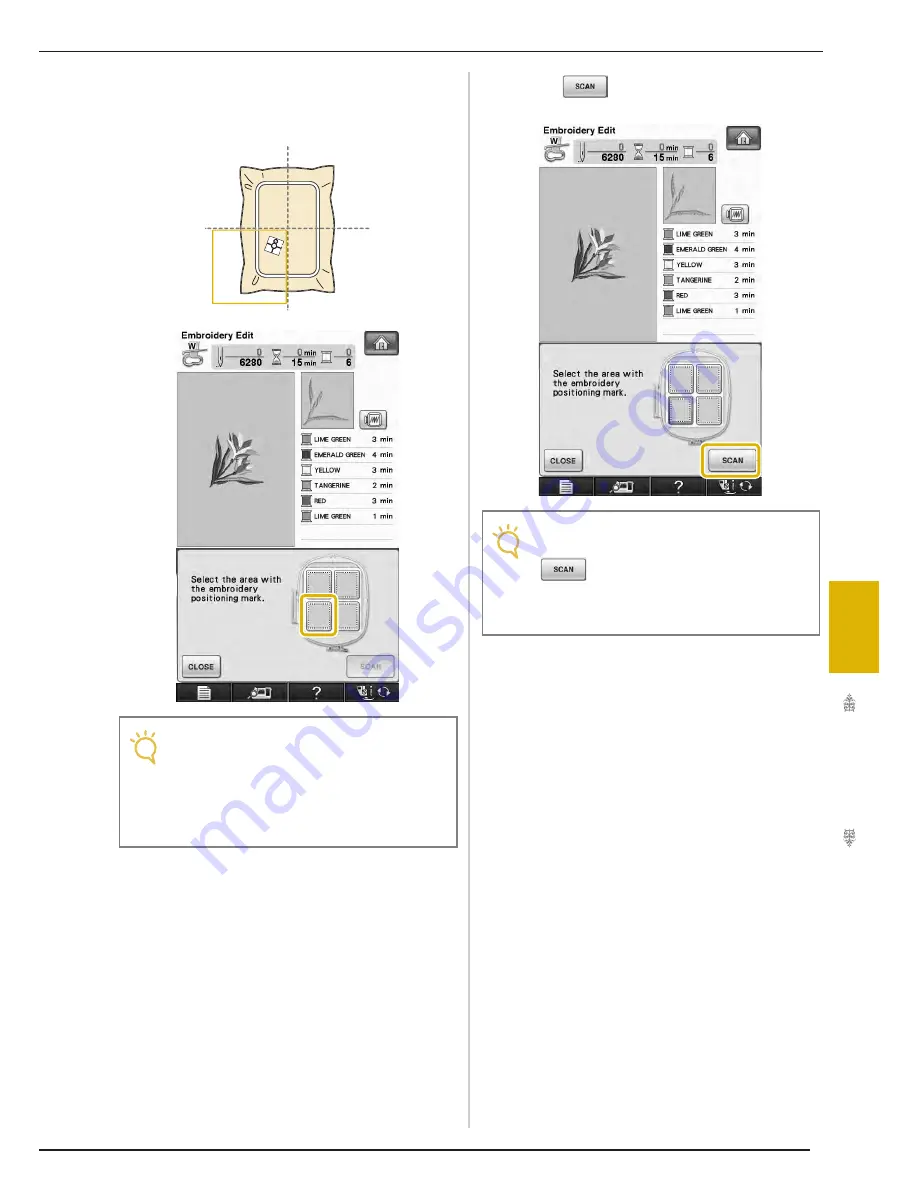
From the areas shown in the window, select
the area containing the embroidery
positioning sticker.
d
Press .
Note
• If the embroidery positioning sticker is
placed in the center of embroidery frame,
select any of the four areas.
• If the embroidery positioning sticker over-
laps two areas, select either of the two
areas.
Note
• Attach embroidery foot “W” before pressing
. The embroidery foot “W” lowers
and check the fabric thickness, to help the
built-in camera recognize the embroidery
positioning sticker.
Summary of Contents for Ellisimo BLSO
Page 1: ......
Page 7: ...IMPORTANT SAFETY INSTRUCTIONS v...
Page 14: ...CONTENTS xii...
Page 35: ...LCD SCREEN Getting Ready 21 1...
Page 90: ...USEFUL FUNCTIONS 76...
Page 194: ...USING THE MEMORY FUNCTION 180...
Page 267: ...USING THE MEMORY FUNCTION Embroidery 253 5 f Press o The sewing screen is displayed...
Page 300: ...EDITING PATTERNS 286...
Page 324: ...PRINT AND STITCH COMBINING EMBROIDERY PATTERNS AND PRINTED DESIGNS 310...
Page 348: ...UPGRADING YOUR MACHINE S SOFTWARE 334...
Page 361: ......
Page 362: ......
Page 363: ......
Page 364: ...X1_TaconeyE_OM_cover C M Y K...


