LCD SCREEN
G
etting
Re
ad
y
19
1
■
Connecting the Machine to the
Computer
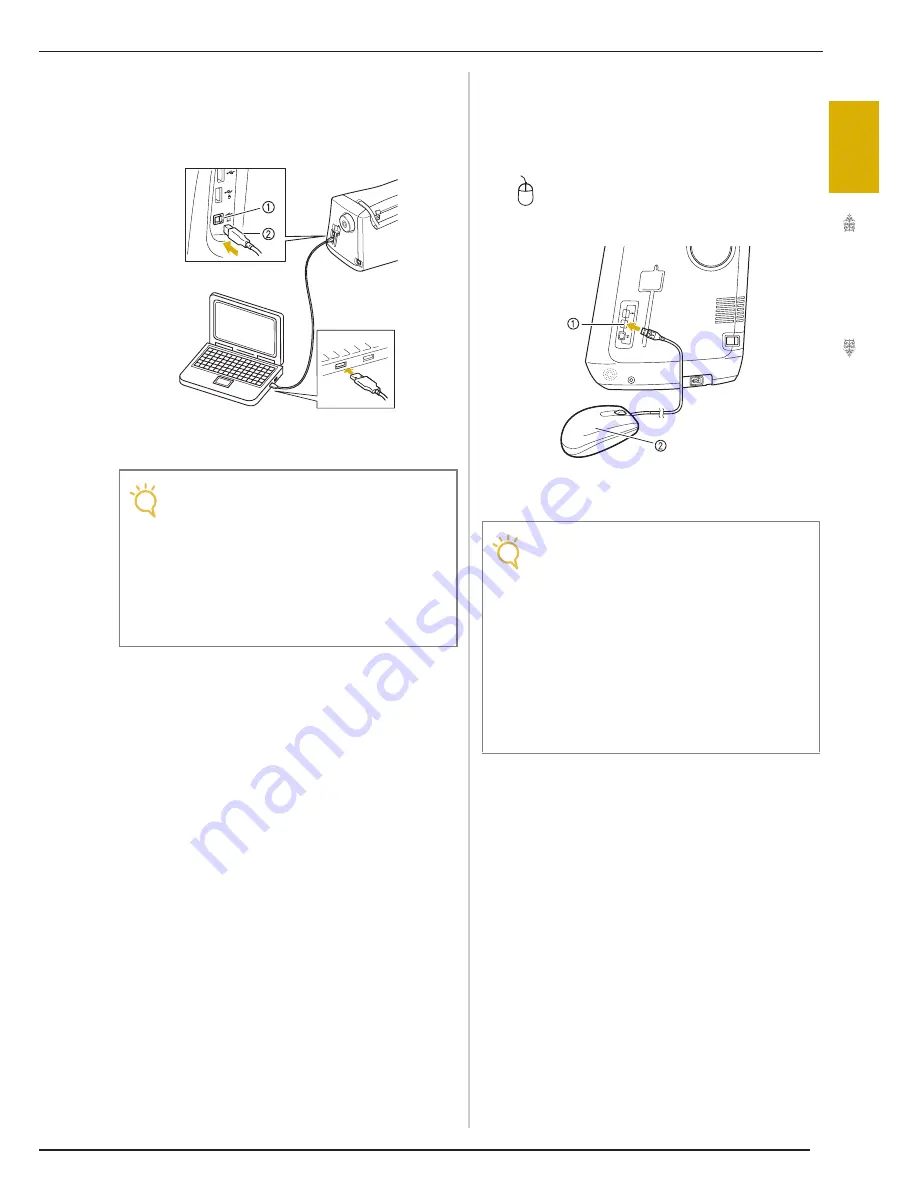
Using the included USB cable, the sewing machine
can be connected to your computer.
a
USB port for computer
b
USB cable connector
■
Using a USB Mouse
The USB mouse, connected to the sewing
machine, can be used to perform a variety of
operations in the screens.
Connect a USB mouse to the USB 1.1 port marked
with
. You can also connect a USB mouse to
the other USB port (USB 2.0).
a
USB port for mouse
b
USB mouse
Note
• The connectors on the USB cable can only
be inserted into a port in one direction. If it is
difficult to insert the connector, do not insert
it with force. Check the orientation of the
connector.
• For details on the position of the USB port
on the computer (or USB hub), refer to the
instruction manual for the corresponding
equipment.
Note
• Do not perform operations with the mouse at
the same time that you are touching the
screen with your finger or the included touch
pen.
• A USB mouse can be connected or discon-
nected at any time.
• Only the left mouse button and its wheel can
be used to perform operations. No other but-
tons can be used.
• The mouse pointer does not appear in the
camera view window, the screen saver or
the home page screen.
Summary of Contents for Ellisimo BLSO
Page 1: ......
Page 7: ...IMPORTANT SAFETY INSTRUCTIONS v...
Page 14: ...CONTENTS xii...
Page 35: ...LCD SCREEN Getting Ready 21 1...
Page 90: ...USEFUL FUNCTIONS 76...
Page 194: ...USING THE MEMORY FUNCTION 180...
Page 267: ...USING THE MEMORY FUNCTION Embroidery 253 5 f Press o The sewing screen is displayed...
Page 300: ...EDITING PATTERNS 286...
Page 324: ...PRINT AND STITCH COMBINING EMBROIDERY PATTERNS AND PRINTED DESIGNS 310...
Page 348: ...UPGRADING YOUR MACHINE S SOFTWARE 334...
Page 361: ......
Page 362: ......
Page 363: ......
Page 364: ...X1_TaconeyE_OM_cover C M Y K...


