LCD SCREEN
Ge
tting
Re
ad
y
27
1
g
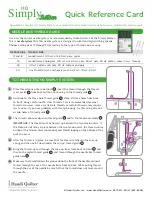
Press
to select the first image.
*
The images will appear in a list in this screen. Select
the desired number to specify the image.
h
Select the device that is connected.
*
Press
when connecting USB media to the
primary (top) USB port.
*
Press
when connecting USB media to the
center USB port.
*
Press
when connecting a computer using a
USB cable, and then copy your personal images into
“Removable Disk”, which appears on the desktop of
the computer.
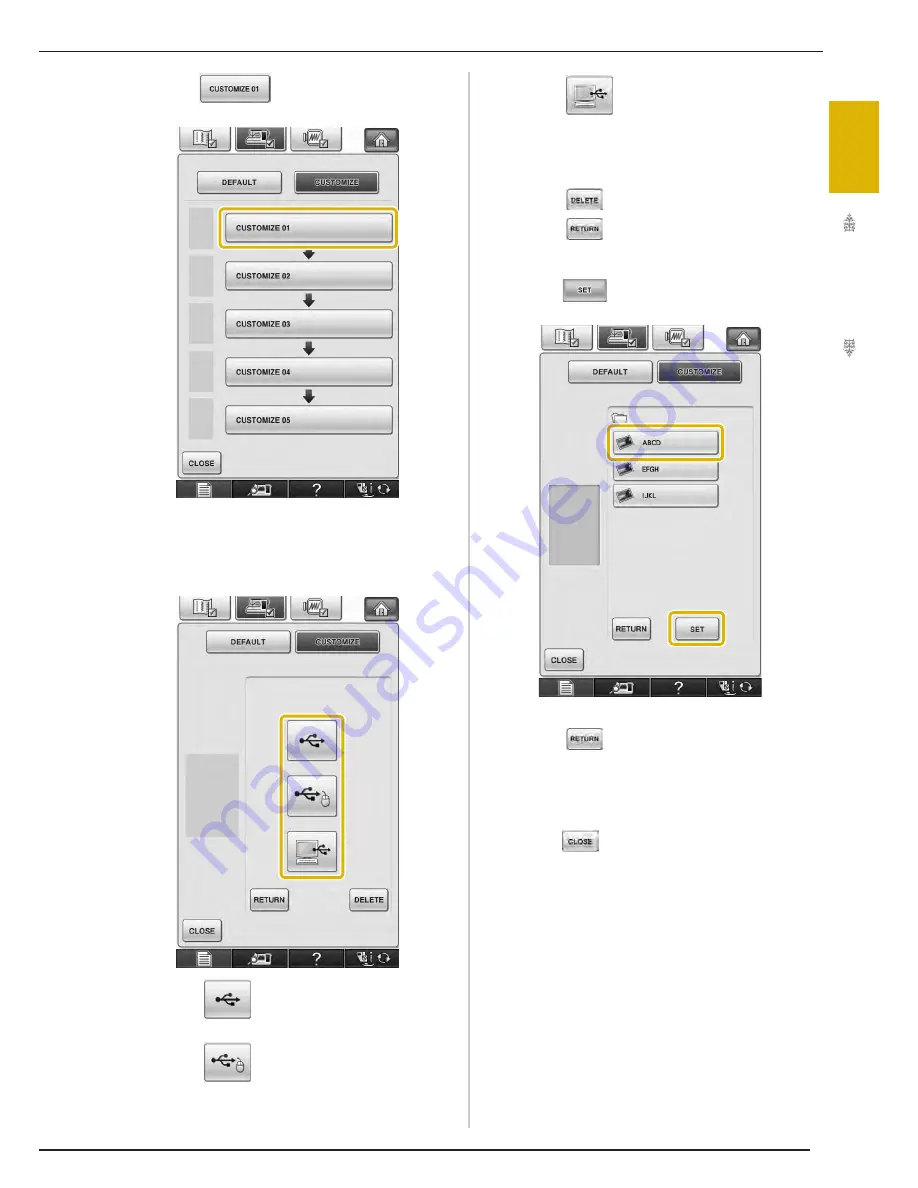
o
A list of your personal images appear on the screen.
*
Press
to delete the selected image.
*
Press
to view the previous page.
i
Press a file name to select image and then
press .
o
The selected image is stored on your machine.
*
Press
to view the previous page.
j
Repeat the procedure from step
g
to select
the remaining images.
k
Press
to return to the original screen.
Summary of Contents for Ellisimo BLSO
Page 1: ......
Page 7: ...IMPORTANT SAFETY INSTRUCTIONS v...
Page 14: ...CONTENTS xii...
Page 35: ...LCD SCREEN Getting Ready 21 1...
Page 90: ...USEFUL FUNCTIONS 76...
Page 194: ...USING THE MEMORY FUNCTION 180...
Page 267: ...USING THE MEMORY FUNCTION Embroidery 253 5 f Press o The sewing screen is displayed...
Page 300: ...EDITING PATTERNS 286...
Page 324: ...PRINT AND STITCH COMBINING EMBROIDERY PATTERNS AND PRINTED DESIGNS 310...
Page 348: ...UPGRADING YOUR MACHINE S SOFTWARE 334...
Page 361: ......
Page 362: ......
Page 363: ......
Page 364: ...X1_TaconeyE_OM_cover C M Y K...