GETTING READY
— — — — — — — — — — — — — — — — — — — — — — — — — — — — — — — — — — — — — — — — — — — —
24
e
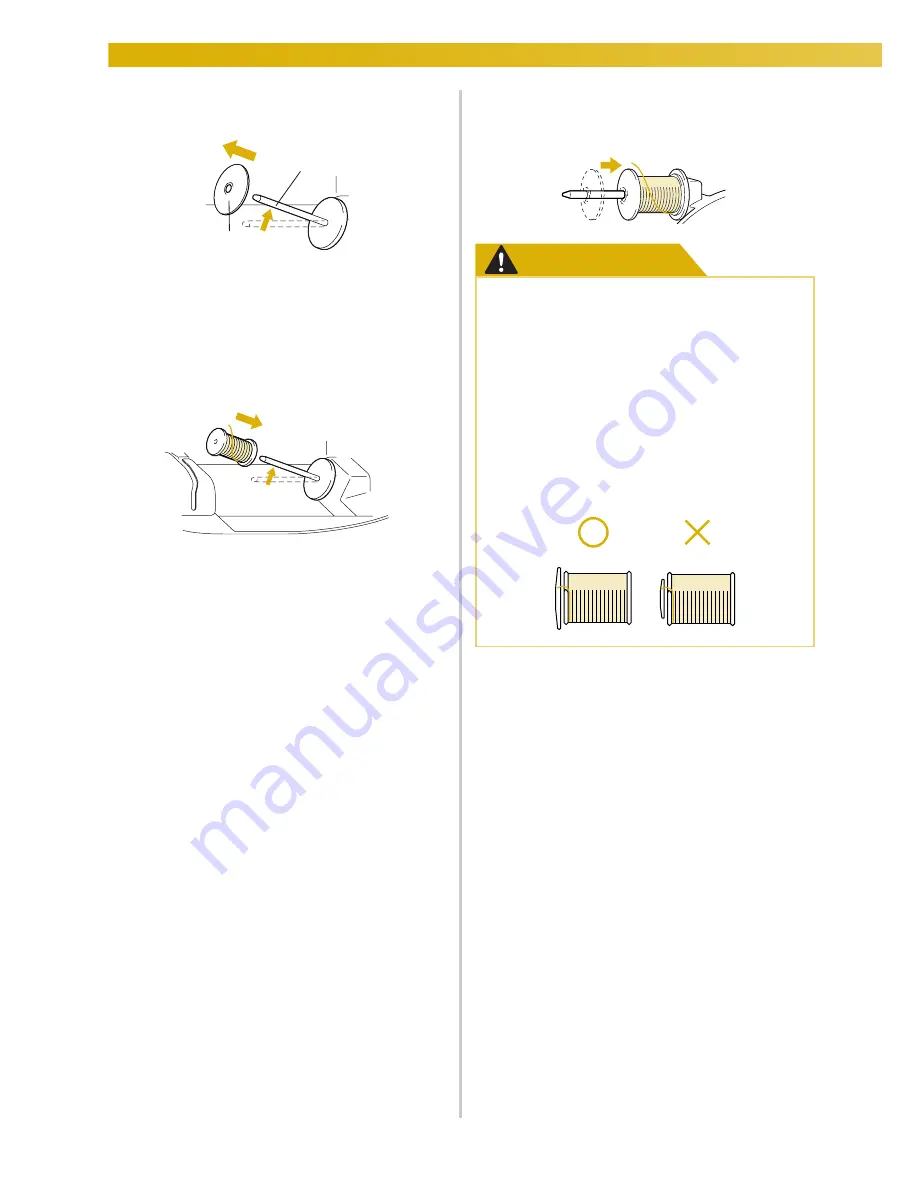
Remove the spool cap that is inserted onto the
spool pin.
a
Spool pin
b
Spool cap
f
Place the spool of thread for the bobbin onto
the spool pin.
Slide the spool onto the pin so that the spool is
horizontal and the thread unwinds to the front at the
bottom.
• If the spool is not positioned so that the
thread unwinds correctly, the thread may
become tangled around the spool pin.
g
Slide the spool cap onto the spool pin.
Slide the spool cap as far as possible to the right, as
shown, with the rounded side on the left.
CAUTION
1
2
●
If the spool or the spool cap is not
installed correctly, the thread may
become tangled around the spool pin,
causing the needle to break.
●
Three spool cap sizes are available,
allowing you to choose a spool cap that
best fits the size of spool being used. If the
spool cap is too small for the spool being
used, the thread may catch on the slit in
the spool or the needle may break.
●
Summary of Contents for Ellure (BLR)
Page 1: ......
Page 16: ...14...
Page 48: ...GETTING READY 46...
Page 126: ...124 UTILITY STITCHES...
Page 162: ...160 EMBROIDERY...
Page 179: ...English 882 U12 XD0647 051 Printed in Taiwan...


