APPENDIX
————————————————————————————————————————————————————————————————————————————
240
8
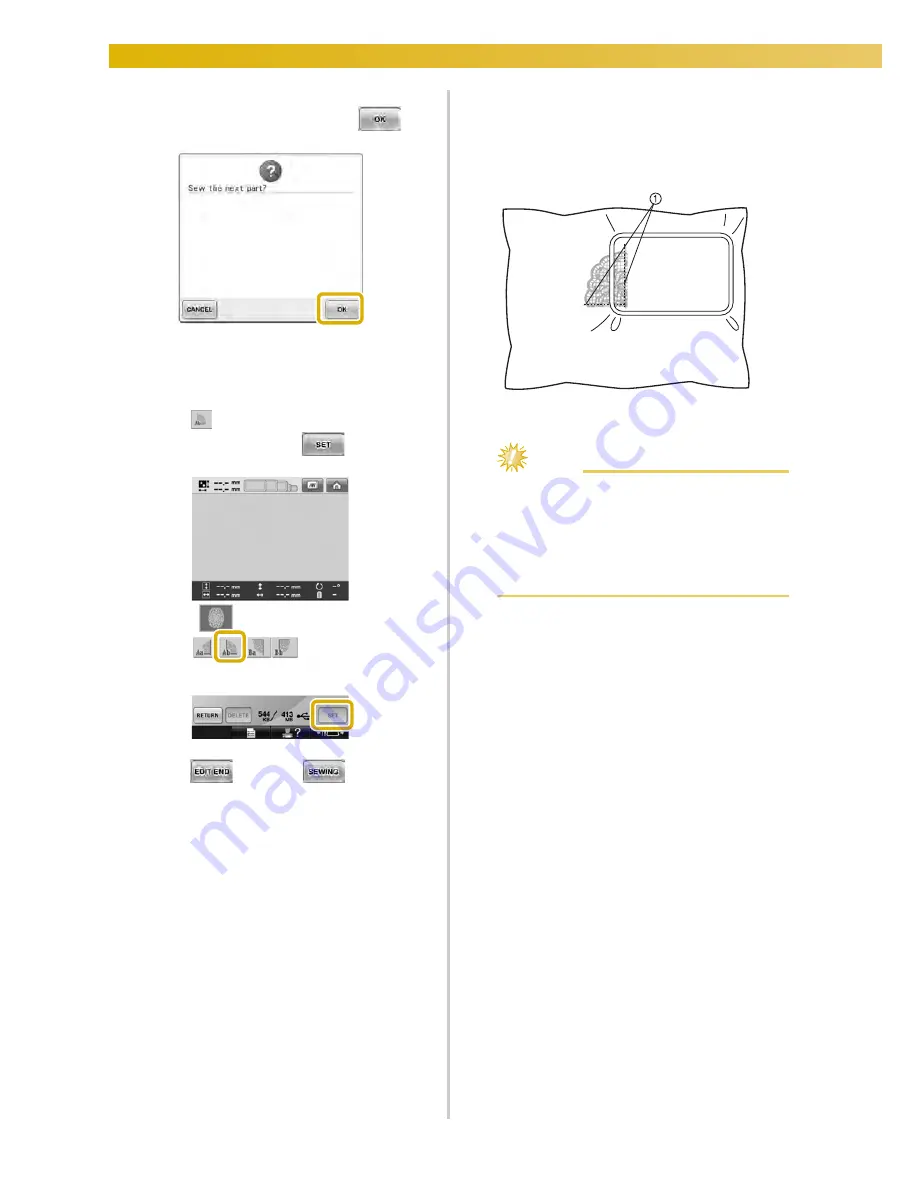
When embroidering is finished, the
following screen appears. Touch
.
X
A screen appears so that a section of the
large-size embroidery pattern can be
selected.
9
Touch
to select the next section of the
pattern, and then touch
.
0
Touch
, and then
.
a
Hoop the fabric for the next design section
aligning on the alignment stitching. In this
case, align the left side of the hoop on the
right side of the design section embroidered
in step
6
.
1
Alignment stitching
Note
●
Make sure that the alignment stitching is
completely within the embroidery field.
Set the embroidery sheet inside the
embroidery frame and align the grid with
the alignment stitching for easier
placement.
b
Repeat steps
7
to
0
to embroider and
combine the remaining sections of the
pattern.
Summary of Contents for Enterprise BNT10L
Page 1: ......
Page 150: ...EMBROIDERING SETTINGS 148...
Page 216: ...SELECTING EDITING SAVING PATTERNS 214...
Page 302: ...APPENDIX 300 If any of the following messages appear consult your nearest Baby Lock retailer...
Page 303: ...Troubleshooting 301 7...
Page 308: ...APPENDIX 306...
Page 312: ...English 884 T11 XF0036 001 Printed in Taiwan...


