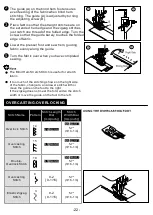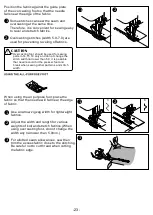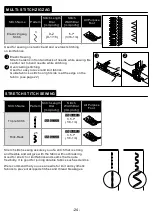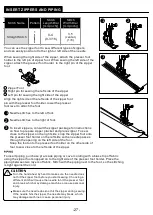
STRAIGHT STITCH SEWING
Stitch Name
Pattern
Stitch Length
Dial
[mm(inch)]
Stitch
Width Dial
[mm(inch)]
All Purpose
Foot
Straight Stitch
0-4
(0-3/16)
0-7*
(0-1/4)
*The stitch width dial has multi-functions depending on stitch selected.
Turn the stitch width dial to adjust the needle position.
Setting the dial to 0 selects the right needle position; setting the dial
to 7 selects the left needle position; setting dial between 0-7
determines width of zigzag type stitches.
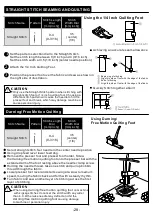
Starting to sew
1
Set the pattern selection dial to the Straight Stitch pattern.
Note:
By turning the pattern selection dial you are able to
choose your desired stitch pattern.
2
3
Raise the needle to its highest position and lift
the presser foot lever.
4
Place the fabric under the presser foot and position
the needle 1cm (3/8 inch) from the edge of the fabric.
Guide the upper and bobbin threads under the
presser foot and toward the back of the machine.
5
Lower the presser foot.
6
To back tack, push down the reverse sewing lever as far
as possible, and then press the foot controller to start
reverse sewing. Release the foot controller to stop
sewing.
6
7
Release the reverse sewing lever and start
sewing in the forward direction by pressing
the foot controller.
Make sure the needle does not hit a pin or any other object during
sewing. The thread could tangle or the needle could break,
causing damage to machine or personal injury.
CAUTION
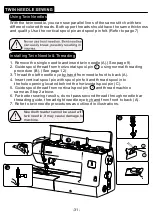
Changing Sewing Direction
1
Stop the machine at point where you want to change
direction with the needle still in the fabric.
2
Raise the presser foot and turn the fabric to its new
direction using the needle as a pivot.
3
Lower the presser foot and start sewing in the new direction.
-19-
Knee Lifter (see
page
16)
5
3
6
6
1


