• Ensure the comb guide is correctly positioned by pushing the comb
guide gently downwards to secure into place.
• Use the digital touch control ‘‘up’’ or ‘‘down’’ buttons to adjust the
telescopic comb guide to the required length.
• The cutting lengths are displayed on the LCD screen in ‘‘mm’’ – scroll
through the available length settings with the digital touch controls.
There are 15 length settings available: 0.4mm, 0.6, 0.8, 1.0, 1.2, 1.4,
1.6, 1.8, 2.0, 2.5, 3.0, 3.5, 4.0, 4.5, 5.0mm.
• Select your required length – the length setting will then remain
displayed on the LCD screen.
• Push the power button to switch the i-Stubble3 on.
Using the trimmer without the comb guide
• Using without the comb guide is ideal for detailing/shaping and
general tidying of edges.
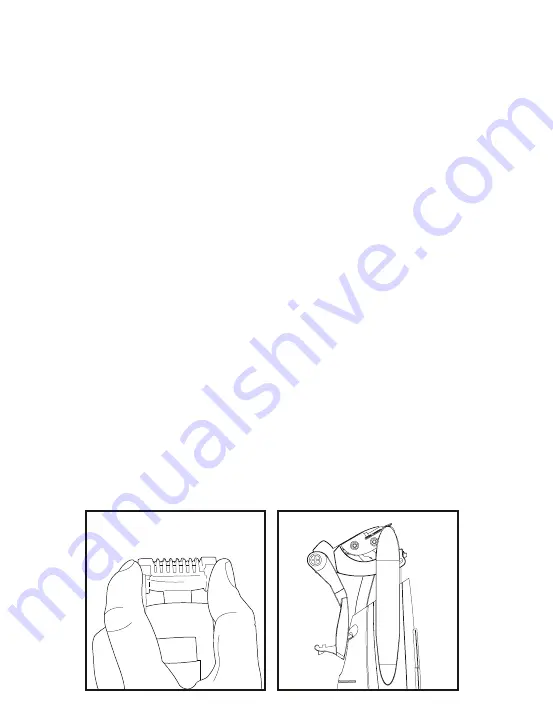
• To detach the comb guide, gently hold the trimmer in one hand and
with your thumb and index finger push up on each side of the comb
guide (fig. 1). Flip the comb guide to the back of the unit and lock it
into position by clicking it securely onto the fastener on the back of
the handle (fig. 2).
• Switch the i-Stubble3 on by pushing the ‘‘power on’’ button. The LCD
will illuminate and the blades will start to move.
• If you are looking for an ultra close finish, you can use the trimmer
without the comb guide. This will give you an extremely short cut.
Fig. 1
Fig. 2


