background image

34

35

HOW TO USE

HOW TO USE

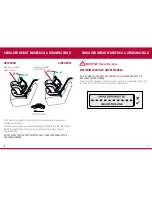
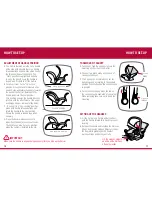
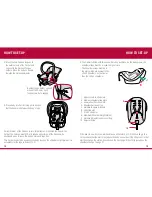
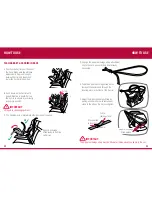
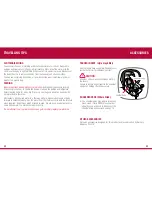
REMOVING BABY & CARRIER FROM BASE

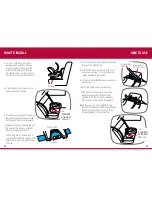
A. Loosen the upper anchorage strap by fully pressing the adjuster button while 

pulling the upper anchorage strap. Ensure that the adjuster does not fall on the 
baby.

B. Remove the upper anchorage strap from the locating slots in the Carrier. Store 

the upper anchorage strap behind the stabilising bar.

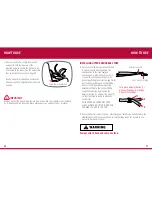
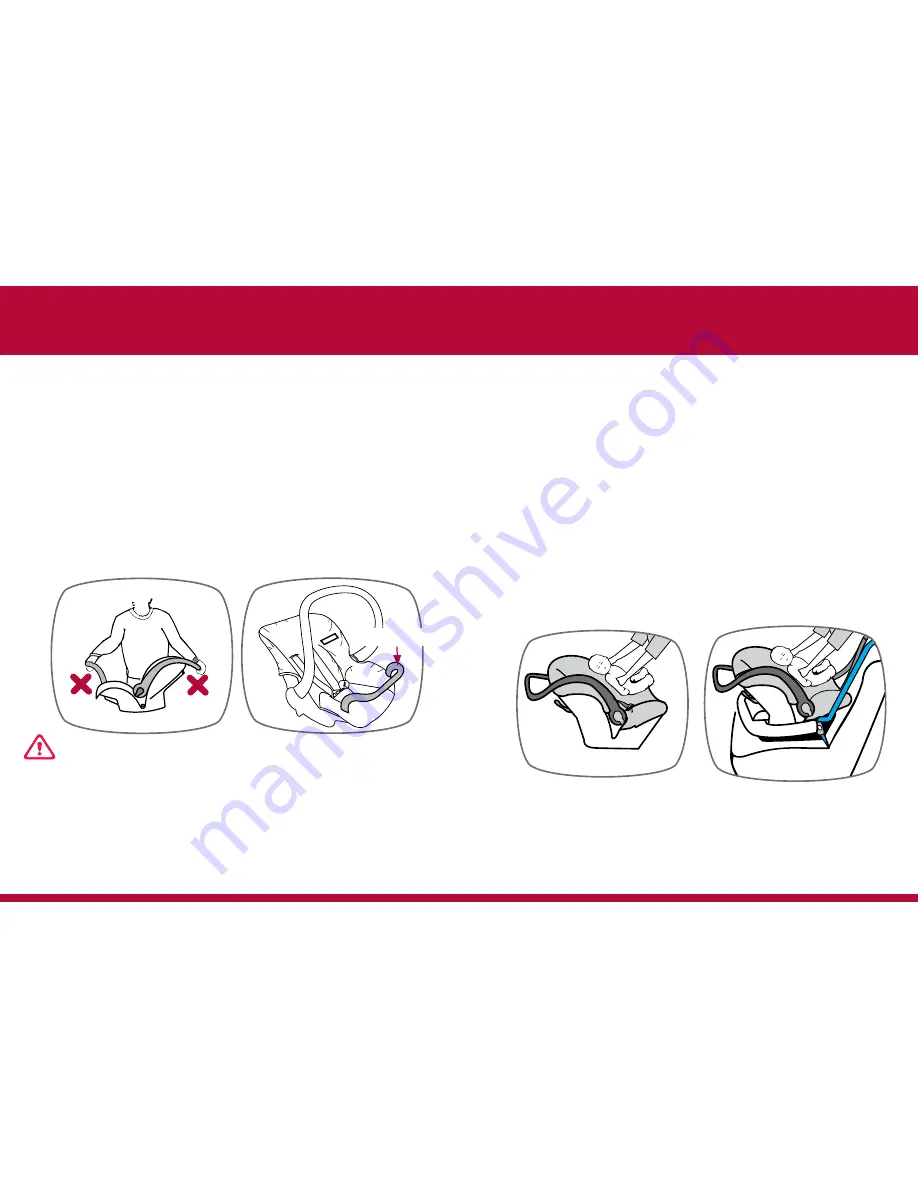
C. Rotate the Carry Handle to the “carry” position and ensure it is locked correctly 

before lifting.

D. Grasp the handle with one hand, then release the Carrier release catch with the 

other hand. With the catch released, raise the Carrier away from the base, you 
may need two hands to lift the carrier out of the car. Place feet apart and use 
bent legs to lift the carrier to avoid back injury.

E. When the Carrier is clear of the base, carefully remove it from the car.
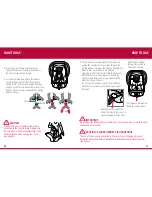
F. Always keep baby secure in the integral harness when carrying.

    Ensure the adjustment strap press stud is connected to the cover, see page 31.

Stabilising bar

         CAUTION: 

Do not lift or carry the Carrier by the front stabilising bar.

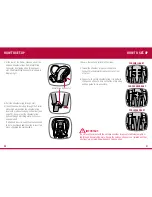
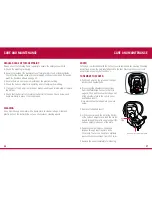
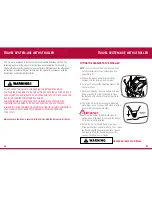
REMOVAL OF BABY FROM CARRIER

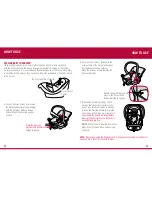
A. Rotate the carry handle to either the “access” or “non-rocking” position and 

ensure the Canopy is fully open.

B. Press the Harness Adjuster while pulling shoulder straps to loosen the harness.
C. Press the red button on Harness Buckle then both Harness Tongues will be 

released.

D. Feed the baby’s arms through each side of the Harness and place the straps on 

each side of the carrier clear of the baby. Lift the baby out of the Carrier. 

NOTE: 

Once the baby gets heavier you may wish to leave the carrier in the car. In 

this case you will need to disconnect or loosen the upper anchorage strap before 
removing the baby.

Summary of Contents for BL620A 2010

Page 1: ...O APPROXIMATELY 6 MONTHS THIS INFANT RESTRAINT MUST BE INSTALLED SO THAT THE BABY IS REARWARD FACING AT ALL TIMES INSTRUCTION BOOK INFANT CARRIER Series No BL620A 2010 IMPORTANT KEEP THIS BOOKLET IN THE PLACE PROVIDED ON THE CHILD RESTRAINT ...

Page 2: ...IS RESTRAINT IS NOT SUITABLE FOR USE WHERE THE ANCHORAGE STRAP MAY FALL INTO A SPLIT IN THE SEAT BACK E G HATCHBACK OR WAGON CAREFULLY READ ALL THE INSTRUCTIONS FOR INSTALLATION IN THE EVENT OF DOUBT ABOUT THE METHOD OF INSTALLATION CONSULT NURSERY ELEGANCE PTY LTD OR AGENT OR A CHILD RESTRAINT FITTING STATION AUTHORISED BY A RELEVANT TRANSPORT AUTHORITY OR IN NEW ZEALAND THE AGENT FOR THE CAR No ...

Page 3: ...e is latched properly every time you pick up the Infant Carrier The restraint is not intended to be a substitute baby cot or bed It is only designed to enable safe transportation of children in motor vehicles Do not leave a baby in the restraint for long periods of time Straps may be damaged by unsecured cargo in a collision Secure or remove hazardous cargo before using this strap Hatch back or wa...

Page 4: ...n Rearward facing choose a child seat that will take larger babies in Rearward facing DO NOT MOVE TO THE NEXT RESTRAINT UNTIL SHOULDER REACHES THE SHOULDER MARKER DO NOT MOVE TO THE NEXT RESTRAINT UNTIL SHOULDERS REACH THE SHOULDER HEIGHT MARKER When the child s shoulders reach this marker the child is now too big for the child restraint It is now time to move too the next child restraint IMPORTAN...

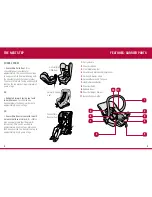
Page 5: ...e Booster seat with in built harness that faces forward for children who have out grown their Rearward facing seat This can be used up to approximately 4 years of age which can then be converted to a booster seat up to approximately 6 to 8 years of age Convertible Child Seat Convertible Booster Seat Forward Facing Seat THE NEXT STEP FEATURES CARRIER PARTS 1 Carry Handle 2 Shoulder Straps 3 Front S...

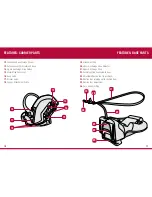
Page 6: ...h 17 Stroller Latch 18 Canopy Attachment Points 19 Attachment Clip 20 Upper Anchorage Strap Adjuster 21 Upper Anchorage Strap 22 Retaining Strap connected to base 23 Adjustable Recline Foot 3 positions 24 Recline Foot retaining catch behind flap 25 Recline Foot Adjustment 26 Car s Anchor Fitting 12 13 14 15 16 18 17 24 23 FEATURES BASE PARTS 25 10 21 20 22 26 11 19 ...

Page 7: ...until the infant s shoulder s reach the shoulder height marker approximately 6 months of age Continue to use this infant restraint until child reaches this limit Infants are at risk of serious injury if they face forward too early If the baby s neck muscles are unable to support their head then the child should remain rear facing in a restraint that is larger possibly a Convertible child restraint...

Page 8: ...cal Road Rules Do not use on any car seat which faces sideways or rearwards DO NOT USE A REAR FACING CHILD RESTRAINT IN A SEATING POSITION WHERE AN AIRBAG IS FITTED For other airbags refer to the car owner s handbook for warnings and instructions Seat belt extenders should not be used if the seat belt is not long enough to fit around the child restraint base Do not allow the front seat to alter th...

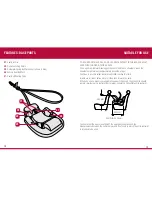
Page 9: ...t your needs The handle can also be in any position when the carrier is installed in the car ADJUSTMENT OF HANDLE POSITION TO REMOVE FIT CANOPY A To connect feed the canopy stay into the mounting on the side of the Carrier B Connect two press studs on the back of canopy to the cover C The Canopy can be rotated to cover the baby or opened by rotating to the desired position When fully open the cano...

Page 10: ... Carrier Push tongue inwards to engage E The Carrier is fitted with three shoulder strap positions As the baby grows the shoulder straps must be moved to higher slots The shoulder straps must be in the slots which are nearest to the child s shoulders but not lower than the child s shoulders 8 1 2 3 4 4 5 6 6 7 9 10 1 Upper shoulder strap slots 2 Medium shoulder strap slots 3 Lower shoulder strap s...

Page 11: ...added Insert is used then that will need to be re positioned and the strap re inserted when changing the slot position Metal Strap Connector I Ensure there are no twists in the straps J Thread the shoulder strap over the bar and connect it to the Metal Strap Connector at rear of Carrier K Repeat for the other shoulder strap It is better to change one strap at a time so that the other strap will be...

Page 12: ...osition Level Indicator Line on both sides of base INSTALLING THE BASE TO THE CAR Pull flap outward Then adjust recline foot A Place the base and Carrier on vehicle seat in a seating position where a child restraint anchor fitting is installed The Level Indicator Line needs to be level with the road i e parallel with the road surface Check and adjust the recline angle of the base if necessary as f...

Page 13: ...ary I Check that the Base is securely held If the Base moves easily to either side retighten the seat belt or try another position in the vehicle Some sideways movement is common and acceptable Note If using a lap only seatbelt thread through the tabs and seatbelt clip The free end of the lap belt does not need to be threaded through the seat belt clip Packing Blue REARWARD FACING BELT PATH label ...

Page 14: ...ent Clip Car s Anchor Fitting Fully press Adjuster Button 1 while pulling Upper Anchorage Strap 2 to lengthen 1 2 3 B While the Carrier is out of the car store the upper anchorage strap between the stabilising bar and the car seat back so that it will be ready for use when the Carrier is put back in the car Always attach hook and remove slack J Some car seats do not provide enough support to hold ...

Page 15: ...ess Adjuster and pull Harness Straps to loosen Buckle Tongue Holder on both sides of the Carrier Push tongue inwards to engage B Move the two harness tongues to the outer extents of the Carrier and engage into the Buckle Tongue holders Move the harness buckle towards the Harness Adjuster C Place baby into Carrier lying on their back so that the buckle is between the baby s legs Make sure baby is d...

Page 16: ...ckle tongues then pull the Harness Adjustment Strap to take up the slack in the harness adjusting to a firm but comfortable fit Make sure that the baby s arms and legs are free and the crotch strap is between the legs Check that the slack in straps is minimal Do not use the restraint if straps do not tighten and contact your local authorised service agent for repair Attach the press stud at the en...

Page 17: ...be rotated into other positions if needed Upper Anchorage strap ready to be fitted to Carrier OK D Engage the upper anchorage strap attachment clip to the car s anchor fitting if not already connected E Feed the Upper Anchorage strap on the inside of the handle and through the locating slots in the front of the Carrier Upper Anchorage Strap guides F Adjust the Upper Anchorage Strap by pulling as s...

Page 18: ...ury E When the Carrier is clear of the base carefully remove it from the car F Always keep baby secure in the integral harness when carrying Ensure the adjustment strap press stud is connected to the cover see page 31 Stabilising bar CAUTION Do not lift or carry the Carrier by the front stabilising bar REMOVAL OF BABY FROM CARRIER A Rotate the carry handle to either the access or non rocking posit...

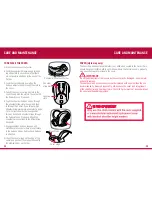
Page 19: ...s of the restraint Do not use chemicals or cleaning agents COVER For baby s comfort and health the Carrier cover is removable for cleaning Washing instructions are on the care label attached to the liner Washing the cover prior to use will remove excess fluff and dye s TO REMOVE THE COVER A With the Carrier on the ground or the floor remove the Shoulder Pads B Disconnect the shoulder harness strap...

Page 20: ...etal Strap Connector F Engage shoulder harness tongues and crotch buckle to ensure there are not twists in the harness straps Pull to check harness is attached G Insert the cover wings on the edge of the carrier and connect the press studs next to the stabilising bar on the trim Pull elastic cover over Carrier COVER style may vary The cover has been designed to protect your child when seated in th...

Page 21: ... in a motor vehicle In this position the baby could be thrown against the dashboard windscreen or other occupant and suffer serious injury or death When riding in a motor vehicle never nurse a baby and use the same seat belt for both of you In this position the baby or child could be crushed Children must be secured in appropriate restraints at all times when the car is in motion Children travelli...

Page 22: ...iled water in a thermos and pre measured amounts of baby formula in small containers Use the water from the thermos to mix with the formula when required Regardless which method is used it is always a good plan to carry some boiled water in a sterile container or bottle Do not attempt to carry warm milk because germs multiply rapidly in warm milk ACCESSORIES PADDED INSERT style may differ Some mod...

Page 23: ...00 131 477 Always ensure the baby is secured in the Carrier with the harness at all times TRAVEL SYSTEM USE WITH STROLLER NOTE Ensure that the child is harnessed in the Carrier according to these instructions See pages 28 to 31 A Engage the brakes and place the stroller backrest into the fully reclined position B Locate and uncover the mounting slots on the stroller armrest C Hold the Carrier by t...

Page 24: ...by the vehicle manufacturer If anchorage points cannot be found refer to car manufacturer or local child restraint fitting station or traffic authority for optimum position of anchorage point and the use of spacers UPPER ANCHORAGE STRAP IMPORTANT THE ATTACHMENT CLIP COVER MUST ALWAYS BE USED AS IT PREVENTS THE RISK OF INCORRECT FITMENT OF THE ATTACHMENT CLIP TO THE ANCHOR FITTING ALWAYS ENSURE THA...

Page 25: ...OF CAR ANCHOR FITTING INSTALLATION OF CAR ANCHOR FITTING Front of Vehicle IF THE CAR IS FITTED WITH CHILD RESTRAINT ANCHORAGE POINT Locate the anchorage point behind the rear seating position consult the car owners handbook for the location of the anchorage point The anchorage point should be directly behind and central to the restraint Remove thread plug from the parcel shelf floor roof etc and i...

Page 26: ...FITTINGS FOR SEDANS ONLY Vehicle trim Fig 2 INSTALLATION OF CAR ANCHOR FITTING INSTALLATION OF CAR ANCHOR FITTING Note Marking on the top of a Grade 5 Bolt Note to Queensland purchasers The installation of anchorage points must be approved by authorised officers appointed by Queensland Transport Authorised officers can be sourced from all Queensland Transport Customer Service and Queensland Ambula...

Page 27: ... obvious Some insurance companies offer vehicle insurance which covers or partially covers the replacement of your child restraint Contact your insurance company for further details Your insurance company may require you to keep the child restraint for assessment but do not use the child restraint after a severe crash IN CASE OF ACCIDENT IN CASE OF ACCIDENT EXTRA BASE There are Babylove Series BL6...

Page 28: ...54 55 NOTES NOTES ...
Page 29: ...uct without notice in our constant endeavour for improvement 2007 2011 Nursery Elegance Pty Ltd Trademarks of Babylove and devices are owned by Nursery Elegance Pty Ltd This product is covered by Australian patent application P No 2200878 A ...

Reviews: