background image

10

9

 Copyright © 2022, Baby Trend Inc., All Rights Reserved. Todos los derechos reservados.

 Copyright © 2022, Baby Trend Inc., All Rights Reserved. Todos los derechos reservados.

ASSEMBLY  ASAMBLEA

ASSEMBLY  ASAMBLEA 

Battery Installation  •  Instalación de las Baterias

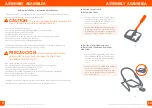
The music/vibration unit requires two size C batteries (not included). It is recommended 
that you use alkaline batteries for longer battery life.
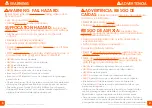
 

CAUTION:

 To prevent possible battery leakage, be 

sure to follow the guidelines outlined below.

• Do not mix old and new batteries. 

• Do not mix different types (alkaline, standard, or rechargeable). 

• Keep batteries out of reach of children. 

• Always dispose of batteries properly. 

• Remove batteries when the bouncer is not in use for long periods of time. 

• Never leave exhausted batteries in the unit. 

• Never try to recharge non-rechargeable batteries. 

La unidad de música/vibración requiere dos pilas tamaño C (no están incluidas).  Se 

recomienda que use pilas alcalinas para que duren más. 


PRECAUCIÓN:


Para prevenir una posible 

pérdida de las pilas, procure seguir las directrices 

detalladas a continuación.

• No mezcle las pilas viejas con las nuevas. 

• No mezcle diferentes tipos de pilas (alcalinas, estándar o recargables). 

• Mantenga las pilas fuera del alcance de los niños. 

• Siempre deseche las pilas apropiadamente. 

• Retire las pilas cuando el rebotador esté fuera de uso por tiempo prolongado. 

• Nunca deje pilas gastadas en la unidad. 

• Nunca intente recargar pilas no recargables.  

Le module musique/vibrations nécessite 

deux piles taille C (non comprises). Il est recommandé 

d’utiliser des piles alcalines pour une plus longue durée de vie des piles.

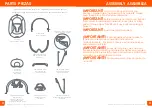
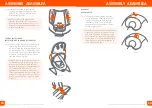
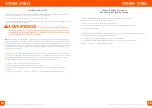
INSTALLING THE BATTERIES 

INSTALACIÓN DE PILAS

6)  

• Remove the battery cover using a Philips 

screwdriver (Fig. 6). Install two size C 

batteries and replace the battery cover. 

Do not overtighten the screw. 

• 

Use un destornillador Phillips para retirar 

la cubierta de las pilas (Fig. 6). Instale dos 

pilas tamaño C y reemplace la cubierta de 

las pilas. No ajuste de más el tornillo.


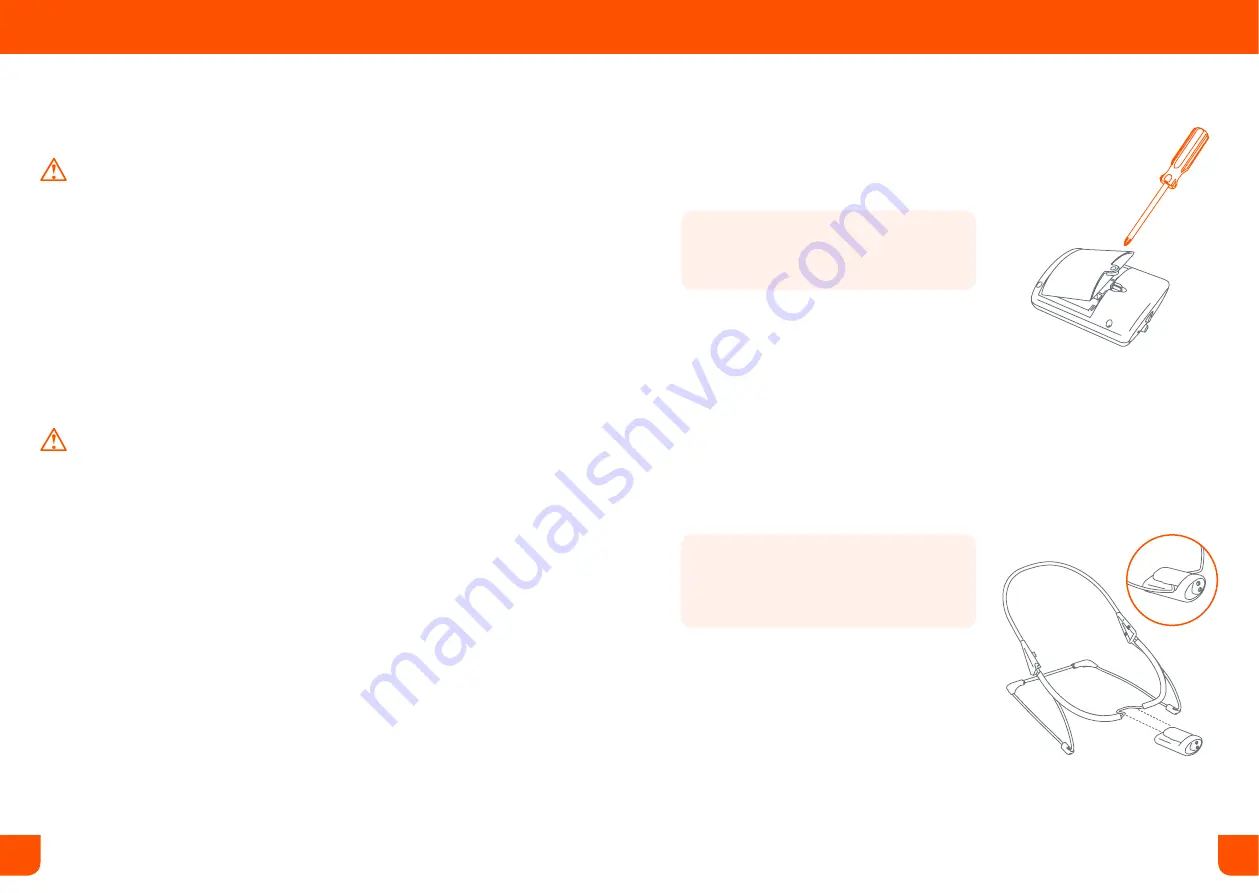
INSTALLING MUSIC/VIBRATION UNIT  

INSTALACIÓN DE LA UNIDAD DE MÚSICA/

VIBRACIÓN

7)  

• Align the mounting groove on the unit to 

the corresponding slot on Footrest wire.  

Slide the unit onto the mounting groove 

until it is securely in place  

(Fig. 7).

• Alinee la ranura de montaje de la unidad 

con la ranura correspondiente del 

alambre del apoyapiés. Deslice la unidad 

por la ranura de montaje hasta que esté 

bien sujeta (Fig. 7).

Fig. 6

Fig. 7

Summary of Contents for BC20 A Series

Page 1: ...odas las instrucciones ANTES de armar y USAR el producto CONSERVE LAS INSTRUCCIONES PARA USO FUTURO Trend EZ Bouncer Instruction Manual Manual de Instrucciones BC20xxxA B 1 800 328 7363 8 00 a m 4 30...

Page 2: ...Trend Please visit http babytrend com pages limited warranty for complete warranty details GARANTIA NO DEVUELVA SU PRODUCTO A LA TIENDA POR FAVOR CONTACTE A BABY TREND PARA PIEZAS DE REPUESTO SERVICIO...

Page 3: ...customer service department to arrange for repair or obtain replacement parts ADVERTENCIA RIESGO DE CA DAS Beb s han sufrido fracturas de cr neo de cayendo y en rebotador SIEMPRE selo sobre el suelo N...

Page 4: ...de la base Backrest Tube Tubo del respaldo Attached 3 Way Connectors Conector de 3 V as Adjunto Right Base Frame Wire Alambre derecho del armaz n de la base IMPORTANT To ensure safe operation of your...

Page 5: ...or de 3 V as a continuaci n para los pasos 2 y 3 The 3 Way Connectors will be preassembled at corner A Fig 2a Place the Base frame upright on a flat surface with corners B and C of the 3 Way Connector...

Page 6: ...gar NOTA Las clavijas de las 2 barras deben hacer clic al estar en posici n cuando se insertan correctamente en los conectores Fig 2e DO NOT DISCARD NO QUITE NE JETTEZ PAS Fig 2e Pins CLICK into Place...

Page 7: ...viejas con las nuevas No mezcle diferentes tipos de pilas alcalinas est ndar o recargables Mantenga las pilas fuera del alcance de los ni os Siempre deseche las pilas apropiadamente Retire las pilas...

Page 8: ...unit and then pull each side of the seat pad over the footrest wire until it fits snugly over the bouncer frame Fig 10a Follow the three illustrated steps to cover the Music Vibration Unit and Footres...

Page 9: ...th sides click into place To remove press the release clips and pull up Fig 12b Coloque la barra de juguetes por encima del rebotador como se indica Fig 12a Introduzca los extremos de la barra de jugu...

Page 10: ...firmemente al ni o Fig 14c CARE AND CLEANING CUIDADO Y LIMPIEZA 15 Seat pad and headrest Remove the seat pad and headrest from the frame Ensure that all buckles on the seat pad are fastened Do not ir...

Page 11: ...t accept any interference received including interference that may cause undesired operation WARNING Changes or modi cations to this unit not expressly approved by the party responsible for compliance...

Page 12: ...s perjudiciales en las comunicaciones de radio Sin embargo no es posible garantizar que en una determinada instalaci n no se producir n interfer encias Si este dispositivo provoca interferencias da in...

Reviews: