H25-IR PRO Instruction Manual
Menu System Overview
P/N: 3015-5678 Rev 6
23
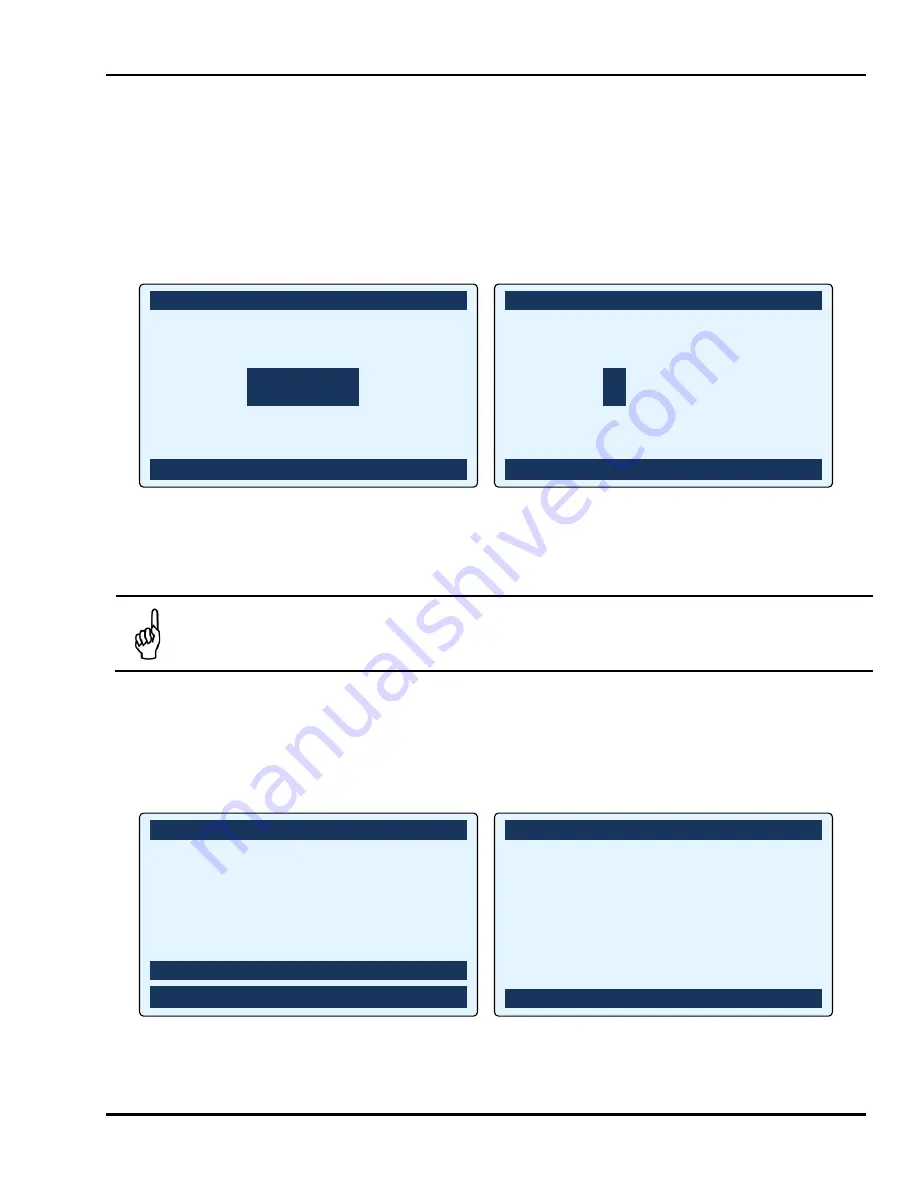
In a scrolling list, simply use the Up and Down Arrow buttons to select the desired item from the list. In the SELECT GAS TYPE
example below, use the Up and Down Arrow buttons to select the desired GAS TYPE. The current selection is highlighted and
displayed larger.
In a scrolling numeric value, use the Up and Down Arrow buttons to increase and decrease (respectively) the desired value
from the highlighted position. For numeric values, the Left and Right Arrow buttons move the highlighted numeral to provide
a larger increment/decrement base. For example, in the EDIT ALARM SETPOINT example below, the highlighted numeral is
in the “units” or “ones” position, so the Up and Down Arrow buttons increment the PPM value by 1. To increment or
decrement the value in larger steps, use the Left Arrow button to position the active (highlighted) digit one place to the left
(the “tens” position). Now, the Up and Down Arrow buttons adjust the PPM value by increments (or decrements) of 10
(versus increments of 1).
Figure 3-5. Examples of Value Types
Regardless of value type, once the desired value has been achieved, use the ENT (
¿
) button to save the new value. To ignore
the changes you have made to this item and to return it to its previous value, simply press the ESC button.
NOTE:
A timeout monitors front panel keys for regular activity. After approximately 60 seconds of no key
presses, the H25-IR PRO returns to the main display (either the SEARCH MODE or MEASURE MODE screen—
whichever was last active).
3.2.4. Configuration-Dependent Menu Items
Not all menu items may be available on your H25-IR PRO. The device displays certain menu options based on your particular
hardware. In particular, the choice of probe type that is ordered (standard or Smart probe) determines whether or not the
PROBE BUTTON option is shown in the ADVANCED SETUP menu. Refer to Figure 3-6 below. For detailed information on the
function of the PROBE BUTTON menu item, refer to Section 5.6.8: Probe Button on page 71 and Figure 5-13 on page 72.
Figure 3-6. PROBE BUTTON Menu Item Based on Probe Style Ordered
SELECT GAS TYPE
p
R22
R134A
q
R404A
± SELECT
ESC=QUIT
EDIT ALARM SETPOINT
q
p
TO CHANGE
1
0
.0 PPM
t
u
TO MOVE
± SAVE
ESC=QUIT
<<
ADVANCED SETUP
>>
DATE/TIME SET
LOG LIMIT
LOOP FACTOR
SERIAL DATA
PROBE BUTTON
qp
SELECT
± EDIT
<<
ADVANCED SETUP
>>
MEASUREMENT LOG
DATE/TIME SET
LOG LIMIT
LOOP FACTOR
SERIAL DATA
qp
SELECT
± EDIT
Summary of Contents for H25-IR PRO
Page 6: ...H25 IR PRO Instruction Manual vi P N 3015 5678 Rev 6 ...
Page 8: ...H25 IR PRO Instruction Manual viii P N 3015 5678 Rev 6 ...
Page 39: ...H25 IR PRO Instruction Manual Menu System Overview P N 3015 5678 Rev 6 29 ...
Page 109: ...H25 IR PRO Instruction Manual Maintenance P N 3015 5678 Rev 6 99 ...
Page 120: ...H25 IR PRO Instruction Manual Declaration of Conformity P N 3015 5678 Rev 6 110 ...


