background image

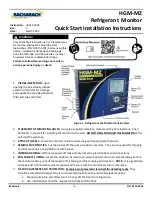
HGM-MZ Refrigerant Monitor 

Quick Start Installation Instructions 


Revision 

2


- 6 -

P/N: 3015-9003 

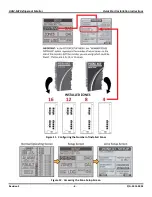
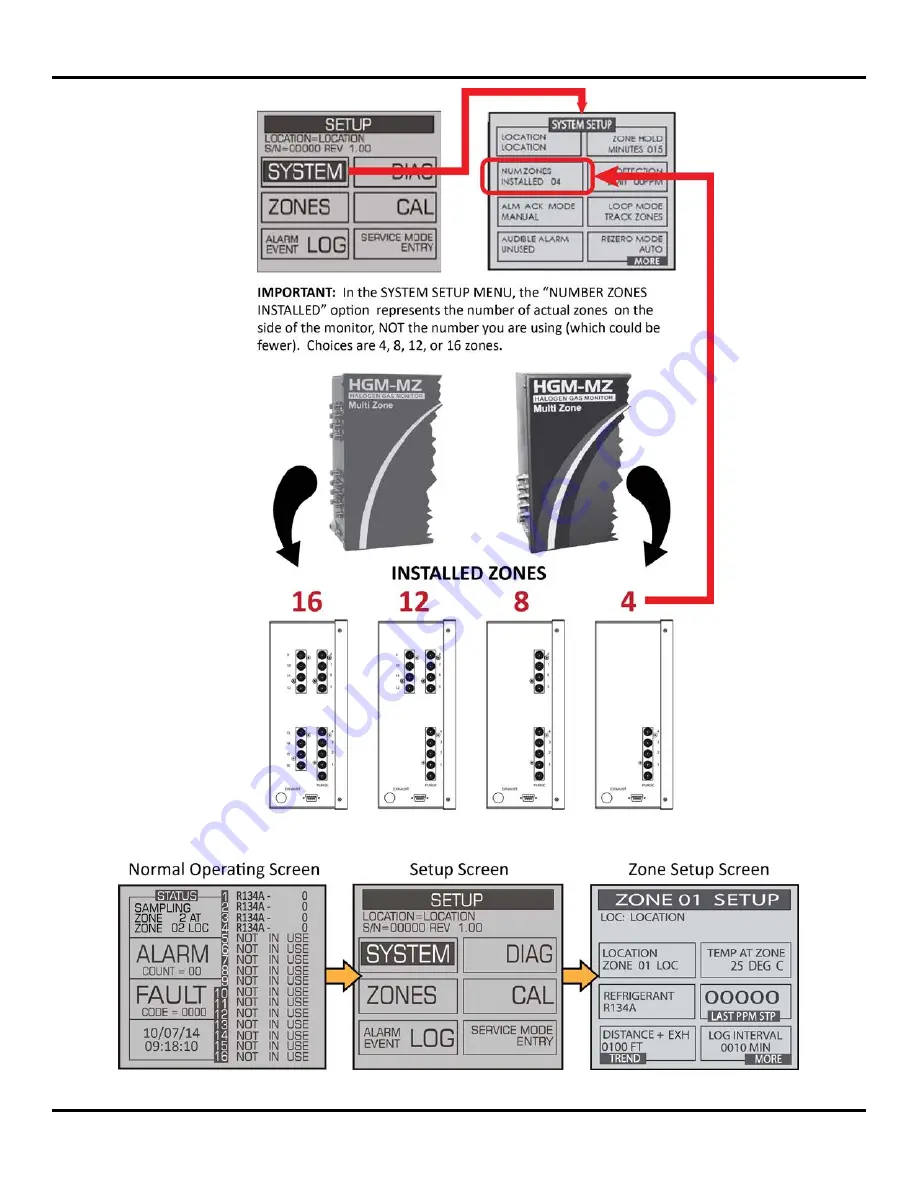
Figure 11.  Configuring the Number of Installed Zones 

Figure 12.  Accessing the Zone Setup Screen 

Summary of Contents for HGM-MZ

Page 1: ...all internal wiring terminations and connections 6 RUN SAMPLE TUBING Locate the positions of remote air sample points and run air sample tubing back to the monitor making note of the length of the tu...

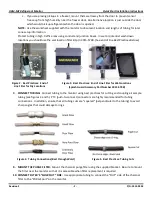
Page 2: ...ces End of Line Filter for Dry Locations Figure 3 Best Practices End of Line Filter for Wet Locations Splash Guard Accessory Part Number 3015 5748 8 CONNECT TUBING Connect tubing to the monitor using...

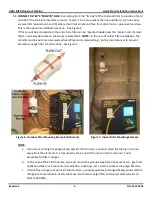
Page 3: ...the monitor must be put in service mode when refrigerant is released e g during maintenance to prevent premature purge filter contamination See Figure 7 Figure 6 Outdoor Filter Mounting Example Optim...

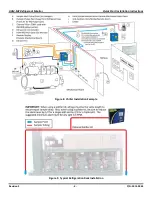
Page 4: ...HGM MZ Refrigerant Monitor Quick Start Installation Instructions Revision 2 4 P N 3015 9003 Figure 8 Chiller Installation Example Figure 9 Typical Refrigeration Rack Installation...

Page 5: ...nes refrigerant type alarm limits and sample lengths for each zone If splitters are used on one or more zones a Be sure to keep tubing lengths the same beyond the splitter b DISTANCE total for a parti...

Page 6: ...HGM MZ Refrigerant Monitor Quick Start Installation Instructions Revision 2 6 P N 3015 9003 Figure 11 Configuring the Number of Installed Zones Figure 12 Accessing the Zone Setup Screen...

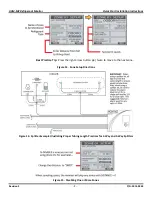
Page 7: ...ion 2 7 P N 3015 9003 Best Practice Tip Press the right arrow button twice to move to the next zone Figure 13 Zone Setup Directions Figure 14 Splitter Example Illustrating Proper Tubing Length Practic...

Page 8: ...Either put the target zone on hold for continuous operation or wait until the monitor is polling that specific zone e Have someone view the information at the monitor for the zone to be tested and at...

Reviews: