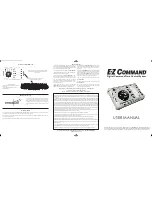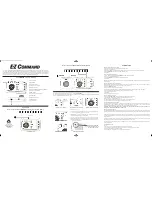
Thank you for purchasing Bachmann E-Z COMMAND Digital Controller. In the following pages we aim to explain how to get the best
from your E-Z COMMAND Digital Controller and enjoy the total freedom of running your new model layout using (DCC) Digital
Command Control. The manual is divided up into two sections, we advise you to read the first section called Quick Start, which will
enable you to set up your E-Z COMMAND controller and enjoy running trains quickly and easily. Within the reference section you will
find many useful tips on how to program different sections of the E-Z COMMAND Digital Controller.
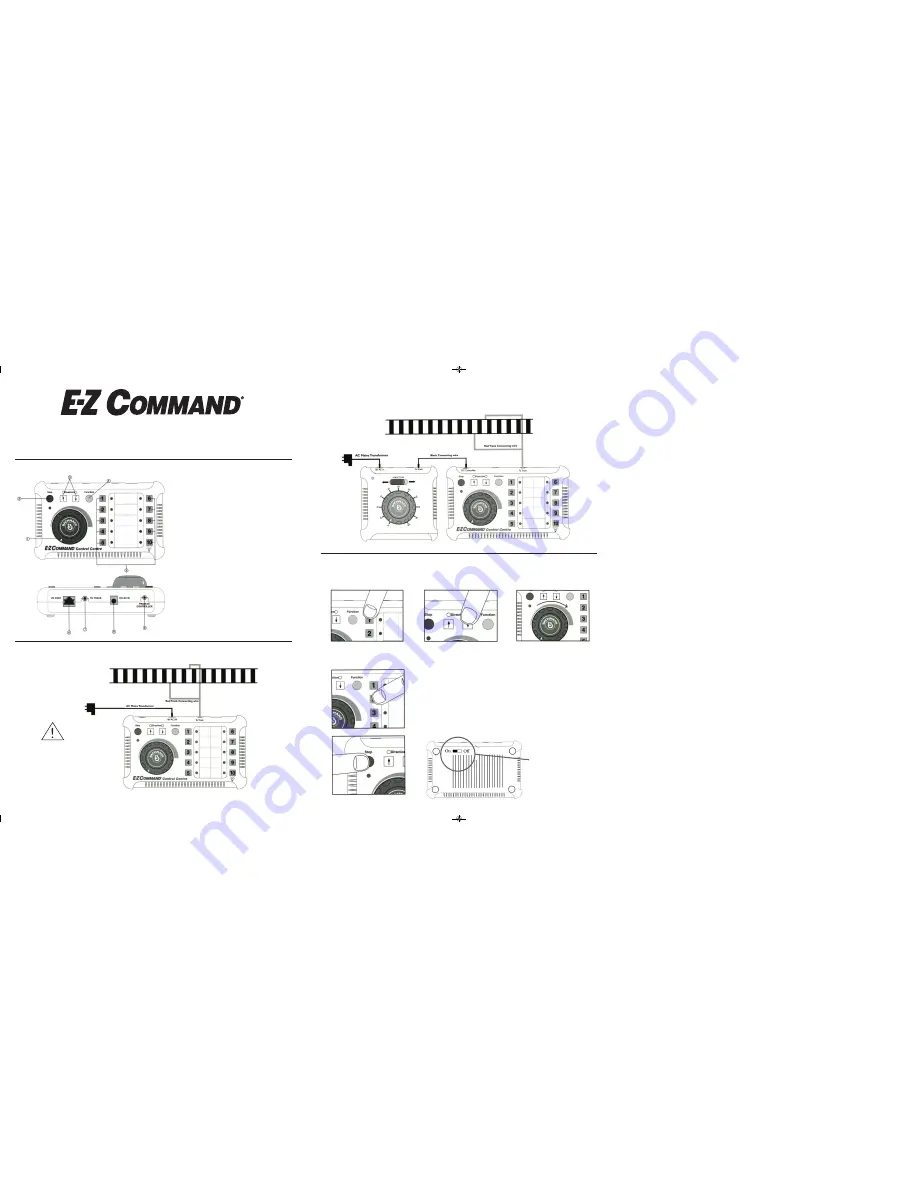
E-Z COMMAND Controller in Detail
1) Speed Control
2) Stop Button
3) Direction Control
LED indicates current direction
4) Function Control
5) Locomotive Address and Function Buttons
LED indicates current direction
6) X-Bus Socket
To connect E-Z Command Companion
7) Track Output
8) 16v AC Input Socket
9) Analogue Input
From DC controller
QUICK START
How to connect E-Z COMMAND Controller to your track (REF 1)
E-Z Command Controller
(36-500)
Plug mains
transformer power
supply into wall socket
only after
assembling other
connectors
To start running a digital locomotive is as easy as
1 - 2 - 3
with
E-Z COMMAND
.
To connect to an existing layout, remove all DC controllers and connect the E-Z COMMAND unit. Switch any section/isolation switches
to “ON” so that the track on the entire layout is live.
1) Select loco address
2) Select direction of travel
3) Turn speed control dial
Select loco address.
Most Decoders have a default address of 3. Select (address 3) and turn the dial.
A second train given another address can also be run.
Select (address 4) to run a loco with address 4. Loco 3 stays running at its selected
speed and direction in background until reselected.
At any time you need to cut the power to the track, press the stop button.
However, when the stop button is pressed again, the locomotives will resume
current speed and direction. The selected locomotive will run at the speed that
the speed control dial is set to.
REFERENCE FAQ
How do I set an address to a decoder?
• Remove other locomotives from track (SEE TECHNICAL NOTES)
• Select and run the locomotive
Keeping address button depressed, press
STOP
button, release both buttons - the power LED will now flash quickly.
• Press new
ADDRESS
- Locomotive moves and LED flashes slowly
• Press
STOP
I don’t know the decoder address?
• Start the address programming with any
ADDRESS
+
STOP
- LED will flash quickly
• Now place the locomotive on the track
• Press new
ADDRESS
- locomotive moves and LED flashes slowly
• Press
STOP
TOP TIP:
For address programming, disconnect the E-Z Command Controller from the layout and attach to separate piece of track
for the purpose.
How do I programme direction of running?
On Digital Systems, forward and reverse are relative to the locomotive and not the track as in a DC system. It is possible to select the
direction that the train will move as ‘forwards’ by following these instructions -
•
Press current
ADDRESS
button
•
Activate the locomotive by running a short distance
•
Keeping address button depressed, press
STOP
button, release both buttons - the power LED will now flash quickly
•
Press the direction button that you would like to be assigned for forward running
•
Press locomotive address button
•
Press
STOP
•
Direction programming is now complete
How do I work the functions?
• Press the yellow
FUNCTION
button. The button toggles the function mode on and off.
• The flashing LEDs adjacent to the 1-10 buttons indicates the train under control.
•
F10
switches the basic light functions on and off.
•
F1
to
F8
control further functions on customer fitted advanced specification decoders.
• Control of speed and direction of the selected locomotive is still possible.
Can I use digital and analogue trains?
The unit can operate nine digital trains on addresses 1-9 and one OO/larger scale analogue (without a decoder) as address 10.
Alternatively, you can also use Bachmann item 36-560 as a plug-in. Ten digital trains can be used as address 1 to 10 with the E-Z
Command Controller (36-500) and one analogue train can be controlled separately by 36-560.
WARNING: DO NOT RUN AN ANALOGUE N SCALE MODEL (WITHOUT A DECODER) ON A DCC SYSTEM AS IT
CAN RESULT IN TERMINAL DAMAGE TO THE MODEL.
How do I run multiple trains?
One train can be started and left running, whilst control is moved to a second. The first will run in ‘background’ on the settings it was
given. Control may be moved back to the first train by pressing the button for its address, the second train then runs in the background.
‘Double Heading’ is possible by allocating the same address to two locomotives. When one engine is running forwards and the other
in reverse (example: BR Class 20 Diesels in ‘nose to nose’ arrangement) one engine must be set in reverse as in the programming
instructions above.
Remember, the system relies on you to prevent crashes. Pressing the
STOP
button cuts power to the track but trains will resume
their existing speeds and direction when the
STOP
button is pressed for a second time.
The limit of multiple train operation is the power available to the track. The 1 amp power unit has enough power to operate two
trains simultaneously.
My train will not work!
Check:
• All wiring is correctly installed as the diagram (REF 1) in the Quick Start section.
• The transformer is plugged onto the wall socket and switched on - red LED on unit is on constantly.
• The correct train is selected on the address button.
• The
STOP
button is not pressed. If so, the red power LED will be flashing.
How to connect additional DC Controller (REF 2)
Location of ON/OFF
switch can be found on
the underside of unit
EZ Command Users Manual 2013_Layout 1 27/06/2013 08:42 Page 4


