6.4 Configuring the PDU via the web interface (as of software version
V1.01.XX)
Personnel:
n
IT specialist
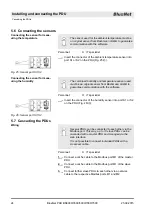
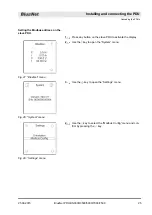
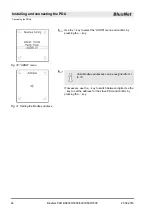
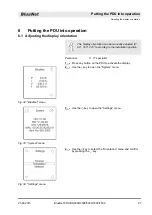
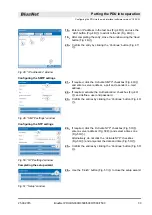
1.
Select the IP address of the PDU (https://<IP address>) in a
web browser.
ð
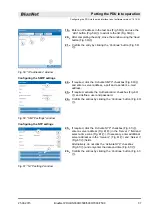
The login information is requested.
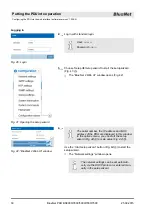
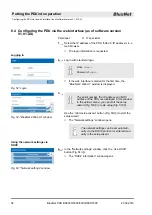
2.
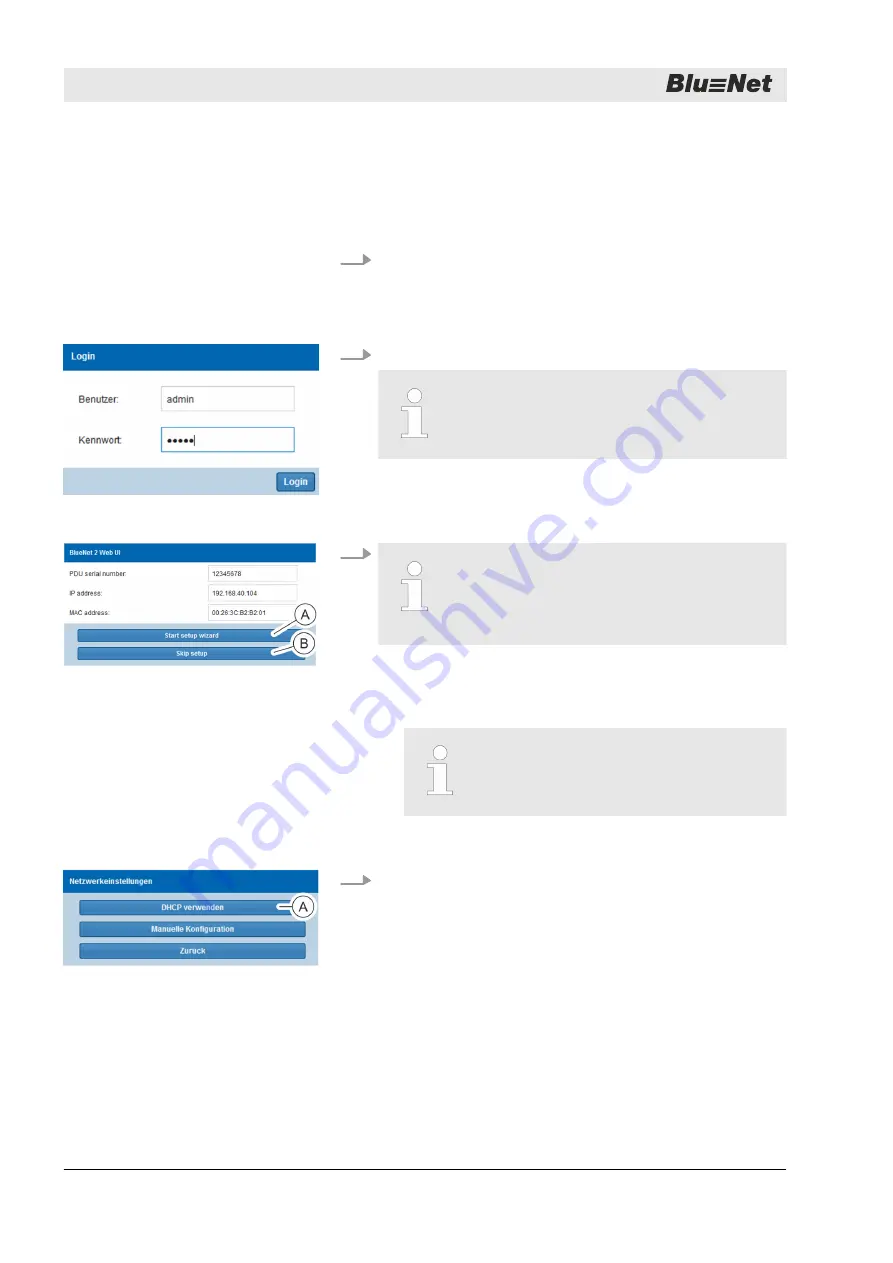
Log in with standard login.
User:
admin
Password:
admin
ð
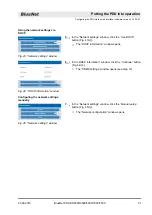
If the web interface is started for the first time, the
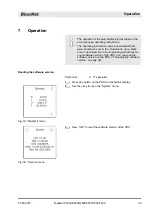
“BlueNet 2 Web UI” window is displayed.
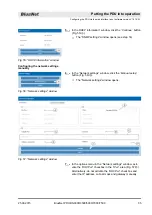
3.
The serial number, the IP address and MAC
address of the PDU are displayed in this window.
In the options menu, you can start the setup
Ⓐ
Ⓒ
).
Use the
‘Start setup wizard’
Ⓐ
) to start the
setup wizard.
ð
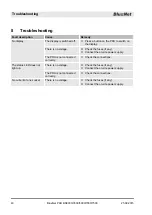
The “Network settings” window opens.
The network settings can be set automati-
cally via the DHCP protocol or entered man-
ually in the setup wizard.
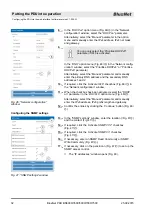
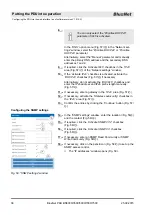
4.
In the “Network settings” window, click the
‘Use DHCP’
Ⓐ
).
ð
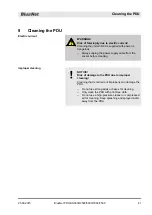
The “DHCP information” window opens.
Logging in
Fig. 52: Login
Fig. 53: “BlueNet 2 Web UI” window
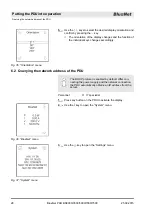
Using the network settings via
DHCP
Fig. 54: “Network settings” window
Putting the PDU into operation
Configuring the PDU via the web interface (as of software version V1.01.XX)
25.09.2015
BlueNet PDU BN3000/3500/5000/7000/7500
34

