5.
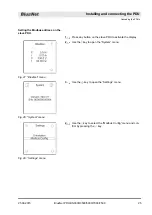
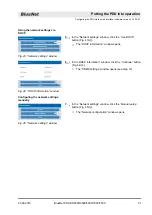
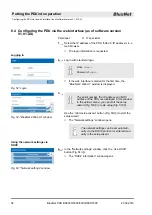
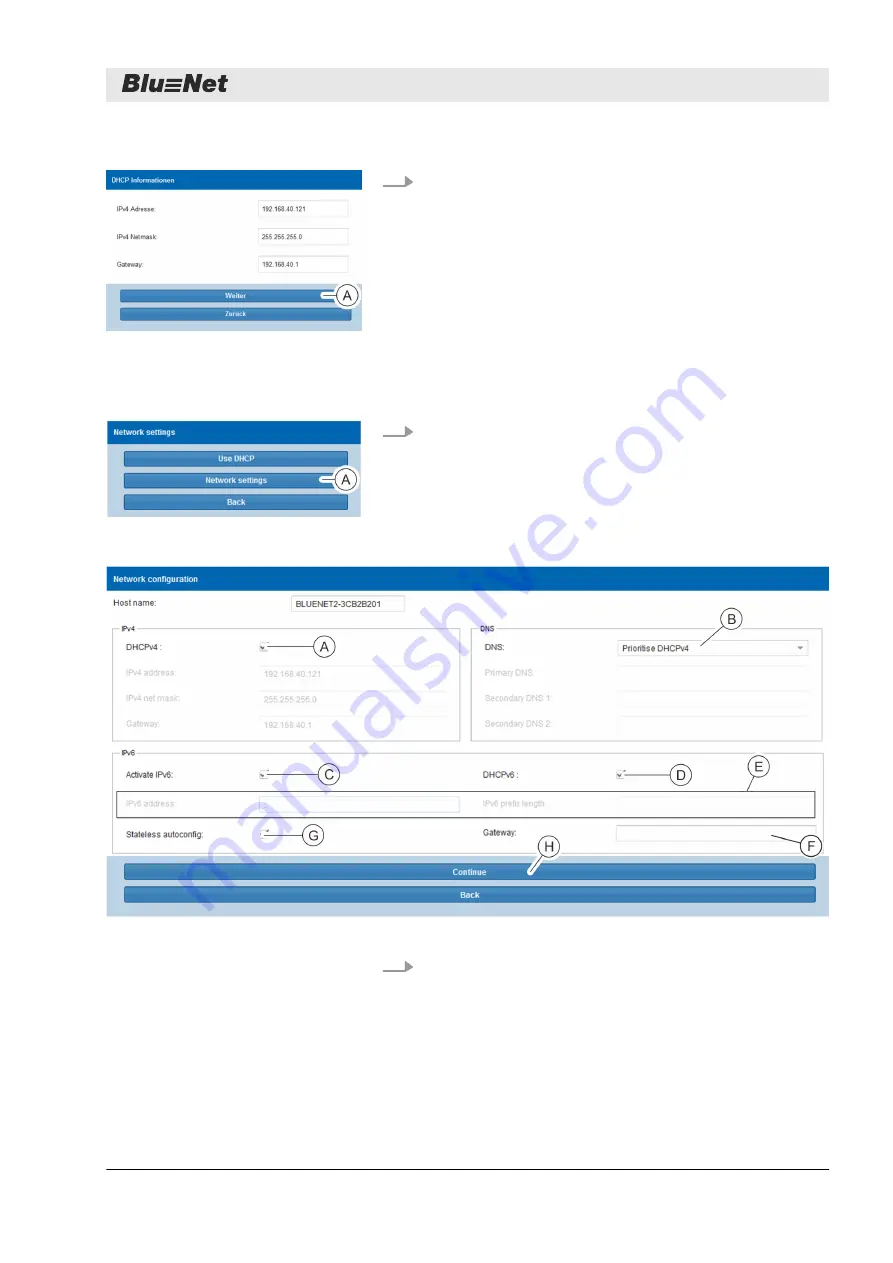
In the DHCP information” window, click the
‘Continue’
button
Ⓐ
).
ð
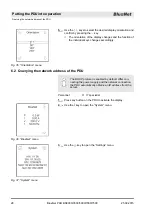
The “SNMP settings” window opens (see step 14).
6.
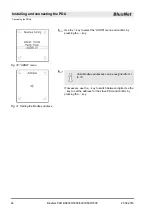
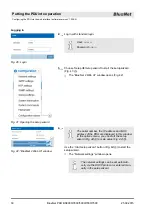
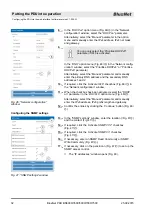
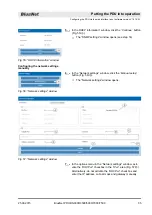
In the “Network settings” window, click the
‘Manual setup’
Ⓐ
).
ð
The “Network settings” window opens.
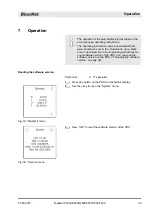
Fig. 57: “Network settings” window
7.
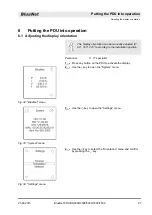
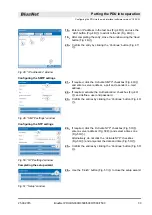
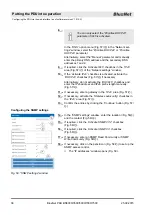
In the options menu in the “Network settings” window, acti-
vate the
‘DHCPv4’
checkbox in the
‘IPv4’
Ⓐ
).
Alternatively, do not activate the
‘DHCPv4’
checkbox and
enter the IP address, subnet mask and gateway manually.
Fig. 55: “DHCP information” window
Configuring the network settings
manually
Fig. 56: “Network settings” window
Putting the PDU into operation
Configuring the PDU via the web interface (as of software version V1.01.XX)
25.09.2015
BlueNet PDU BN3000/3500/5000/7000/7500
35

