8.
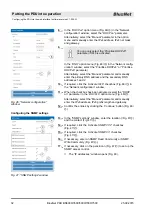
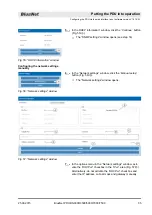
You can only select the “Prioritise DHCPv6”
parameter if IPv6 is activated.
In the
‘DNS’
Ⓑ
) in the “Network set-
tings” window, select the “Prioritise DHCPv4” or “Prioritise
DHCPv6” parameter.
Alternatively, select the “Manual” parameter and manually
enter the primary DNS address and the secondary DNS
addresses 1 and 2.
9.
If required, click the
‘Activate IPv6’
checkbox in the
‘IPv6’
Ⓒ
) of the “Network settings” window.
10.
If the
‘Activate IPv6’
checkbox is activated, activate the
‘DHCPv6’
Ⓓ
) if necessary.
Alternatively, do not activate the
‘DHCPv6’
checkbox and
enter the IPv6 address and IPv6 prefix length manually
Ⓔ
).
11.
If necessary, enter a gateway in the
‘IPv6’
Ⓕ
).
12.
If necessary, activate the
‘Stateless autoconfig’
checkbox in
the
‘IPv6’
).
13.
Confirm the entries by clicking the
‘Continue’
Ⓗ
).
14.
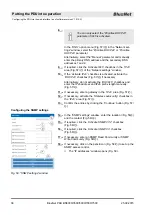
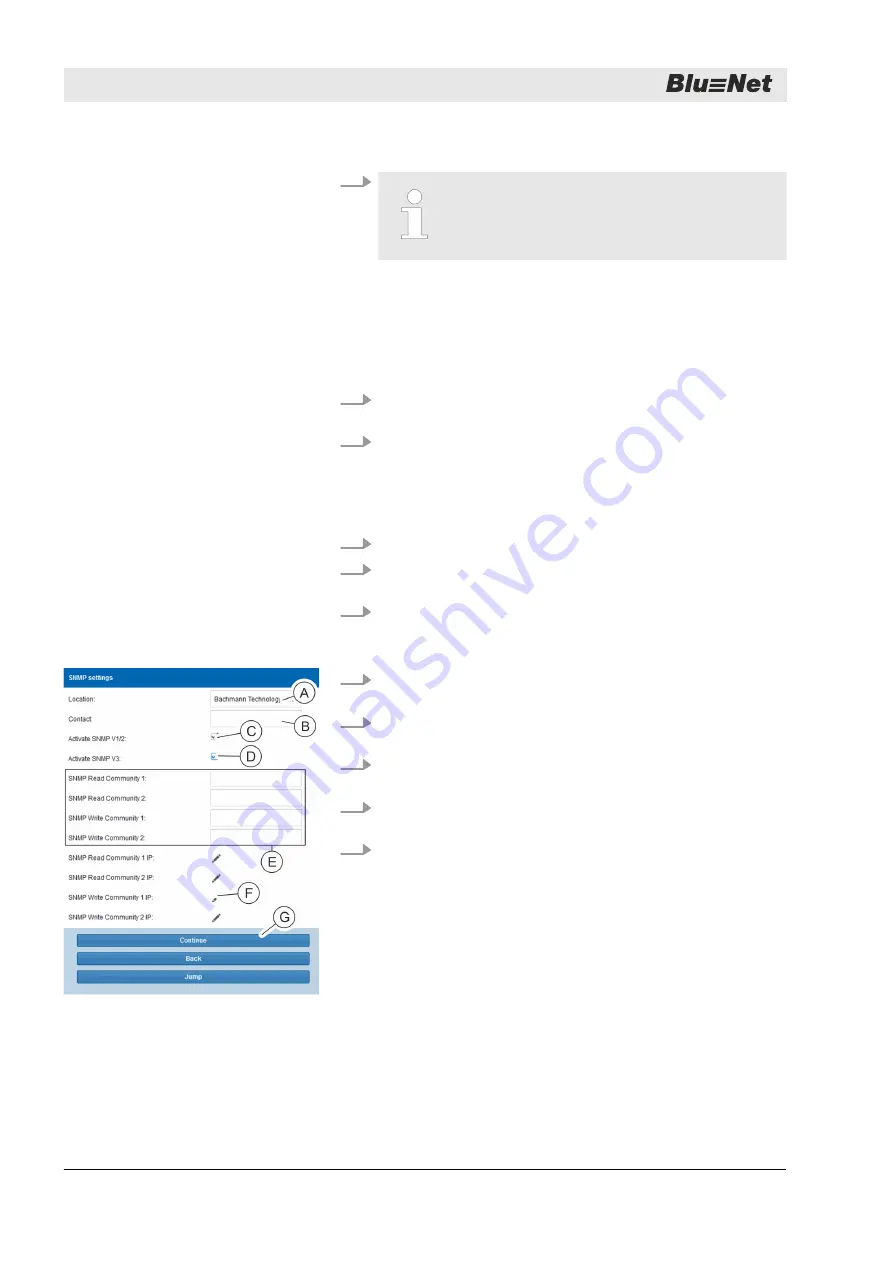
In the “SNMP settings” window, enter the location (/Fig. 58
Ⓐ
)
Ⓑ
).
15.
If required, click the
‘Activate SNMP V1/2’
checkbox
Ⓒ
).
16.
If required, click the
‘Activate SNMP V3’
checkbox
Ⓓ
).
17.
If necessary, enter an SNMP Read Community or SNMP
Ⓔ
).
18.
If necessary, click on the pencil icon (Fig. 58/
Ⓕ
) to set up the
SNMP access control.
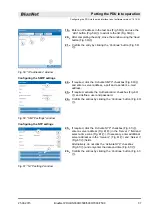
ð
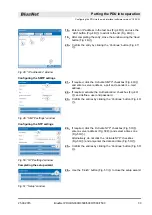
The “IP addresses” window opens (Fig. 59).
Configuring the SNMP settings
Fig. 58: “SNMP settings” window
Putting the PDU into operation
Configuring the PDU via the web interface (as of software version V1.01.XX)
25.09.2015
BlueNet PDU BN3000/3500/5000/7000/7500
36

