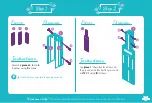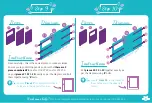
Attach the chimney cap
‘piece 6’
,
with
‘B’
screws as shown in the
diagram.
Pieces
Diagram
Instructions
Pieces
Diagram
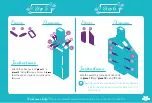
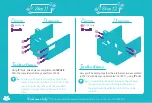
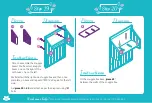
Stand up the assembly made from
STEP 3
and bolt
‘piece 9’
onto the side of the chimney using
‘F’
bolts.
Ensure the top left cutout is as per the diagram.
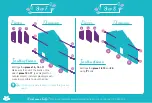
Then attach
‘piece 10’
to the other side of
‘piece 1’
using
‘F’
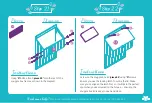
bolts. Finally, attach
‘piece 7’
together with
‘G’
bolts and place
‘piece 8’
chimney floor in place.
Instructions
6
7
F
6
B
B
B
B
8
9
10
F
F
F
F
F
G
G
G
G
G
G
7
10
9
8
F
G
5
Need some help?
Email us at sales@backyardcatenclosures.com.au
or phone 1300 440 453
Step 3
Step 4


