


Instructions
Instructions
>
Hold down the [SET] Button until top
number fl ashes.
>
Press the [ADD] button to increase hours
and [DEC] button to decrease hours.
>
Press [SET] to adjust minutes once the
hour is correct.
>
Press the [ADD] button to increase
minutes and [DEC] button to
decrease minutes.
>
Press [SET] once again when the time
is correct.
>
Using the same method to determine
the OPEN time, now set the time in the
middle section for current time and
also for CLOSE time.
>
Once all the times are set, hold the
[SET] button until numbers stop
fl ashing to fi nalise adjustments.
Ensure the battery wires and
neatly inside the enclosure.
Replace clock face by aligning
the locking notches and twist
clockwise. It may seem stiff ,
but it is so to ensure 100%
waterproofi ng.
StEp 9
StEp 10
Setting the Clock
Final
Step
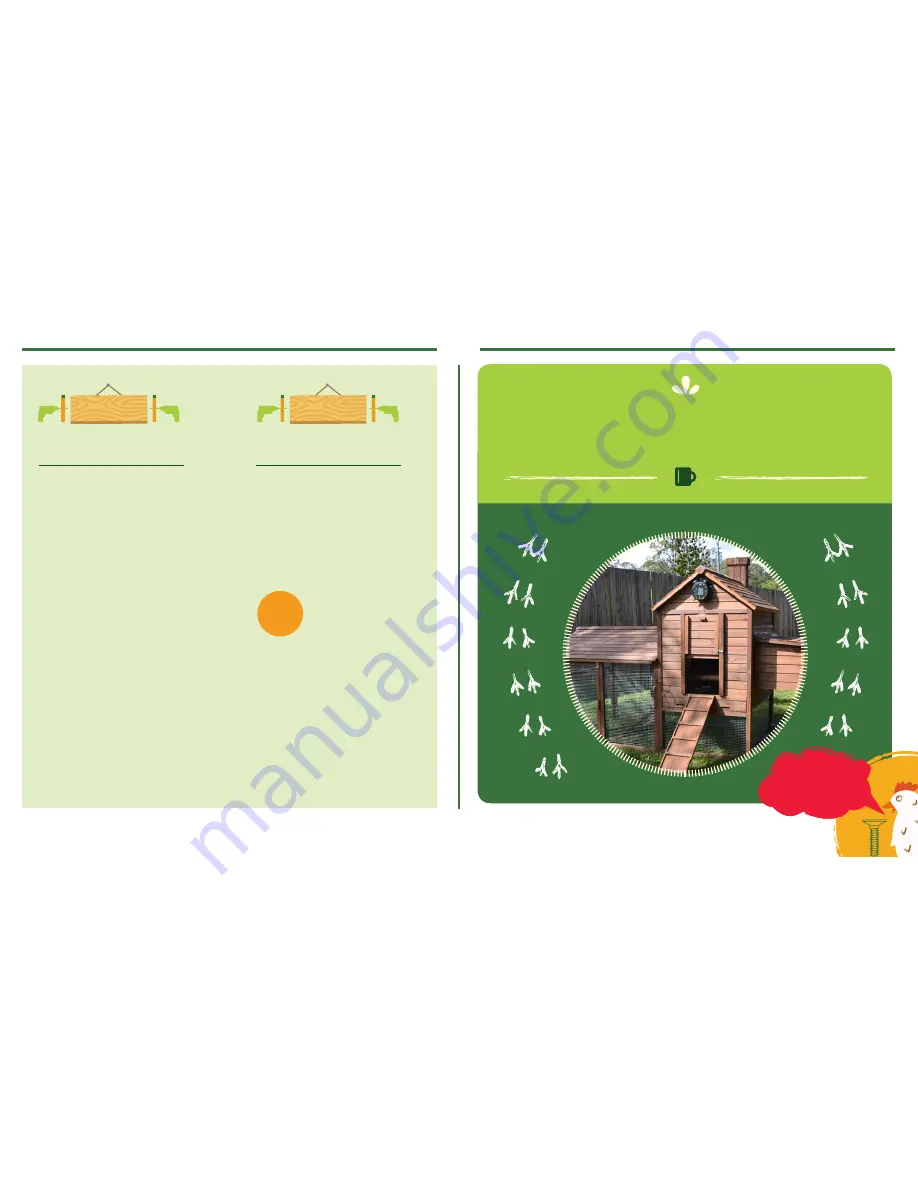
Woohoo! You’ve Assembled your Auto Door!
Time For a Drink
It’s easier
than it loo
ks!
You Get My
Cluck of
Approval!
Need some help?
Contact the Backyard Chicken Coops team for advice on
1300 763 133
or sales@backyardchickencoops.com.au
4


