background image


16 


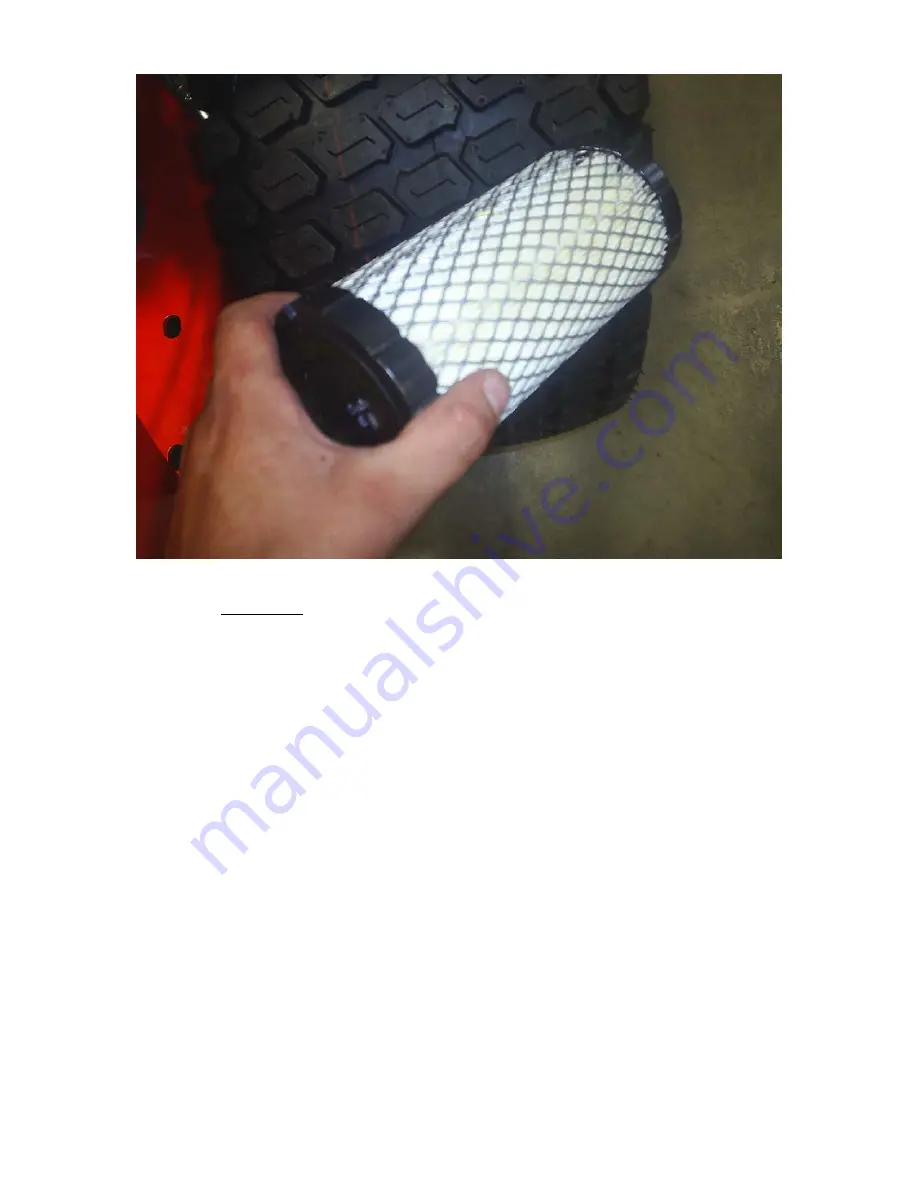
Remove and inspect air cleaner weekly. (more often in dusty 

conditions).  Do not blow filter out with air pressure, this will cause 

the filter to be filled with tiny holes that will allow dirt to enter.  

Instead, tap filter on side to remove any debris.  Replace at least once 

a year, more often in dusty conditions. 


Summary of Contents for 2011

Page 1: ...ce and service procedures that may not be specific to your model Section 1 Hydrostatic System Pg 02 Section 2 Drive Belt Pg 09 Section 3 Engine Pg 11 Section 4 Electrical System Pg 19 Section 5 Frame...

Page 2: ...reduced down to about 2 of oil remaining in the tank Do not allow air to enter the oil lines in the bottom of the tank Keep in mind that only about 75 of the hydro oil can be changed at a time Use onl...

Page 3: ...nge hydro oil filters by unscrewing them from the filter head Fill new filters with 20w50 motor oil before installing Use only bad boy replacement filters Using any other filter will result in damage...

Page 4: ...ne release parking brake stay clear of moving rear tires loosen bypass bolt to turns move drive arms forward and backward 4 to 6 times slowly This will purge the air from the system the bypass bolt ha...

Page 5: ...Models The hydro overflow tank on a zt or outlaw model is located behind the seat Notice the full cold line at the bottom of the tank Use only 20w50 motor oil in this tank Conventional or synthetic o...

Page 6: ...nut on the filter cover The filter also serves as the oil drain Each transaxle holds about 2 quarts of hydro oil Outlaw holds 4 quarts in each transaxle reinstall new filters and skid plates Use only...

Page 7: ...saxles have this plug on the top The transaxle can be filled with oil by removing these check plugs from both transaxles and pouring the oil in the hydro overflow tank located behind the seat Oil will...

Page 8: ...neutral bypass levers located at the rear of the frame on either side of the muffler move the drive arms forward and backward 4 to 6 times slowly This relieves any air that may be trapped in the syste...

Page 9: ...wn above is the AOS Diesel pump belt tensioner Tightening the two jam nuts on the left side will increase the belt tension on all models Factory setting is about 030 about the thickness of a credit ca...

Page 10: ...10 Shown above is a typical pump belt tesioner for ZT Pup Lightning and Outlaw models Shown above is a typical pump belt layout for most models...

Page 11: ...SECTION 3 ENGINE Shown above is a Kawasaki engine with the quick drain oil drain located on the left side of the engine Use a flat screw driver as shown to loosen the drain Not available on all model...

Page 12: ...e a drain hose installed on the engine for easier oil changes All gas engines used by Bad Boy use 10w30 and have an oil capacity of 2 quarts Bad Boy recommends that the oil and filter be changed every...

Page 13: ...13 The fuel filter is located in the fuel line about 12 from the carburator on the side of the engine Note the direction of flow on the side of the filter Replace once a year...

Page 14: ...e a vacuum operated fuel pump bolted to the side or top of the engine The pump has a fuel in a fuel out and a vacuum line coming from the engine block Fuel flow can be checked here if the pump is susp...

Page 15: ...system on the CAT Diesel it is necessary to purge the air from the system by loosening the 9 16 bolt on top of the fuel filter and pumping the fuel bulb located underneath the radiator until air bubb...

Page 16: ...n dusty conditions Do not blow filter out with air pressure this will cause the filter to be filled with tiny holes that will allow dirt to enter Instead tap filter on side to remove any debris Replac...

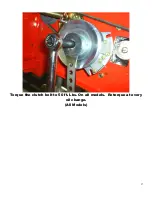
Page 17: ...17 Torque the clutch bolt to 50 ft Lbs On all models Retorque at every oil change All Models...

Page 18: ...18 Keep radiator screen clean and free of debris on liquid cooled models Check screen hourly during dry conditions Slide radiator screen up to remove...

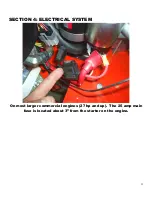
Page 19: ...19 SECTION 4 ELECTRICAL SYSTEM On most larger commercial engines 27 hp and up The 25 amp main fuse is located about 3 from the starter on the engine...

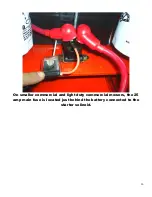
Page 20: ...20 On smaller commercial and light duty commercial mowers the 25 amp main fuse is located just behind the battery connected to the starter solinoid...

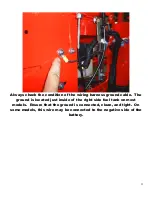
Page 21: ...wiring harness ground cable The ground is located just inside of the right side fuel tank on most models Ensure that the ground is connected clean and tight On some models this wire may be connected...

Page 22: ...22 Check the condition and connection of the relays located under the seat Ensure that they are clean and connected Make sure that wire terminal ends have not been pushed out of the relay block...

Page 23: ...23 On most models the red wire coming out of the engine is the charging wire from the alternator Check for 13 6 14 2 volts dc at this wire with engine at full throttle...

Page 24: ...24 SECTION 5 FRAME For non suspension models torque front fork castle nut to 40 ft lbs Be sure to spin the fork while torquing the nut to ensure that no bearing damage is done...

Page 25: ...einstall the cotter pin into the castle nut Always try to go tighter on the nut to find a castlation for the pin to fit in Never back the bearing tension off after torquing the nut this will spring th...

Page 26: ...bove is the bearing assembly for mowers equipped with suspension 2009 and newer This setup requires a torque of 53 ft lbs Never back the bearing tension off after torquing the nut this will spring the...

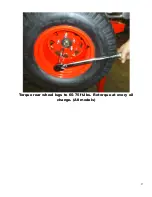
Page 27: ...27 Torque rear wheel lugs to 65 75 ft lbs Retorque at every oil change All models...

Page 28: ...28 There is one grease fitting in each front wheel and one in each front caster bearing housing Grease at every engine oil change...

Page 29: ...29 There is one grease fitting on each of the actuator bar pillow blocks located under the fuel tanks Grease twice a season...

Page 30: ...30 The pump belt tensioner is located under the engine and has a grease fitting at its pivot point Grease at every engine oil change...

Page 31: ...31 The deck belt tensioner is located at the rear of the deck and has a grease fitting on its pivot point Grease at every engine oil change...

Page 32: ...32 The control arm blocks have grease fittings located on the top and bottom of each block Grease one time a year...

Page 33: ...the mower the length of the pushrods can be changed by screwing the swivel joint in or out on the ends of the rods Shortening the overall length of the rod slows the pump down Lengthening the rod wil...

Page 34: ...the resistance felt in the control arms can be adjusted by moving the pushrods or the dampeners up or down in the mounting holes Moving dampeners up less resistance Dampeners down more resistance Movi...

Page 35: ...ng brake system the rear brake assembly requires a hub puller to remove the brake drum as shown above The axle nut must be replaced and torqued to 200 ft lbs Be sure to reinstall the cotter pin Not on...

Page 36: ...36 SECTION 6 CUTTING DECK To remove the deck belt lift up on the belt while rotating the pulley to roll the belt up and off of the pulley be sure not to get your fingers between belt and pulley...

Page 37: ...urface and set the air pressure in all four tires Raise the deck up and measure all four corners of the deck to see if it is level from left to right and front to back All decks should be level from l...

Page 38: ...38 If deck adjustments are necessary start with the chain length adjusters These adjusters affect the overall hieght of the deck and the level from left to right Not on MZ models...

Page 39: ...39 The large turn buckles on the front of the deck only affect the pitch of the deck or the level from front to back Not on Outlaw models...

Page 40: ...If too loose the belt can jump off or slip on the pulleys and cause a cut quality issue With the deck up the spring coil gap should be about 025 030 about the thickness of a credit card Spring tension...

Page 41: ...41 On an AOS Diesel model additional deck belt adjustments can be made by sliding the rear v idler pulleys up or down in their slots...

Page 42: ...affect the cut quality of the mower deck Replace as necessary These blades were used considerably too long Resharpening is recommended by professionals only to determine when the blade needs to be rep...

Page 43: ...43 To change blades it may be easier to use a piece of wood to keep the blade from turning so that the bolt can be loosened Retorque the blade bolts to 90 110 ft lbs...

Page 44: ...44 The blade spindles contain a sealed ball bearing in the top and bottom of the spindle The bearings are replaceable for a more cost effective repair...

Page 45: ...en mowing remove only a third with each cutting except for the first mowing of the season when it s ok to remove more You can safely leave clippings that will quickly decompose and add nutrients back...

Page 46: ...lawn at the right height without removing any more than 1 3 of it s total height clippings will quickly breakdown without a trace These clippings contribute additional nitrogen and other nutrients to...

Reviews: