SENSOR CHECK
It is important to check that the sensor and transmitter are correctly matched . Unmatched sensor and transmitter pairs will
produce inaccurate readings .
To check that the correct sensor has been connected to the correct transmitter, refer to the calibration documents that
are sent with the meter system . The Flow Calibration Report includes vital information pertaining to the specific sensor and
transmitter pair . Under “Product Information” there are fields for both sensor and transmitter model number and
serial number .
Look at the outside of the sensor and transmitter and locate the serial tags . Pair the transmitter to the appropriate sensor by
matching the serial numbers as indicated on the calibration report .
After the transmitter is powered on, make sure the calibration constants entered into the transmitter match the information
provided on the serial tags and the calibration documents .
• Flow Factor (FloFct): Main Menu > Set Up > Calibration > Flow
• DAlpha: Main Menu > Set Up > Calibration > Density
• DBeta: Main Menu > Set Up > Calibration > Density
If the numbers entered in the transmitter do not match what was provided on the serial tags and the calibration report,
contact the factory for assistance .
INITIAL ZEROING PROCEDURE
Priming for Zero
This procedure requires a password level of Operator or higher .
The flow sensor must be completely full at stable process temperature and pressure before zeroing the system .
Even if the flow sensor has already been filled, circulate fluid for a minimum of 10 minutes at a flow rate greater than 20% of
the rated full scale value of the flow sensor to purge both the process piping and sensor of air .
OTEE:
N
Do not attempt the initial startup procedure with a partially filled sensor .
OTEE:
N
If the process temperature or pressure changes significantly, the meter may need to be re-zeroed . If the meter is to be
re-zeroed, make sure the meter is completely full and flow is shut off by first closing the downstream blocking valve
and then the upstream blocking valve to prevent the potential for cavitation in the sensor . Stopping the pump or
relying on check valves does not ensure the zero flow condition necessary to perform the system zero .
Zeroing the System
OTEE:
N
The system must be zeroed after installation and before normal operation .
1 . Run flow through the sensor at the highest possible rate for several minutes to eliminate any entrained gases in
liquid systems .
2 . Stop all flow and close the downstream and upstream blocking valves . Close the downstream valve first to prevent
draining of the system .
3 . From the
Home
screen, press
Menu
to enter into the top level menus .
4 . Use
Up
or
Down
to scroll through the list until
SET UP
appears in the active line, then press
Enter
.
5 . Use
Up
or
Down
to scroll through the list until
CALIBRATION
appears in the active line, then press
Enter
.
6 . Use
Up
or
Down
to scroll through the list until
ZERO CALIBRATION
appears in the active line, then press
Enter
.
7 . Use
Up
or
Down
to scroll through the list until
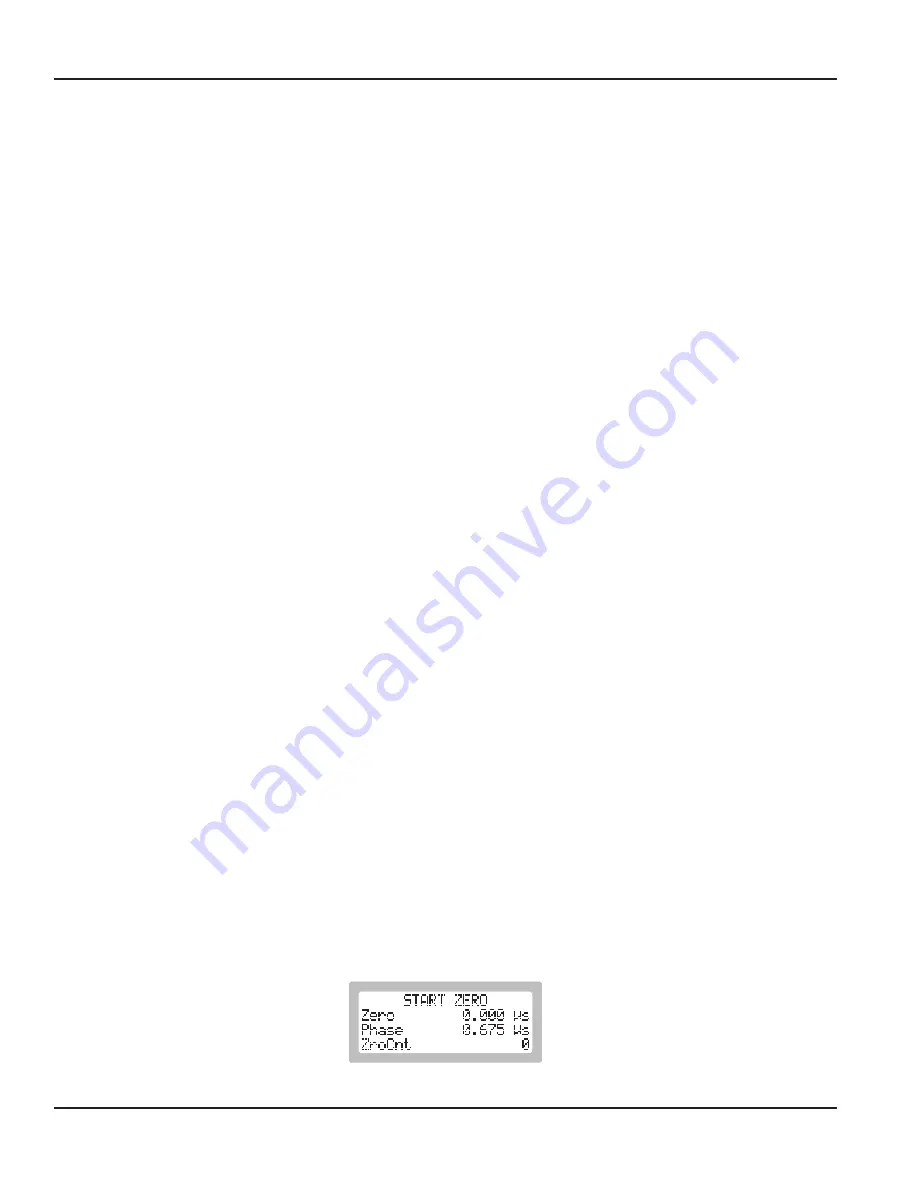
START ZERO
appears in the active line .
Figure 43: Start zero screen
8 . Press and hold
Enter
to initiate a zero calibration .
Sensor Check
Page 28
April 2019
CRL-QS-01552-EN-05

