INSTALLATION OVERVIEW
In general, the following steps are required to install and put the meter into service .
1 . Unpack meter components and transport to the installation location .
2 . Install the transmitter and sensor .
3 . Connect the signal cable between the transmitter and the sensor, if required .
4 . Install any required I/O wiring .
5 . Wire power to the transmitter .
6 . Power up the transmitter .
7 . Perform initial zeroing of the meter .
8 . Perform firmware setup starting at the
Home
screen .
9 . Put the meter into service .
PRODUCT UNPACKING AND INSPECTION
Upon receipt of the product, perform the following unpacking and inspection procedures .
OTEE:
N
If damage to the shipping container is evident upon receipt, request the carrier to be present when the product
is unpacked .
Carefully open the shipping package and follow any instructions that may be marked on the exterior . Remove all cushioning
material surrounding the product and carefully lift the product from the package .
Retain the package and all packing material for possible use in reshipment or storage .
Visually inspect the product and applicable accessories for any physical damage such as scratches, loose or broken parts or
any other sign of damage that may have occurred during shipment .
OTEE:
N
If damage is found, request an inspection by the carrier’s agent within 48 hours of delivery and file a claim with the
carrier . A claim for equipment damage in transit is the sole responsibility of the purchaser .
TRANSPORTING THE METER
The following instructions apply to transporting the meter to its final installation point:
• Transport the devices in the shipping containers in which they came .
• Do not remove covers or caps fitted to the process connections until immediately before installation . The covers prevent
mechanical damage to the sealing faces and the ingress of foreign matter into the measuring tube during transportation
and storage .
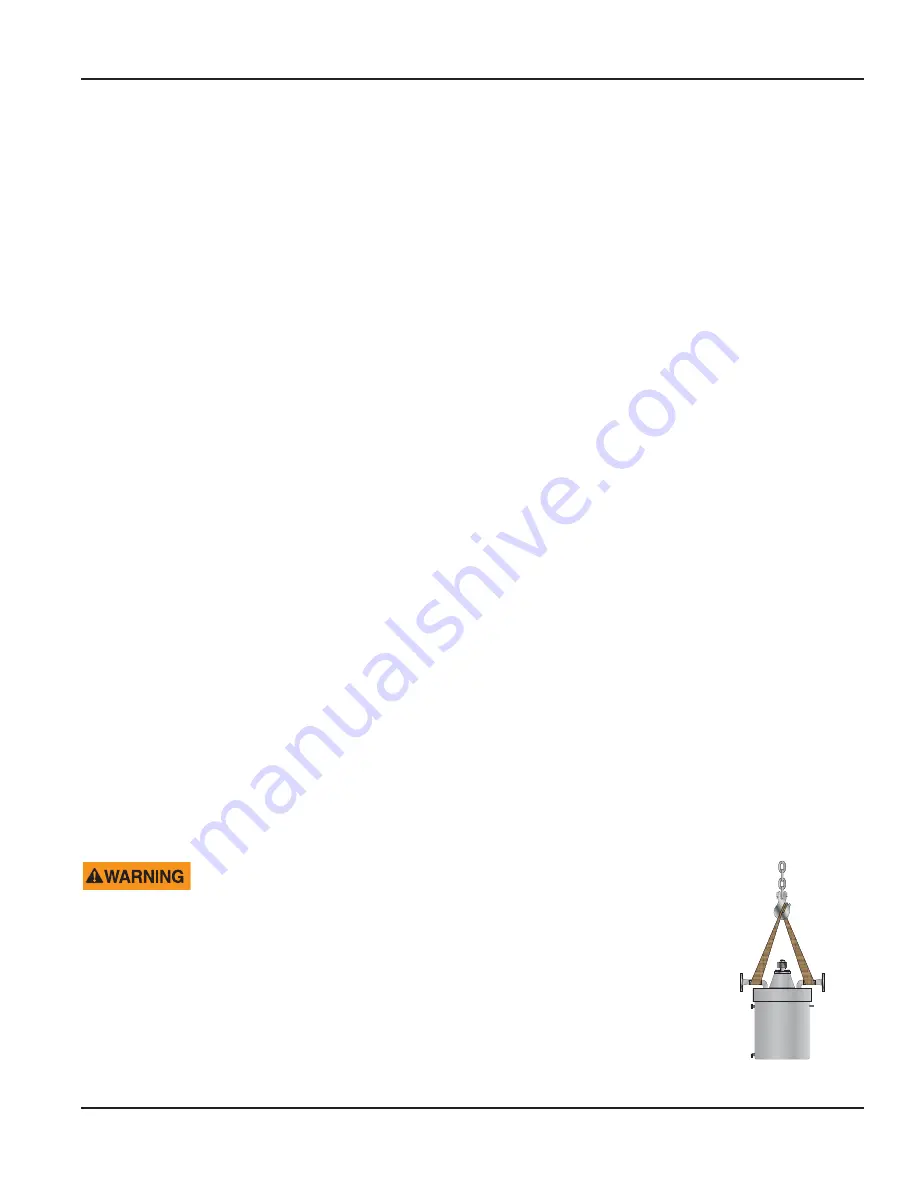
• Do not lift assembled metering systems by the transmitter housing . Use webbing slings attached around the two process
connections . Do not use chains, as they could damage the housing .
THERE IS A RISK OF INJURY IF THE MEASURING DEVICE SLIPS. THE CENTER OF GRAVITY OF
THE ASSEMBLED MEASURING DEVICE MIGHT BE HIGHER THAN THE POINTS AROUND WHICH
THE SLINGS ARE ATTACHED. AT ALL TIMES, THEREFORE, MAKE SURE THE DEVICE DOES NOT
UNEXPECTEDLY TURN AROUND ITS AXIS OR SLIP.
Figure 7: Transport sling
Installation Overview
Page 9
April 2019
CRL-QS-01552-EN-05


