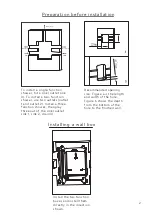
The tile plane is flush, the excess of the
buried wall box is cut off, and the glass
ring is coated on the entire circle of the
box and the wall.
Note: 1: Be sure to cut flat to ensure that
the panel can be tiled.
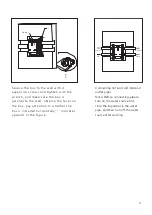
Face 2
Face 1
Adjustment screw
Adjustment joint
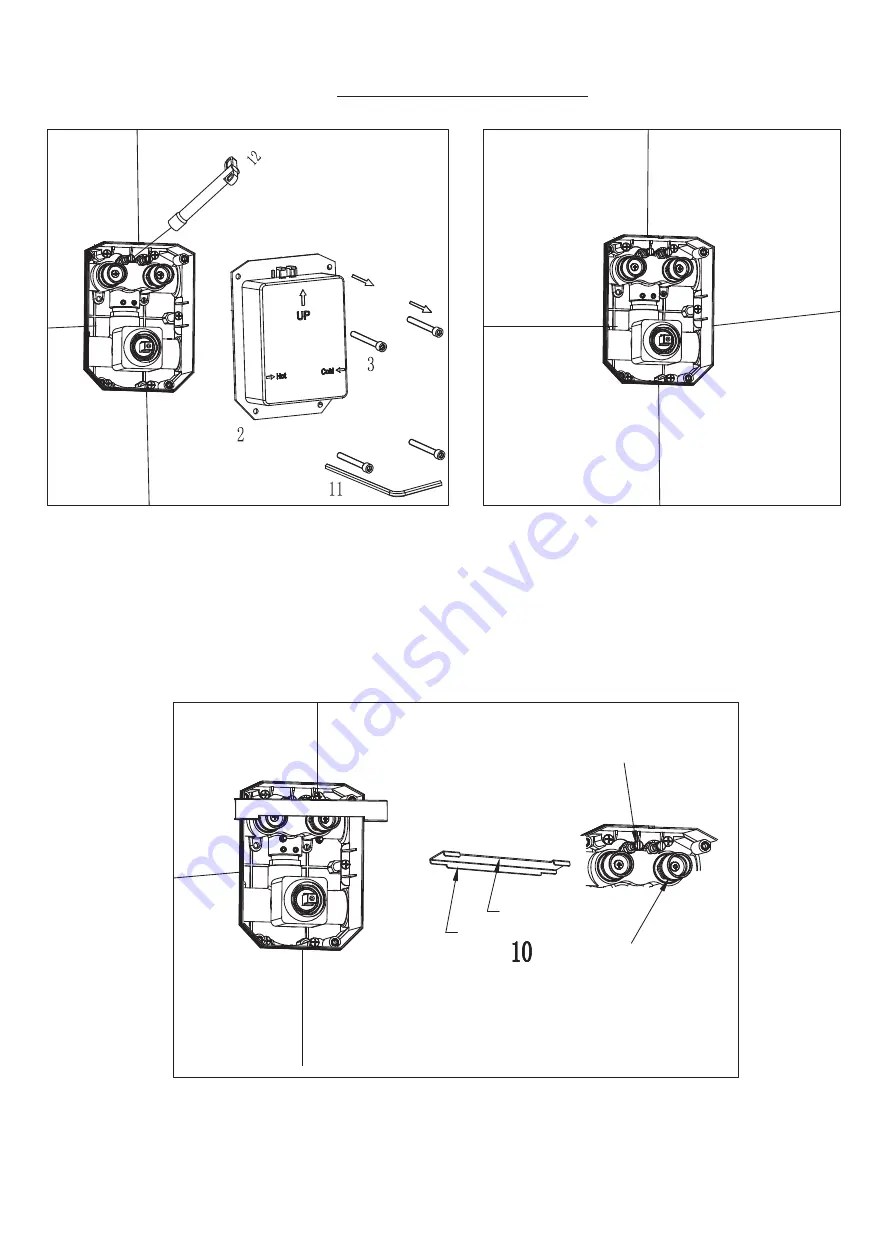
(10) Place the wall horizontally according to the position shown in the
figure, and confirm that the valve core is open (up to the highest
position). Turn the adjustment joint so that it coincides with the
surface 1, and rotate the adjustment screw to coincide with the
surface 2. Finally, tighten the hex nut clockwise with the HF005
horseshoe sleeve (12).
Mounting panel
To close the water source, first loosen the two
hex nuts counterclockwise with the HF005
horseshoe sleeve (12), then use the tool (11) to
unscrew the three screws (3) and remove the
upper cover (2).
5

