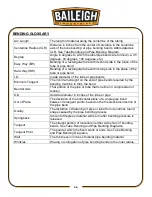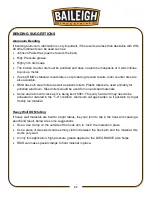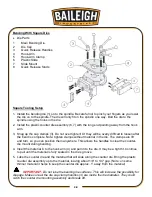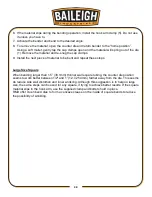
34
34
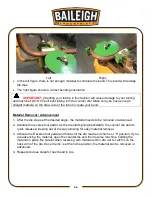
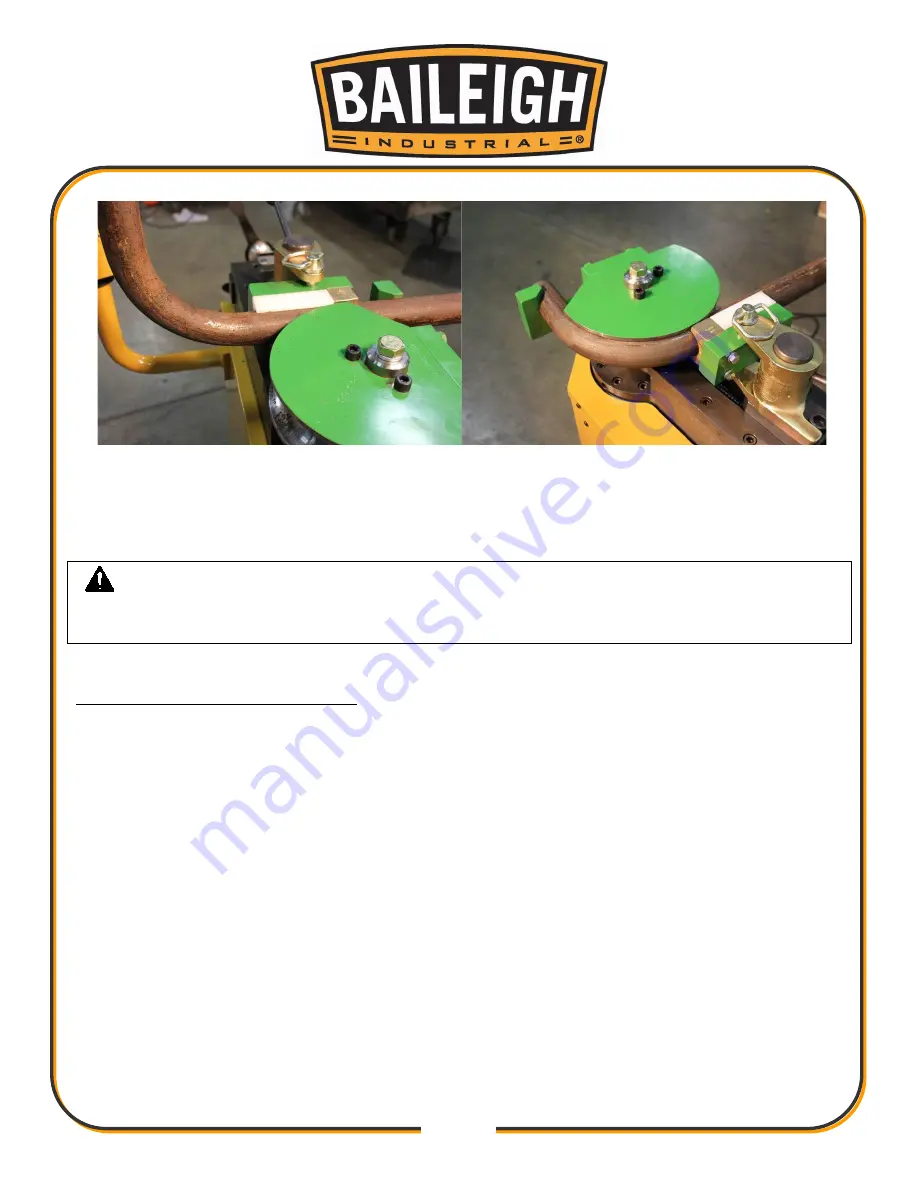
Left
Right
•
In the left figure, there is not enough material to complete the bend. This bend will damage
the dies.
•
The right figure shows a correct bending orientation.
IMPORTANT:
Orienting your tubing in this fashion will cause damage to your tooling
and machine!! DO NOT pull bent tubing into the counter die! Make sure you have enough
straight material on the draw side of the tube to create your bend.
Material Removal / Advancement
1. After the die stops at the desired angle, the material needs to be removed or advanced.
2. Activate the reverse foot pedal. As the die starts going backwards, the counter die and its
quick release will swing out of the way allowing for easy material removal.
3. Activate the Reverse foot pedal and hold until the die reaches its home or “0” position. If you
are advancing the material, open the counter die and then reverse machine, holding the
material in place. Be careful when reversing with material still in die, not to catch it on the
hook arm of the die. Once the die is at the home position, the material can be removed or
advanced.
4. Repeat previous steps for next bend in line.
Summary of Contents for B8085
Page 14: ...11 11 GETTING TO KNOW YOUR MACHINE A B C D E F G H I J K L M N...
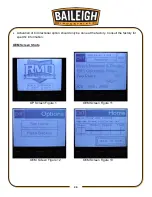
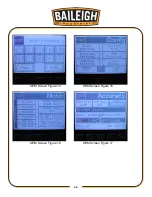
Page 29: ...26 26 OEM Screen Figure 14 OEM Screen Figure 15 OEM Screen Figure 16 OEM Screen Figure 17...
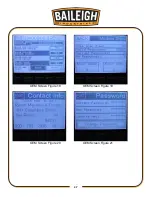
Page 30: ...27 27 OEM Screen Figure 18 OEM Screen Figure 19 OEM Screen Figure 20 OEM Screen Figure 21...
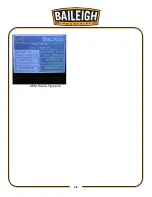
Page 31: ...28 28 OEM Screen Figure 22...
Page 45: ...42 42 INDEX TABLE LAYOUT DIAGRAM OPTIONAL EQUIPMENT...
Page 52: ...49 49 Diagram 1...
Page 53: ...50 50 Diagram 2...
Page 54: ...51 51 PARTS DIAGRAM Base Assembly Parts Diagram...
Page 55: ...52 52 Control Box Parts Diagram...
Page 56: ...53 53 Drive Assembly Parts Diagram...
Page 57: ...54 54 Main Bending Assembly Parts Diagram...
Page 61: ...58 58...


