38
38
PRIOR TO OPERATION
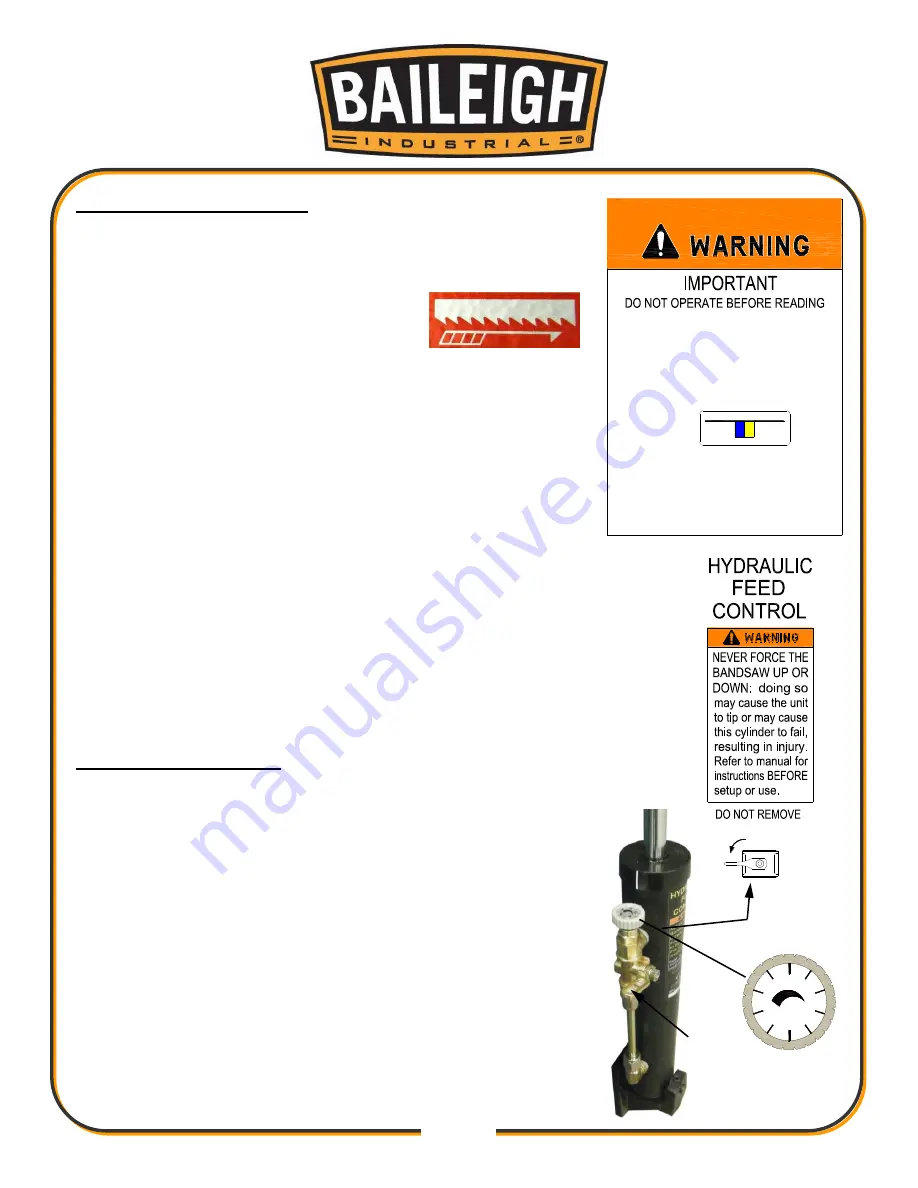
Read the section on adjusting the blade tension for the proper
procedure.
1. Check to see if blade tooth direction
matches the diagram on the saw body.
2. Check to see that the blade is properly
seated on the pulleys after setting the blade tension.
3. Set the blade guide roller bearings as described in the
(adjustment section of this manual).
4. Position the front and rear blade guides as close as
possible to the piece part. (Check for any interferences)
5. Set the proper speed and feed rate for the material being
cut.
6. Make sure the piece part is held securely in the vise.
7. Check for adequate coolant in the reservoir.
8. DO NOT start the cut on a sharp edge. Break it down with a
file.
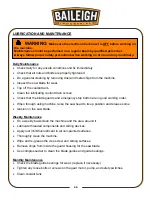
9. Keep the saw adequately lubricated. (See the lubrication and
maintenance section).
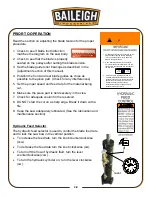
Hydraulic Feed Selector
The hydraulic feed selector is used to control the blade feed rate
and to lock the saw bow in the vertical position.
•
To increase the feed rate, turn the knob counterclockwise
(ccw).
•
To decrease the feed rate turn the knob clockwise (cw).
•
To turn off the flow of hydraulic fluid, turn the lever
counterclockwise (ccw).
•
To turn the hydraulic cylinder on, turn the lever clockwise
(cw).
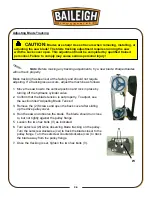
tension plate should line up with the center of
1.
2.
3.
For shipping purposes only the tension on the
blade has been reduced. Before attempting
to cut any materials you must re-adjust the
blade to the proper tension.
A new label indicates the tension strength.
For proper tension the indicator mark on the
the blue area.
A break-in period is strongly advised for
maximum blade life Run the blade at a feed
pressure reduced by one-third for the first 50
square inches of cutting. If you are cutting
material with strong work hardening
characteristics, Apply enough extra feed
pressure to take a good chip.
Band Dynametric Tension
High
Tension
Low
Tension
lever
ON
OFF
0
2
4
6
8
Summary of Contents for BS-712MS
Page 17: ...14 14 OVERALL DIMENSIONS...
Page 18: ...15 15 GETTING TO KNOW YOUR MACHINE A B C D E F G H I K J L...
Page 32: ...29 29...
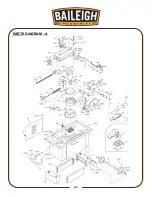
Page 46: ...43 43 PARTS DIAGRAM A...
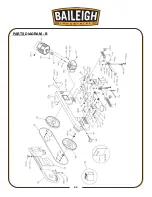
Page 47: ...44 44 PARTS DIAGRAM B...
Page 58: ...55 55 NOTES...
Page 59: ...56 56 NOTES...

