background image

2

2

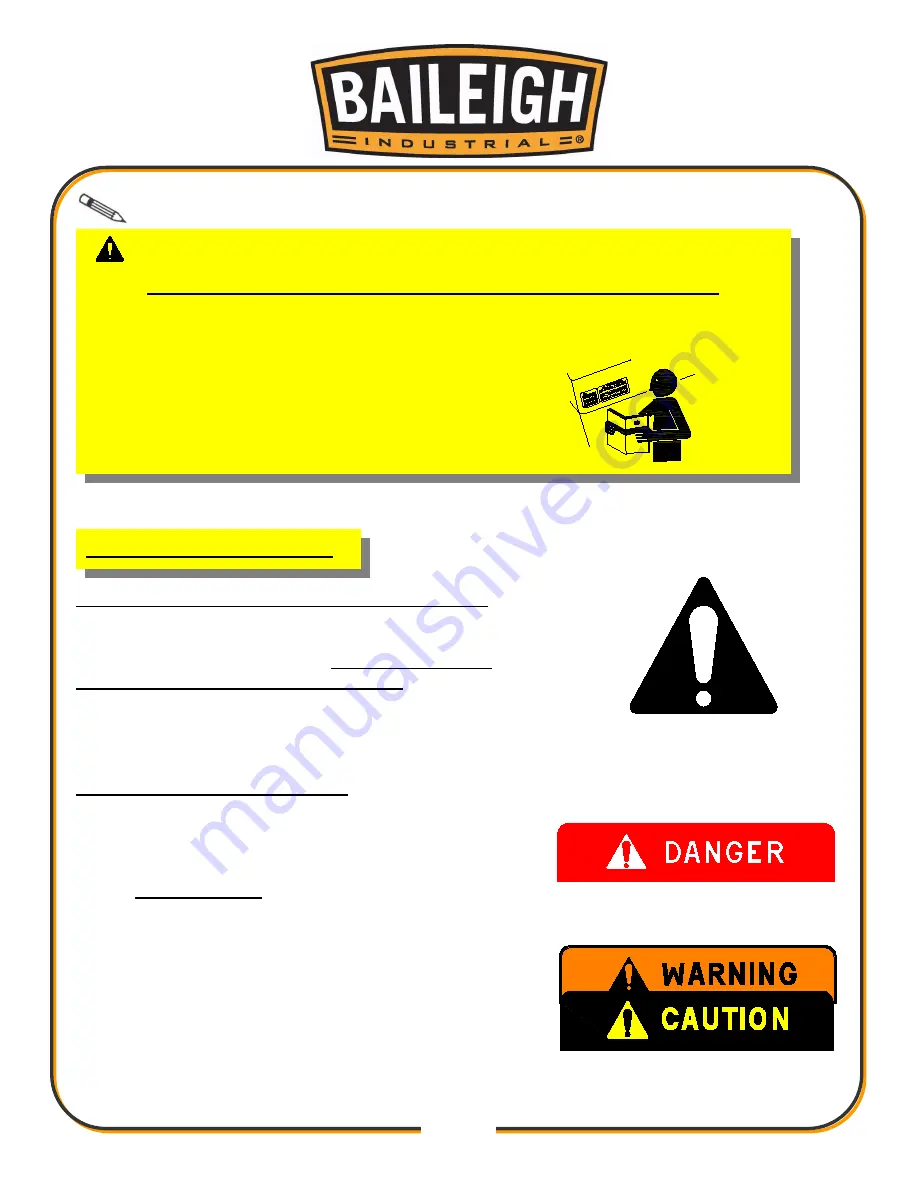
Note: 

This symbol refers to useful information throughout the manual. 

LEARN TO RECOGNIZE SAFETY INFORMATION 

This is the safety alert symbol. When you see this symbol on 

your machine or in this manual, 

BE ALERT TO THE 

POTENTIAL FOR PERSONAL INJURY! 

Follow recommended precautions and safe operating 

practices. 

UNDERSTAND SIGNAL WORDS 

A signal word – 

DANGER

WARNING

, or 

CAUTION 

is used with the safety alert symbol. 

DANGER


identifies a hazard or unsafe practice that will result in 

severe 

Injury or Death

Safety signs with signal word 

DANGER

 or 

WARNING 

are 

typically near specific hazards. 

IMPORTANT 

PLEASE READ THIS OPERATORS MANUAL CAREFULLY 

It contains important safety information, instructions, and necessary operating 

procedures. The continual observance of these procedures will help increase your 

production and extend the life of the equipment. 

SAFETY INSTRUCTIONS 

Summary of Contents for B8500

Page 1: ...OPERATOR S MANUAL TUBE AND PIPE NOTCHER MODEL TN 250 B8500 2015 Baileigh Industrial Inc Rev 06 2015...

Page 2: ...UCTIONS 2 SAFETY PRECAUTIONS 4 TECHNICAL SPECIFICATIONS 6 FEATURES 6 TECHNICAL SUPPORT Error Bookmark not defined UNPACKING AND CHECKING CONTENTS 7 Cleaning 7 ASSEMBLY AND SET UP 9 OPERATION 10 Arbor...

Page 3: ...rect installation guidelines Description of the functional parts of the machine Capacity charts Set up and start up instructions Machine operation Scheduled maintenance Parts lists GENERAL NOTES After...

Page 4: ...A signal word DANGER WARNING or CAUTION is used with the safety alert symbol DANGER identifies a hazard or unsafe practice that will result in severe Injury or Death Safety signs with signal word DAN...

Page 5: ...R place hands fingers or any part of your body near rotating tools Hole saws are very sharp and can quickly pierce your fingers and hands Always wear heavy leather gloves when handling these tools ENT...

Page 6: ...ng machinery 3 Remove any adjusting tools Before operating the machine make sure any adjusting tools have been removed 4 Keep work area clean Cluttered areas invite injuries 5 Overloading machine By o...

Page 7: ...r be allowed in the work area DO NOT let them handle machines tools or extension cords 16 Store idle equipment When not in use tools must be stored in a dry location to inhibit rust Always lock up too...

Page 8: ...ughout ensuring maximum rigidity Unique 6 jaw radial vise Will notch over 75 1 1 4 hardened Thomson shaft with replaceable tips Slotted carriage for offset notches no shims Patent pending Note The pho...

Page 9: ...reaser or solvent cleaner For a more thorough cleaning some parts will occasionally have to be removed DO NOT USE acetone or brake cleaner as they may damage painted surfaces Follow manufacturer s lab...

Page 10: ...s or other machinery Clearance from walls and other obstacles Maintain an adequate working area around the machine for safety Have the work area well illuminated with proper lighting Keep the floor fr...

Page 11: ...supplied 3 The pivot block will fit into the machined recess in the vise assembly plate 4 The retaining plate will go on the opposite side of the vise assembly and is there to act as a support washer...

Page 12: ...the vise will be determined by the angle of notch and the hole saw should be slid forward to set that distance 6 Tighten the material being careful not to over tighten and crush your tube as the vise...

Page 13: ...lug to be cut out with a zip wheel to continue the notch this is normal with this type of machine Sometimes the pivot arm can be swung back 180 degrees to finish a notch but again probably only up to...

Page 14: ...life expectancy of your machine Check for any loose or worn parts contact your dealer for replacement parts Fluid level in aluminum housing should be checked periodically add 80w gear oil if fluid le...

Page 15: ...13 13 PARTS IDENTIFICATION DRAWING...

Page 16: ...14 14 Parts Identification List...

Page 17: ...E TN250 6A022 POINTER 1 16 STD M8 X 1 25 X 50 HEX FLANGE 7 17 ME TN250 7A010 DRIVE STUD 1 18 PP 1142 SEAL 2 19 TN250 6A014 BOLT CAP 2 20 NOT INCLUDED HOLE SAW 1 21 STD 25 X 1 25 SLOTTED SPLIT PIN 1 22...

Page 18: ...16 16 Item Part Number Description Qty 33 PP 0196 0 5 ID X 0 625 OD X 0 562 LG 1 34 PP 1141 NEEDLE BEARING 2...

Page 19: ...17 17 NOTES...

Page 20: ...18 18 NOTES...

Page 21: ...19 19...

Page 22: ...20 20...

Page 23: ...the off position before re connecting 14 Use correct amperage extension cords Undersized extension cords overheat and lose power Replace extension cords if they become damaged 15 Keep machine well ma...

Page 24: ...machine is in operation Tie up long hair and use the correct hair nets to avoid any entanglement with the shearing blades or moving parts 7 Work area hazards Keep the area around the Pipe Notcher cle...

Page 25: ...any checks or maintenance being carried out ENTANGLEMENT CUTTING STABBING Secure notcher by bolting to a solid working surface A LOW Do not place hands or fingers inside moving parts of notcher STRIK...

Reviews: