29
29
Preparing the Blade Welder
1. Make sure the jaws of the welder are clean to make good electrical contact.
2. Check that the jaws will adequately hold the thickness of blade you are using.
3. The left jaw should slide easily when turning the weld force selector knob.
4. Check over the grinding wheel and make sure it is in good condition.
Making the Weld
1. Before making a weld, turn off the band saw motor by
pressing the red “stop” button. The white “power lamp”
light should still be lit.
2. Turn on the viewing light that illuminates the weld station.
3. Turn the weld force selector knob clockwise (cw) to the
start or “0” position. (fig. 20a).
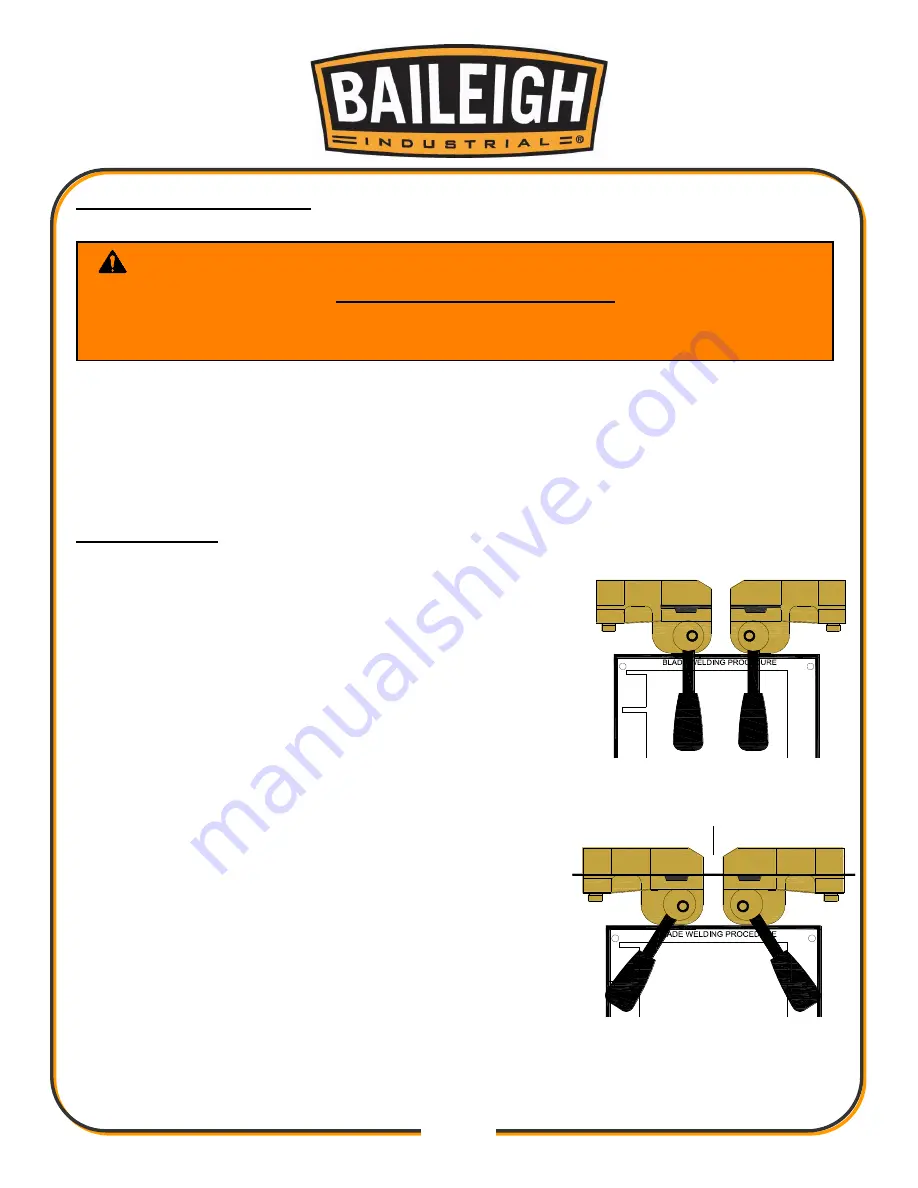
4. After squaring the ends of the blade, insert each half until
centered between the clamps (fig. 19).
5. Secure the blade by raising the handles. Check that the
blade ends fit together with no gap. If a gap is noticed,
remove and re-square the blade.
6.
Turn the weld force selector knob from “0” to the third
marker. (fig. 20b) This would be for a 0.25” (6.3mm wide
blade. (Every 2mm of blade width = 1 marker approx.).
WARNING:
The electrical current that flows through the blade welder
when operating could cause Serious Personal Injury or Death.
To avoid the risk of electrocution, never touch any metal part of the weld station
during welding or annealing of the blade.
0
VOLTS
CAPACITY
SER. NO.
220V
ON
OFF
figure 18
figure 19
0
VOLTS
CAPACITY
SER. NO.
220V
ON
OFF
*
Summary of Contents for BSV-24VS
Page 15: ...12 12 Footprint Dimensions...
Page 16: ...13 13 GETTING TO KNOW YOUR MACHINE F K B J A D G E C O H I M L N P...
Page 27: ...24 24...
Page 46: ...43 43 NOTES...
Page 47: ...44 44 NOTES...


