23
23
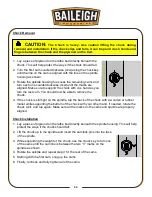
Chuck Removal
1. Lay a piece of plywood on the lathe bed directly beneath the
chuck. This will help protect the ways if the chuck should fall.
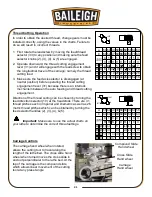
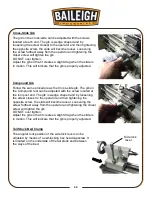
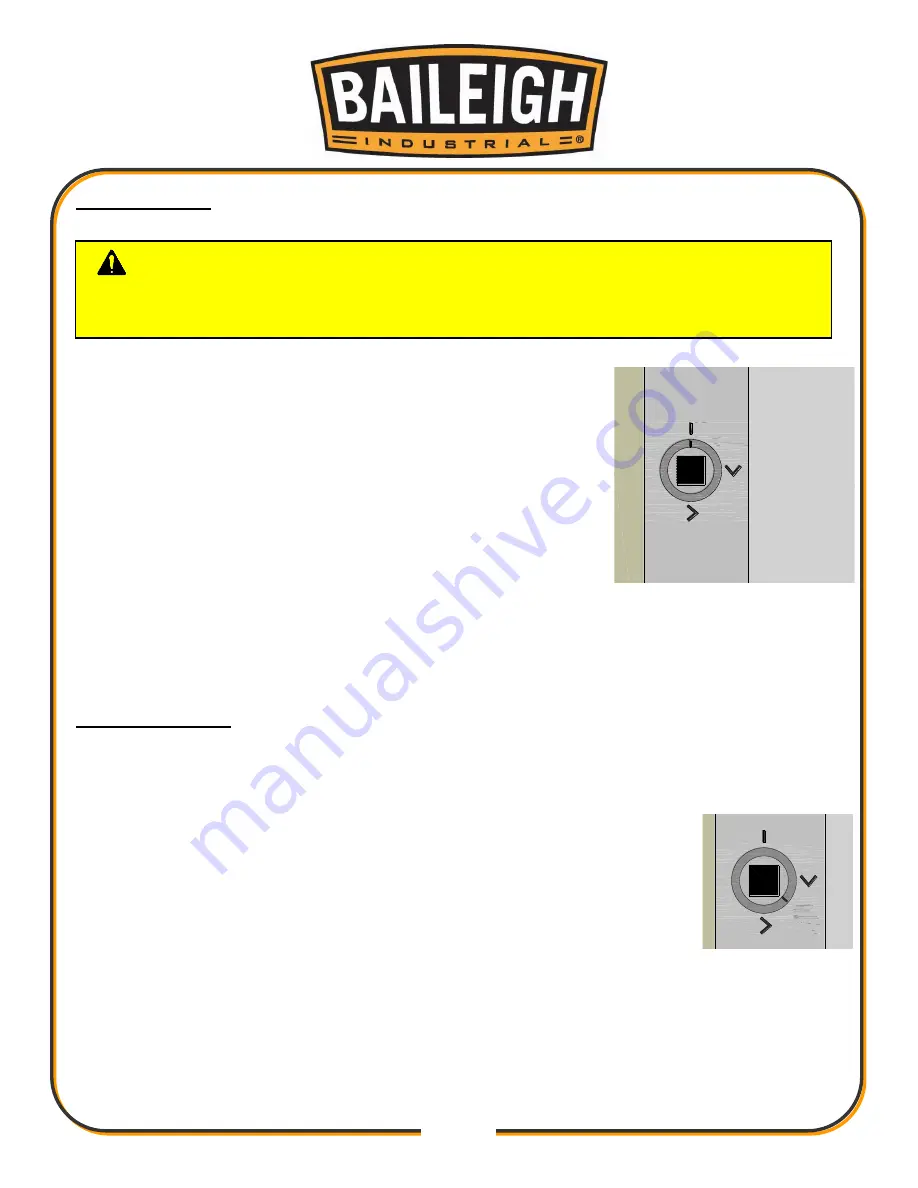
2. Turn the first cam counterclockwise (ccw) using the chuck key
until the line on the cam is aligned with the line on the spindle
housing as shown.
3. Rotate the spindle housing to access the remaining cams and
turn each one counterclockwise (ccw) until the marks are
aligned. Make sure to support the chuck with one hand as you
turn the last cam. You should now be able to remove the
chuck.
4. If the chuck is still tight on the spindle, tap the back of the chuck with a wooden or rubber
mallet while supporting the bottom of the chuck with your other hand. If needed, rotate the
chuck a bit, and tap again. Make sure all the marks on the cams and spindle are properly
aligned.
Chuck Installation
1. Lay a piece of plywood on the lathe bed directly beneath the spindle housing. This will help
protect the ways if the chuck should fall.
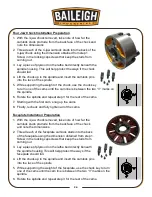
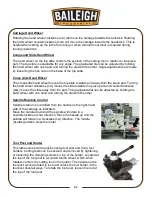
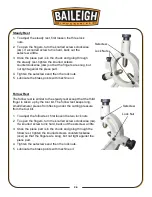
2. Lift the chuck up to the spindle and insert the camlock pins into the face
of the spindle.
3. While supporting the weight of the chuck, use the chuck key to turn one
of the cams until the cam line is between the two “V” marks on the
spindle as shown.
4. Rotate the spindle and repeat step 3 for the rest of the cams.
5. Starting with the first cam, snug up the cams.
6. Finally, recheck and fully tighten all of the cams.
CAUTION:
The Chuck is heavy. Use caution lifting the chuck during
removal and installation. If the chuck slips and falls, it can trap and crush hands and
fingers between the chuck and the plywood on the bed.
Spindle
Line
Cam Line
Summary of Contents for PL-1340E-1.0
Page 48: ...45 45 ELECTRICAL DIAGRAM...


