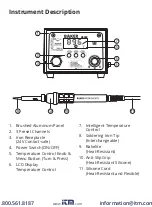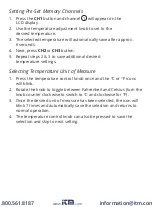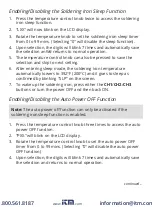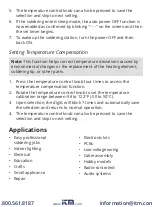
Operating Instructions
Note:
When using the soldering station for the first time, it is
recommended to set the temperature to 482°F (250°C). When
the iron tip reaches the point where it can melt the solder, apply
a fresh layer of solder containing flux on it and then increase the
temperature to the desired setting.
1. Connect the soldering tip cord to the station.
Note:
Be sure to turn off the power before connecting or disconnecting
the soldering tip cord to the station to avoid damaging the circuit board.
2. Place the soldering tip into the safety rest.
3. Plug the power cord into an appropriate power source.
Note: Do not operate this unit without a properly grounded, properly
polarized power cord.
4. Turn the power switch to the ON position and the soldering tip will
begin to heat up.
5. Use the temperature control knob to set the desired
temperature. At this time, the soldering station’s LED
heater lamp indicator lights up. (
Figure 1
)
Note: While the soldering station is heating up to the desired
temperature, the LED indicator will continuously blink. When the
temperature stabilizes, the LED indicator will remain solid. While
cooling down, the LED indicator will remain off.
6. When soldering is complete, set the temperature to 572°F (300°C)
and then clean the soldering tip with a wet sponge or cleaning wire
if any material has not been successfully removed. Recoat the tip
with a fresh layer of solder.
7. Place the soldering iron handle back into the safety rest and turn
off the soldering station.
Note: If the soldering station is not in use for a long period, turn OFF
the power and remove the power plug.
3
˚F
B9000
Figure 1
www.
.com
information@itm.com
1.800.561.8187


