background image

1

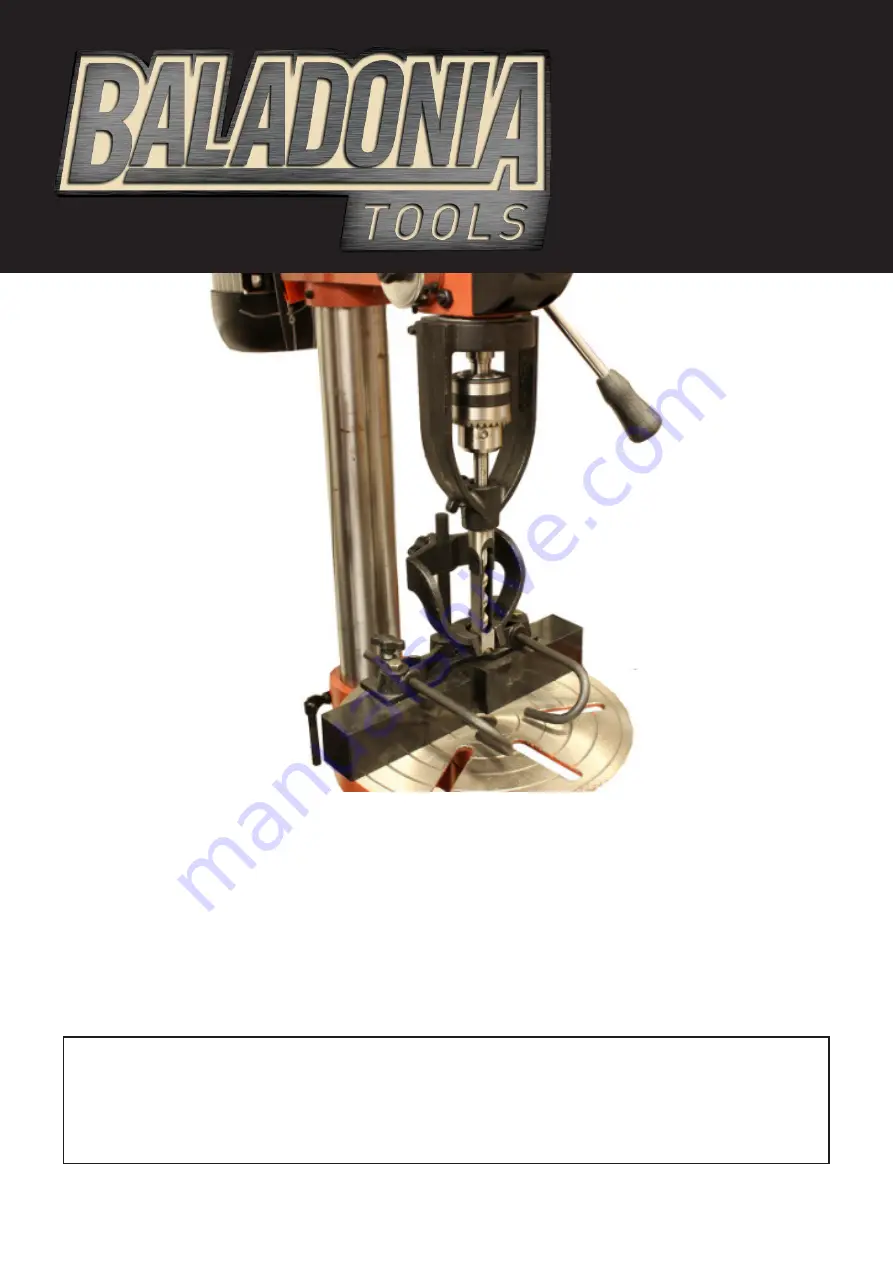
MAS-1

Mortice Kit

Owner’s Manual

Record the serial number and date of purchase in your manual for future reference.

Serial Number: ................................................................  Date of Purchase: .....................................

V5/22

Summary of Contents for MAS-1

Page 1: ...1 MAS 1 Mortice Kit Owner s Manual Record the serial number and date of purchase in your manual for future reference Serial Number Date of Purchase V5 22...

Page 2: ...amputation electrocution or even death It is the owners sole responsibility for the safe use of this machine The responsibility includes but is not limited to proper installation in a safe environment...

Page 3: ...Rules 6 General Safety Rules For Machinery 6 Section 2 Contents of Carton 8 Key Features 8 Inventory 9 Section 3 Set Up 10 Set Up Assemble Align And Install Chisel Holder 10 Mounting Fence 11 Making a...

Page 4: ...4...

Page 5: ...this disclaimer shall limit or exclude our liability for death or personal injury resulting from negligence limit or exclude our liability for fraud or fraudulent misrepresentation limit any of our l...

Page 6: ...ways tie back or cover long hair Wear non slip footwear to reduce risk of slipping and losing control or accidentally contacting the cutting tool or moving parts Hazardous Dust Dust created by machine...

Page 7: ...ay occur if the machine is tipped or if contact is unintentionally made with the cutting tool Stable Machine Unexpected movement during operation greatly increases the risk of injury loss of control B...

Page 8: ...8 Section 2 Contents of Carton Key Features 1 Chisel holder 2 Collar locking handle 3 Fence 4 Hold down clamp 5 Hold down adjustment screws 6 Chisel lock...

Page 9: ...ead screw 1 6 Collar Locking Handle 1 7 Chisel holder 1 8 Thumb screws 4 9 Center hold dn shaft 1 10 Center hold down 1 11 Hold down clamps 2 12 Large T nuts 2 13 Small T nuts 2 14 Flat washers 2 15 1...

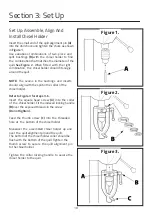
Page 10: ...ould align with the split in the collar of the chisel holder Refer to Figure 3 for steps 3 6 Insert the square head screw A into the collar of the chisel holder Fit the indexed locking handle B over t...

Page 11: ...Mark the workpiece where you want the mortise and clamp it to the fence 5 Loosen the adjustable handles on the fence Lower the chisel with the spider handles on the drill press and make adjustments to...

Page 12: ...isel must be done in proper sequence for best results Below is a diagram on one possible sequence that will produce good results Staggered cut sequence This drill press fits the following quill flange...

Page 13: ...nty as standard across all products a Sherwood machine will deliver years of good solid and dependable performance Warranty and Service If your Sherwood product has a warrantable fault please contact...

Page 14: ...14 Notes...

Page 15: ...15 Notes...

Page 16: ...16...

Reviews: