3
Operation
1) Relieve tank pressure before removing fill cap.
Remove fill cap. fill unit with up to 16 gallons of fluid
to be dispensed.
Do not
overfill past “full” level
on sight tube
.
2) Hand tighten fill cap to insure unit is pressure
tight.
3) Attach air supply to air filling valve and pressurize
unit.
Do not exceed 100 psi on
the air pressure
gauge.
4) The unit is now ready to dispense fluid. Push or pull
the unit to the location where fluid is needed.
5) Squeeze on the control handle trigger to dispense
the desired amount of fluid.
6) Dispense desired amount of fluid until fluid reaches
“refill level”. It is recommended that the unit be
refilled when the “refill level” is reached. This will
ensure that no “sputtering” will occur due to air
mixing with fluid.
Product Description
The Lube Caddy
™
pressurized dispenser is a mobile
fluid dispensing unit for lube oils and other fluids. Ideal
for remote service in the field, on the job site, quick
service inside or outside the garage, or anywhere an
air supply is not available.
This dispenser has a large 16 gallon capacity tank
which means less time will be spent stopping to refill
the tank. Its sight tube and large 2” bung port insure
easy filling. Its large rubber wheels and wide handlebar
insure easy maneuverability. It can be used with a non-
metered control handle or a metered control handle for
accurate dispensing.
The dispenser is equipped with a factory set inlet air
safety relief valve and a standard tire valve for easy air
filling. An in-line air filter (3260-038) is recommended to
prevent air line moisture from contaminating the fluid.
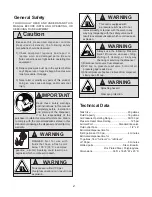
WARNING
!
Always use the following Pressure
Relief Procedure whenever filling,
shutting off, cleaning, or in any way checking or
servicing the dispenser:
1) Disconnect air source from dispenser.
2) Point the control handle outlet into a waste
container and open trigger to relieve pressure.
3) After all pressure has been relieved from
dispenser, slowly open fill cap.
Note
!
Emergency Relief Procedure:
Grasp ring on pressure relief valve and pull, hold out
to allow pressure to bleed off.
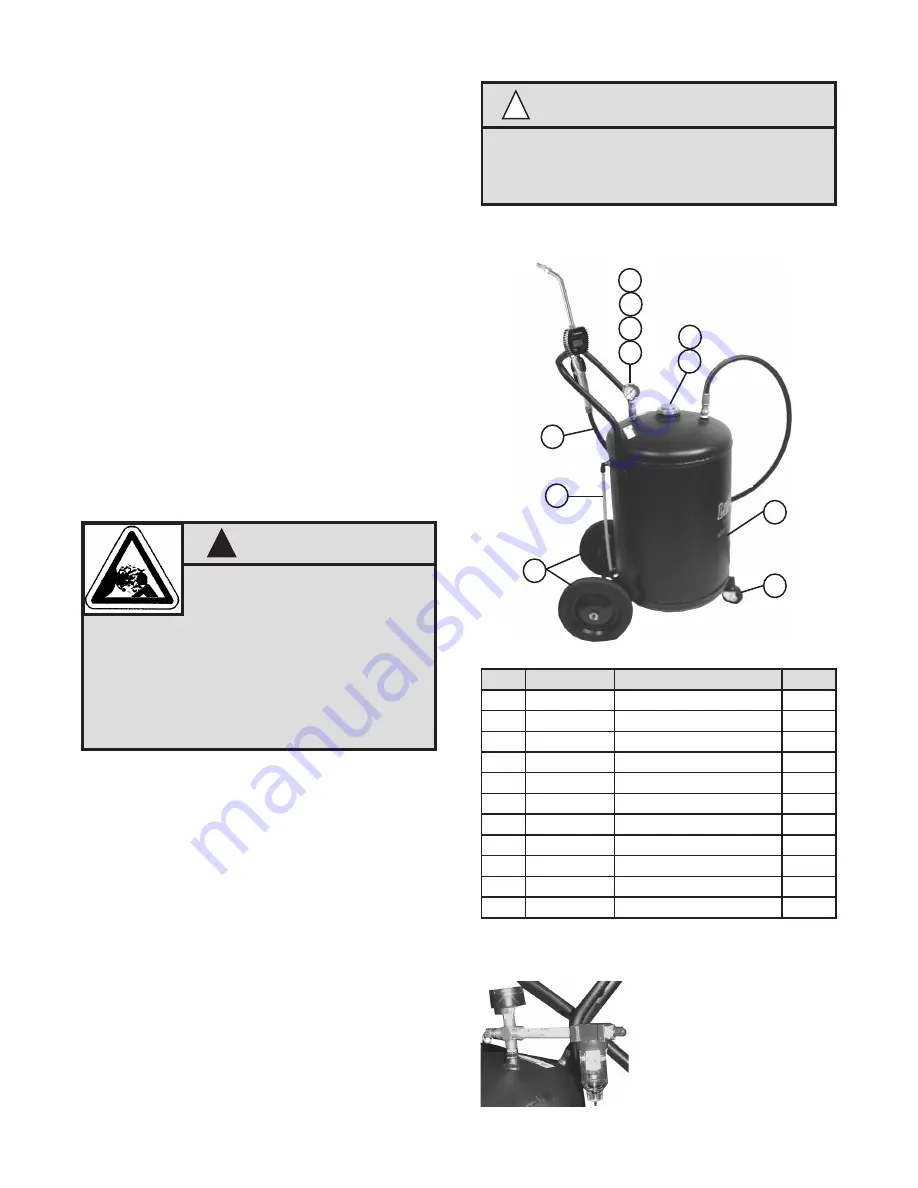
Parts List
3
4
5
6
2
8
1
10
11
7
Item
Part#
Description
Qty
1
831692
Tank
1
2
825221
Wheel
2
3
831384
1/4” Valve
1
4
831386
1/4” Manifold
1
5
831405
Air Gage
1
6
831383
Pressure Relief Valve
1
7
822872
Sight Tube
16”
8
831442
Cap
1
9
833089
Gasket, 2” Buna
1
10
8249-006
Hose
1
11
832446
Caster
1
Accessories not
included:
3260-038
Air Filter*
*Requires 1/4”x 2.5”
nipple (PN 806826)
9


