Installing the Drive 3-3
MN766
3.6 Cover Replacement Procedure (NEMA 4X Frames AA and B):
CAUTION:
Failure to follow this procedure may result in damage to the controller cover gasket which will
cause improper sealing and inability to maintain specifi ed NEMA 4X ratings.
1. While holding the cover close to the controller, plug the keypad cable (disconnected in step 4 above) into the connector
on the keypad board making sure that the retention clip snaps into place.
2. Check that keypad cable is not overlapping any of the cover edges while placing cover on drive. Ensure that gasket is
seated in cover groove around the complete perimeter of the cover without any folds.
3. While holding the cover against the base, insert, start and tighten all cover screws and tighten only to the point of contact
with the cover while following the numerical sequence outlined in the diagram below.
4. Using the numerical sequence on the following fi gure, tighten each screw to 15 in-lbs. of torque.
5. Do not over-tighten ensuring that the cover is seated fl ush around complete perimeter of base.
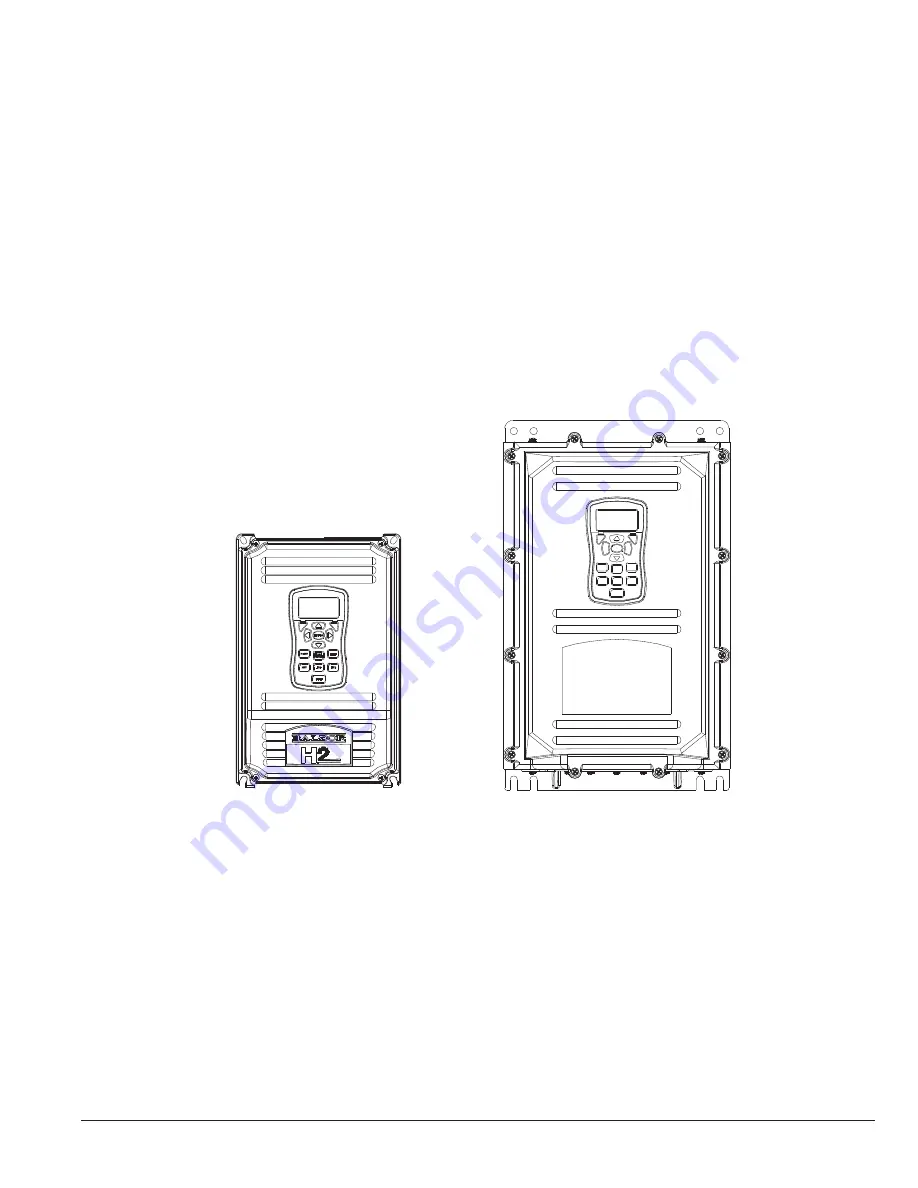
Figure 3-2 Cover Replacement (NEMA 4X)
3
10
4
9
2
11
5
8
1
12
7
6
B - FRAME NEMA 4X
AA - FRAME NEMA 4X
1
2
4
3
Maximum cover screw torque:
15 in-lbs. (see above procedure)
Maximum cover screw torque:
15 in-lbs. (see above procedure)
Summary of Contents for VS1SD
Page 1: ...05 13 Installation Operating Manual MN766 VS1SD AC Servo Control...
Page 12: ...2 2 General Information MN766...
Page 16: ...3 4 Installing the Drive MN766...
Page 108: ...7 34 Parameter Descriptions MN766...
Page 114: ...8 6 Customizing Your Application MN766...
Page 128: ...9 14 Troubleshooting MN766...
Page 154: ...12 12 Monitor and RTC Description MN766...


