background image

15

 ITALIANO

IT

7. Manutenzione

La manutenzione, la sostituzione o la riparazione del dispositivo e dei sistemi di controllo 

delle emissioni devono essere eseguite da un centro assistenza autorizzato.

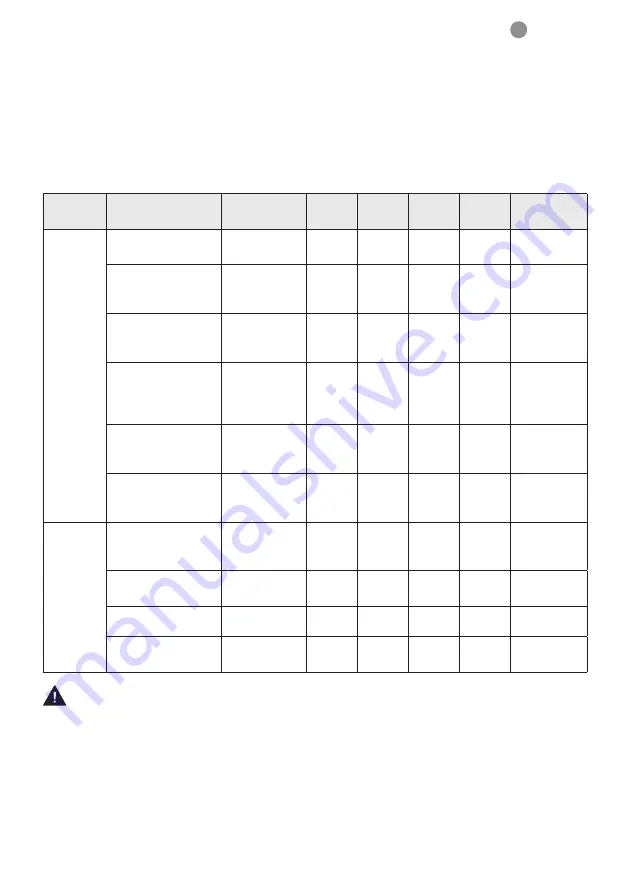
Tabella manutenzione

Sistema/

Componenti

Procedura

Prima 

dell’uso

Ogni 25 

ore

Ogni 50 

ore

Ogni 

100 ore

Note

Motore

Perdite carburante, 

fuoriuscita carburante Eliminare

ü

Serbatoio carburante, 

filtro aria, filtro 

carburante

Ispezionare/

Pulire

ü

ü

Sostituire se 

necessario

Vite regolazione 

minimo

Vedere 

“Regolazione 

del minimo”

ü

Sostituire il 

carburatore 

se necessario

Candela

Pulire e 

regolare la 

distanza tra gli 

elettrodi

ü

Distanza  

0.65 mm

Sostituire se 

necessario

Alette cilindro, sfiato 

raffreddamento aria di 

aspirazione

Pulire

ü

Marmitta, 

parascintille, porta di 

scarico cilindro

Pulire

ü

Tagliasiepi

Leva acceleratore, 

interruttore 

accensione

Verificare il 

funzionamento

ü

Elementi di taglio

Sostituire se 

non funziona

ü

Scatola ingranaggi

Ingrassare

ü

Viti/dadi/bulloni

Serrare/

Sostituire

ü

ü

 AVVERTENZA

Assicurarsi che il motore sia spento e freddo prima di eseguire qualsiasi intervento sulla 

macchina. Il contatto con le lame in movimento o la marmitta calda può causare lesioni 

personali.

Summary of Contents for BXHT 6025

Page 1: ...TMHT260B MANUALE D USO ATTENZIONE leggere tutte le istruzioni riportate in questo manuale prima di utilizzare il prodotto Conservare il manuale per future consultazioni Traduzione delle istruzioni ori...

Page 2: ...manuale contrassegnate dal simbolo riguardano punti critici che devono essere presi in considerazione per prevenire possibili gravi lesioni personali per questo motivo si prega di leggere attentamente...

Page 3: ...T 1 Identificazione delle parti 1 Serbatoio carburante 2 Impugnatura avviamento 3 Leva acceleratore 4 Interruttore accensione 5 Cavo acceleratore 6 Marmitta 7 Lama 8 Impugnatura frontale 9 Impugnatura...

Page 4: ...cchie Indossare protezioni per gli occhi Indossare guanti di sicurezza Indossare calzature robuste e antiscivolo Parti di ricambio calde mantieni le distanze Mantenere la distanza da qualsiasi fonte d...

Page 5: ...o in caso di domande Si noti inoltre che in caso di domande a cui non possibile rispondere qui contattare il rivenditore da cui stato acquistato il prodotto 3 Assicurarsi sempre di includere questo ma...

Page 6: ...ndo si soffre di sonnolenza a seguito di assunzione di medicinali per il raffreddore o in qualsiasi altro momento in cui esiste la possibilit che il proprio giudizio possa essere danneggiato o si potr...

Page 7: ...mediatamente il motore 2 Il prodotto dotato di un meccanismo di frizione centrifuga quindi l accessorio di taglio potrebbe iniziare a ruotare non appena si avvia il motore Quando si avvia il motore po...

Page 8: ...da detriti volanti 2 Se qualcuno chiama o interrompe in altro modo il lavoro assicurarsi sempre di spegnere il motore prima di girarsi Manutenzione 1 Per mantenere il prodotto in buone condizioni di...

Page 9: ...rante versato utilizzando uno straccio asciutto 5 Dopo il rifornimento riavvitare saldamente il tappo carburante sul serbatoio carburante e quindi trasportare l unit in un punto a 3 m o pi di distanza...

Page 10: ...0 40 60 80 100 AVVERTENZA Prestare attenzione all agitazione 1 Misurare le quantit di benzina e olio da miscelare 2 Mettere un po di benzina in un contenitore per carburante pulito e adatto 3 Versare...

Page 11: ...imento 7 Se il serbatoio carburante scarico rifornire all aperto Errori da evitare 1 COMBUSTIBILE SENZA OLIO BENZINA GREZZA Provocher molto rapidamente gravi danni alle parti interne del motore 2 BENZ...

Page 12: ...u un luogo stabile Tirare rapidamente la manopola di avviamento OP4 NOTA Evitare di tirare la fune fino all estremit o di riportarla rilasciando la manopola Tali azioni possono causare errori di avvia...

Page 13: ...te pu ridurre la durata delle parti della frizione Quando le lame sono bloccate da ramoscelli spessi interrompere immediatamente il funzionamento e rimuovere gli oggetti dall unit dopo aver spento il...

Page 14: ...icurarsi che il tagliasiepi sia correttamente posizionato in posizione di lavoro prima di avviare il motore 3 Durante l utilizzo del tagliasiepi assicurarsi sempre che la posizione di lavoro sia sicur...

Page 15: ...Vedere Regolazione del minimo Sostituire il carburatore se necessario Candela Pulire e regolare la distanza tra gli elettrodi Distanza 0 65 mm Sostituire se necessario Alette cilindro sfiato raffredd...

Page 16: ...IMPORTANTE L utilizzo di una candela diversa da quelle designate pu causare il malfunzionamento del motore o il surriscaldamento e il danneggiamento del motore Per installare la candela girare prima l...

Page 17: ...mpimento del serbatoio carburante MA6 AVVERTENZA Assicurarsi che i bulloni della lama siano ben serrati Il gruppo lame progettato per compensare automaticamente qualsiasi gioco tra le lame AFFILATURA...

Page 18: ...di carbonio Pulire contemporaneamente qualsiasi accumulo di carbonio sullo sfiato di scarico della marmitta e sulla porta di scarico del cilindro 2 Serrare tutte le viti i bulloni e i raccordi 3 Cont...

Page 19: ...tiva Macchine Direttiva 2014 30 UE 26 Febbraio 2014 relativa alla Compatibilit Elettromagnetica Direttiva 2000 14 CE D Lgs 262 2002 e seguente Direttiva 2005 88 EC Allegato V relative ai limiti di rum...

Page 20: ......

Page 21: ...L HEDGE TRIMMER BXHT 6025 TMHT260B USER MANUAL CAUTION read all the instructions in this manual before using the product Keep the manual for future reference Original instructions MADE IN P R C ENGLIS...

Page 22: ...a symbol concern critical points which must be taken into consideration to prevent possible serious bodily injury and for this reason you are requested to read all such instructions carefully and fol...

Page 23: ...23 ENGLISH EN 1 Parts identification 1 Fuel tank 2 Starter 3 Throttle lever 4 Ignition switch 5 Throttle cable 6 Muffler 7 Blade 8 Front handle 9 Rear handle...

Page 24: ...Wear ear protection Wear eye protection Wear safety gloves Wear sturdy non slip footwear Hot quipment parts keep your distance Keep distance of any source of heat or fire IMPORTANT If warning label p...

Page 25: ...may refer to it later whenever any questions arise Also note if you have any questions which cannot be answered herein contact the dealer from whom you purchased the product 3 Always be sure to includ...

Page 26: ...from exhaustion or lack of sleep when suffering from drowsiness as a result of having taken cold medicine or at any other time when a possibility exists that your judgment might be impaired or that yo...

Page 27: ...ngine 2 The product is equipped with a centrifugal clutch mechanism so the cutting attachment might begin to rotate as soon as the engine is started When starting the engine place the product onto the...

Page 28: ...omeone calls out or otherwise interrupts you while working always be sure to turn off the engine before turning around Maintenance 1 In order to maintain your product in proper working order perform t...

Page 29: ...y fuel spillage occurs during refueling 5 After refueling screw the fuel cap back tightly onto the fuel tank and then carry the unit to a spot 3 m or more away from where it was refueled before turnin...

Page 30: ...00 WARNING Pay attention to agitation 1 Measure out the quantities of gasoline and oil to be mixed 2 Put some of the gasoline into a clean approved fuel container 3 Pour in all of the oil and agitate...

Page 31: ...drained this should be done outdoors Mistakes to avoid 1 FUEL WITH NO OIL RAW GASOLINE It will cause severe damage to the internal engine parts very quickly 2 GASOHOL It can cause deterioration of rub...

Page 32: ...Pull the starter knob quickly OP4 NOTE Avoid pulling the rope to its end or returning it by releasing the knob Such actions can cause starter failures 5 When the engine has started gradually open the...

Page 33: ...ed up can shorten the life of clutch parts When the blades have been jammed by thick twigs stop operation at once and draw your unit off the objects after stopping the engine When clipping comparative...

Page 34: ...dge trimmer unattended 2 Ensure that the hedge trimmer is correctly located in a designated working position before starting the engine 3 While operating the hedge trimmer always ensure that the opera...

Page 35: ...e adjusting screw See adjusting idling speed Replace carburetor if necessary Spark plug Clean and readjust plug gap Gap 0 65 mm Replace if necessary Cylinder fins intake air cooling vent Clean Muffler...

Page 36: ...ny spark plug other than those designated may result in the engine failing to operate properly or in the engine becoming overheated and damaged To install the spark plug first turn the plug until it i...

Page 37: ...tank filling MA6 WARNING Make sure that the blade bolts are well tightened The blade assembly is designed to automatically compensate for any play between the blades SHARPENING MA7 Always keep the fi...

Page 38: ...and wipe away any carbon buildup Wipe away any carbon buildup on the muffler exhaust vent and cylinder exhaust port at the same time 2 Tighten all screws bolts and fittings 3 Check to see if any oil o...

Page 39: ...complies with the directives and regulations of the European Community 2006 42 CE Machinery Directive 2014 30 EU Electromagnetic Compatibility Directive 2000 14 CE Noise Directive Harmonized regulatio...

Page 40: ...85 brumargp brumargp it www brumargp it Dati tecnici Technical data a descrizione funzione description function b modello model c progressivo serial number d cilindrata displacement e potenza power f...

Reviews: