9
NOTE: Use the programming sequence below to control multiple shades with
one control, also known as “creating a group.” Be sure to review and understand
“Adding a Control” before moving on to this programming sequence. You can
also review the online video “Copy and Paste Part 1 and Part 2” or call your Customer
Service Agent for additional assistance. To prevent unwanted channel/remote
assignments, ALL PROGRAMMED SHADES should be on their own channel. If shades
share a channel UNPLUG the shade power source until the programming is complete.
Group Control of Multiple Shades with the Same Control
4
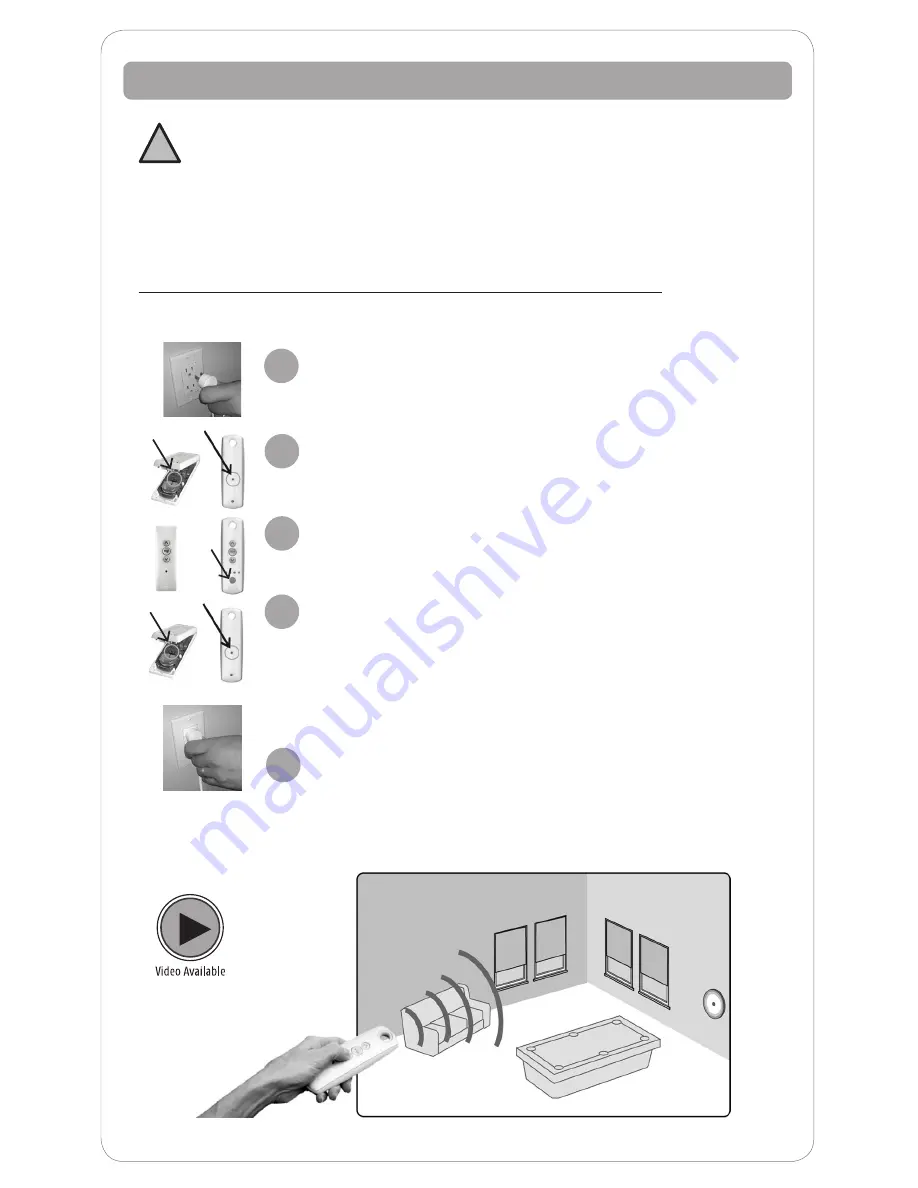
Creating Group Control
2
3
Assigning Specific Channels to Shade (Multi-Channel Remotes Only)
Disconnect power to all other products to prevent
unwanted channel/remote assignment.
Using a paperclip or similar item,
press and hold the
PROGRAM BUTTON
on the previously programmed
control until the shade jogs.
Select the remote or desired channel to be assigned
by momentarily pressing the channel selector button
on the remote.
Using a paperclip or similar item, press and hold the hand held or
wall mount control programming button on the new control until
the shade jogs again. (Briefly press and hold, less than 2 seconds,
for the control that must be opened to access the programming
button). The new channel is now added to the shade’s memory
and both channels can be used to operate the shade.
After all groups are complete, reconnect power to
begin operation.
Repeat steps for each shade you want to add to your group. To delete a channel,
follow the ‘deleting a control steps’ outlined on the page 8.
When creating groups, it is important to program each shade individually.
!
1
5


