EN
L-L 234.00-BM
23 / 40
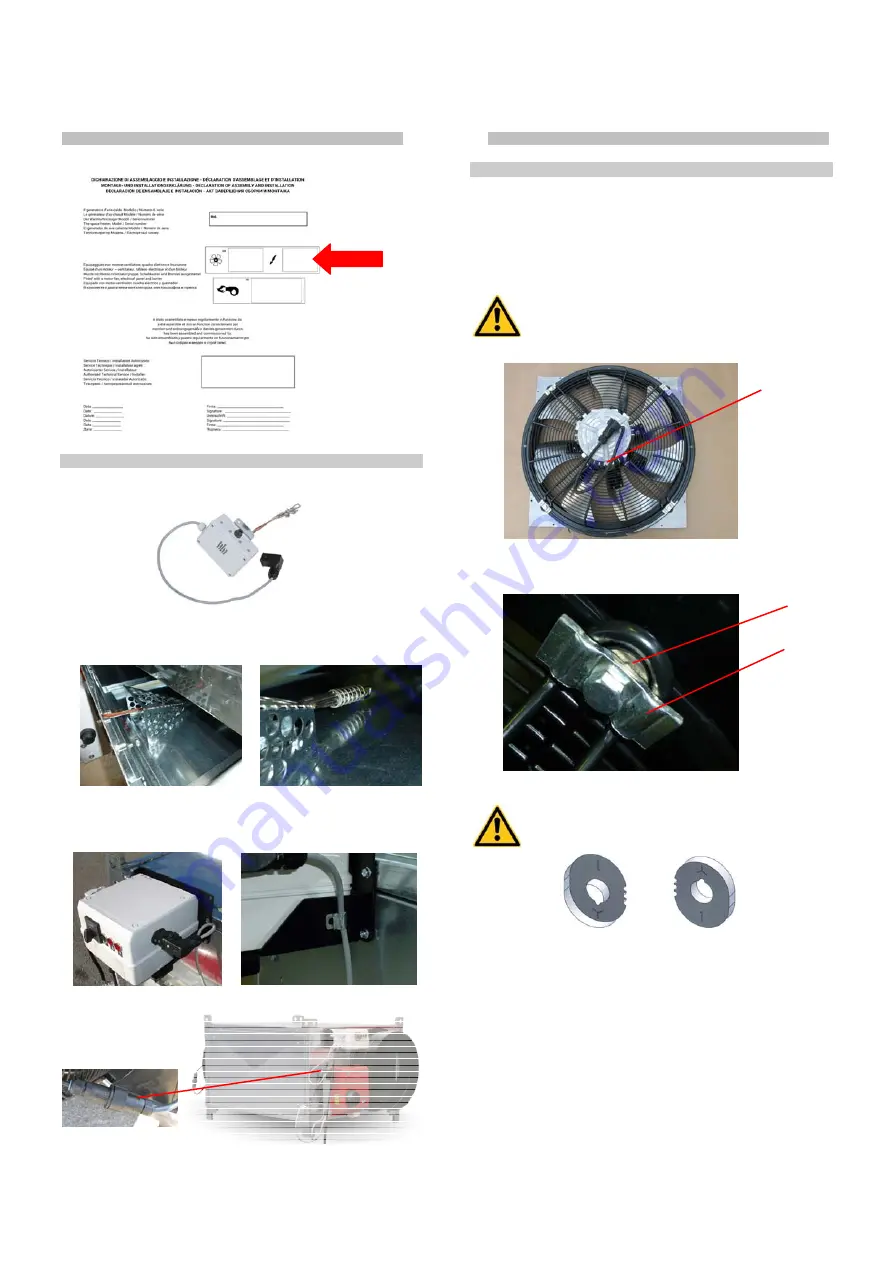
3. MOUNTING THE THERMOSTAT BOX
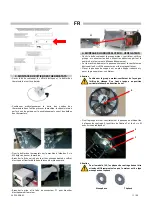
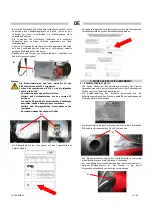
• Open the box containing the electrical panel and the thermostat
box and remove the latter
• Carefully insert the thermostat probes support bar into the hole on
the machine: the perforated inner frame functions as a guide to
properly position the thermostat bulbs.
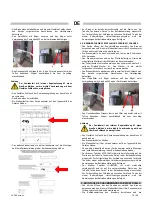
• Secure the thermostat box to the machine, using 2xM5 screws
that are already screwed onto the machine.
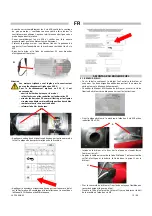
• Connect the black plug to the corresponding socket on the
electrical panel and secure the cable in the strain relief spring.
• Connect socket and plug of the connector C1 to electrically
connect the motor
4. MOUNTING THE MOTOR-FAN GROUP
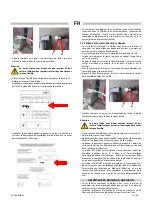
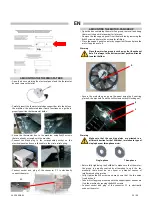
• Open the box containing the motor-fan group, remove it and keep
the two stickers with lot number for later use;
• Remove the fan support panel from the machine by removing the
8xM5 screws and store the screws for refitting;
• Place the support panel on a sturdy support surface and place the
motor-fan group onto it.
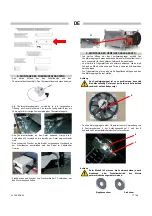
Warning
Place the motor-fan group in such a way that the exhaust
hole D is always in the bottom vertical position, directed
towards the floor.
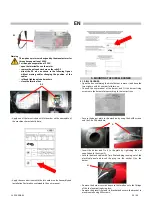
• Secure the motor-fan group onto the panel using the 4 centring
plates E, the brackets F and the 4xM screws with self-locking nut;
Warning
Make sure that the centring plates are oriented in a
different direction for the 145 model, in relation to type of
single-phase or three-phase motor:
Single-phase
Three-phase
• Before fully tightening the 4xM8 bolts, make sure that the motor-
fan group is properly centred by attempting to spin the fan
manually: there must be no current or potential causes of
interference during rotation.
• Fully tighten the M8 screws and make sure that the fan spins
freely by hand.
• Take motor-fan group mounted onto the support panel and secure
it on the machine by reusing the 8xM5 screws.
• Connect socket and plug of the connector D1 to electrically
connect the motor
D
F
E
C1


