www.balluff.com
15
english
5
Steps (continued)
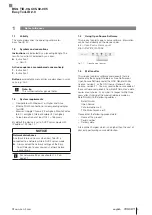
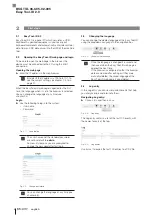
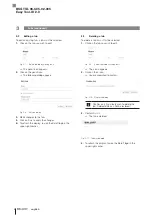
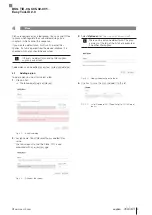
5.1.3 Adding a delay step
To add a delay step to a plan, a plan must first be selected.
1.
Select the plan by clicking on it.
2.
Click on
a
dd
S
tep
and select
a
dd
d
eLay
S
tep
.
The default value is 500 ms.
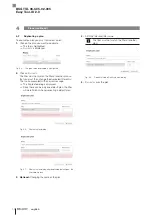
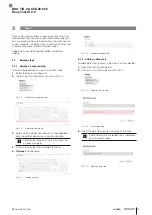
Fig. 5-14: Selecting a delay step
Fig. 5-15: Adding a delay step
The delay must be at least one millisecond
(this is also shown by an error message).
Fig. 5-16: Delay step dialog with error message
3.
Use
a
dd
to save the step and add it to the list.
Fig. 5-17: Delay step added
5.1.4 Adding a data input step (numeric)
To add a data input step to a plan (numeric) a plan must
first be selected.
1.
Select the plan by clicking on it.
2.
Click on
a
dd
S
tep
and select
a
dd
InpUt
Step
(
nUmerIc
)
.
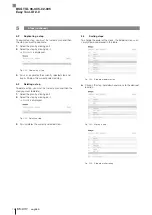
Fig. 5-18: Selecting input step
Fig. 5-19: Data input step dialog
3.
Select data field you want to be changed.
A data field must be selected (this is indicated
by an error message).
4.
Use
a
dd
to save the step and add it to the list.
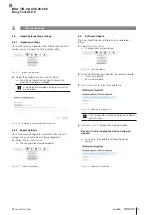
Fig. 5-20: Adding an input step
Fig. 5-21: Input step added
BSG TID-06-C05-02-005
Easy Tool-ID 2.0
Summary of Contents for Easy Tool-ID 2.0
Page 1: ...deutsch Konfigurationsanleitung english Configuration Guide BSG TID 06 C05 02 005...
Page 2: ...www balluff com...
Page 3: ...BSG TID 06 C05 02 005 Konfigurationsanleitung deutsch...
Page 4: ...www balluff com...
Page 24: ......
Page 25: ...BSG TID 06 C05 02 005 Configuration Guide english...
Page 26: ...www balluff com...


