15
1.
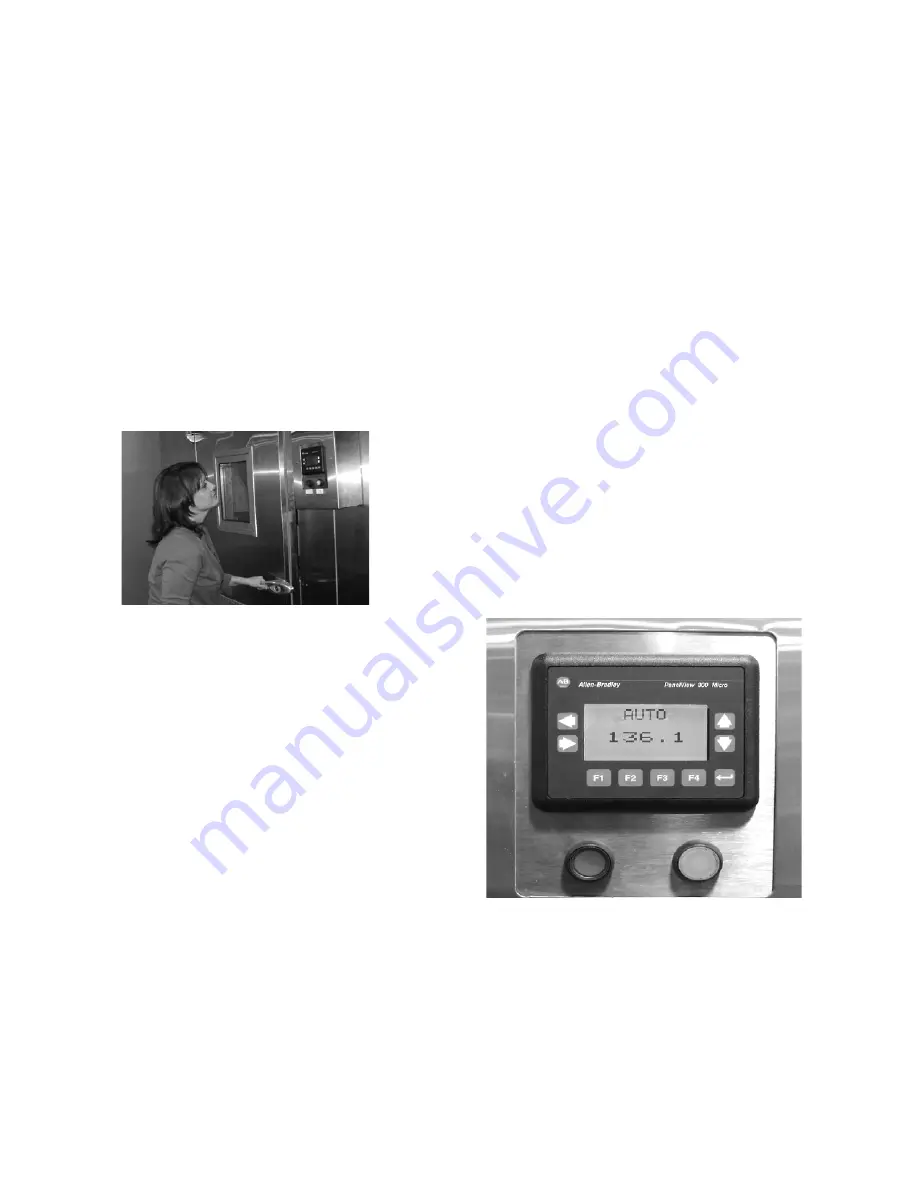
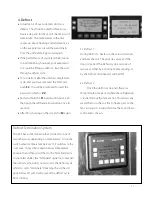
The Control Panel
The first pushbutton located to the right is the
manual on/off power switch for the blast chiller.
The red pushbutton to the left of the on/off is
used to silence the alarm buzzer. On the face of
the input screen you see nine buttons;
Left / Right
on the left hand side of the screen,
Up / Down
on the right hand side of the screen,
F1 thru F4
below the screen, and
Enter
in the lower right hand corner.
2.
The Probes
The Control system uses four probes; the
Product probe, the Air probe and the two
Auxiliary probes. The probes measure
temperature for the controller. The
product
probe
is the probe that plugs into the
receptacle that is the closest to the door. The
air probe
is hidden from view, located behind
the fans. It senses the air temperature after it
passes over the food. The
auxiliary probes
are the other two plug-in probes that allow
you to monitor two other food locations. The
auxiliary probes are not necessary for proper
functioning of the blast chiller.
3.
Operating the Blast Chiller
3.1.
Automatic
The “normal” or default process for running the
blast chiller is Automatic. The operator puts the
food to be chilled into the blast chiller, inserts
the probes into the food such that the tip of the
probes are in the middle of the food, closes the
door, and turns the unit on. After the door is
closed, the fans and refrigeration will turn on.
Both will stay on until the product probe
temperature reaches 36°F, unless:
•
The air temperature reaches 5°F. If the air
temperature goes below 5°, the refrigeration
will turn off for three minutes.
•
If the door is opened, the fans and refrigeration
will turn off and stay off for three minutes (to
prevent damage to the compressor).
Once the product probe reaches 36°, the system
goes into
Holding Mode
. The refrigeration will
turn off, but the fans will stay on. If the air
temperature should go above 45°, the
refrigeration will turn on for three minutes.


